
Last updated November 18, 2026
 Wrought iron
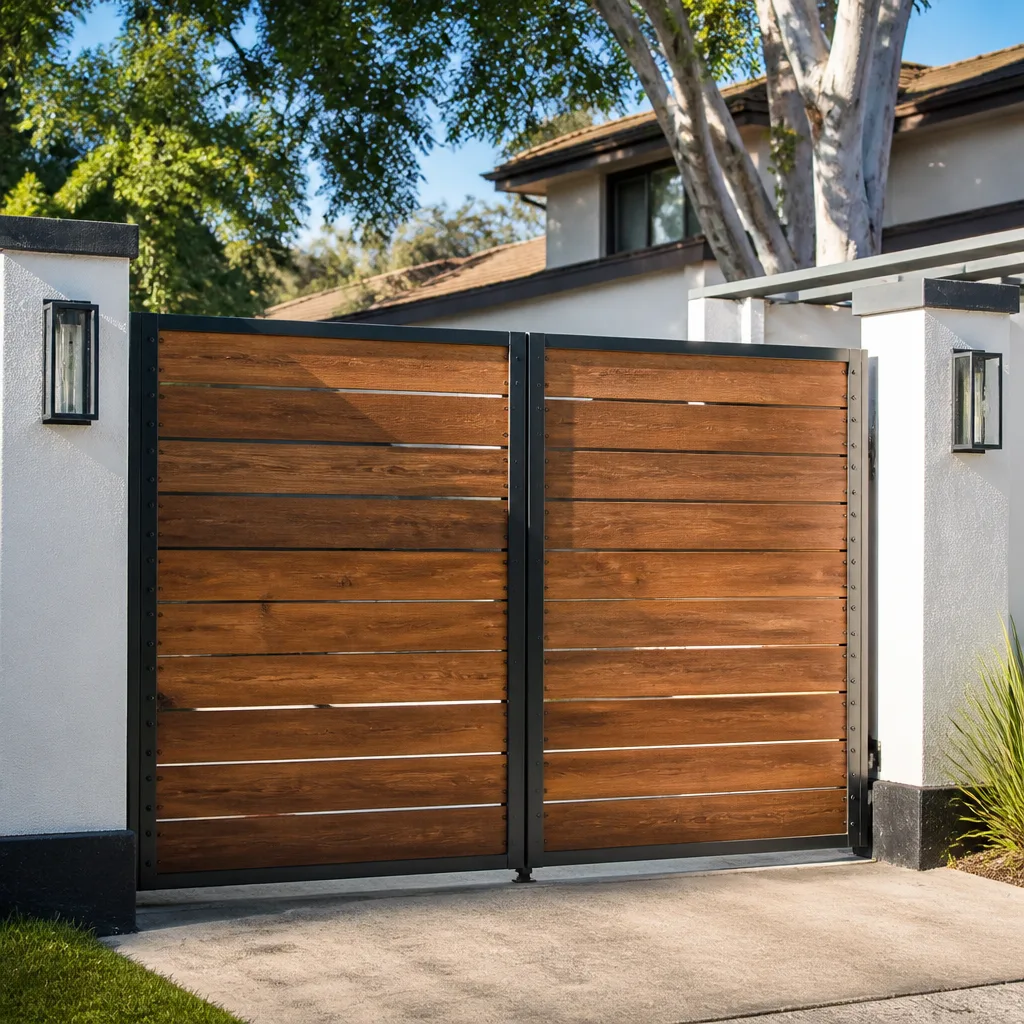 Wood & steel frame
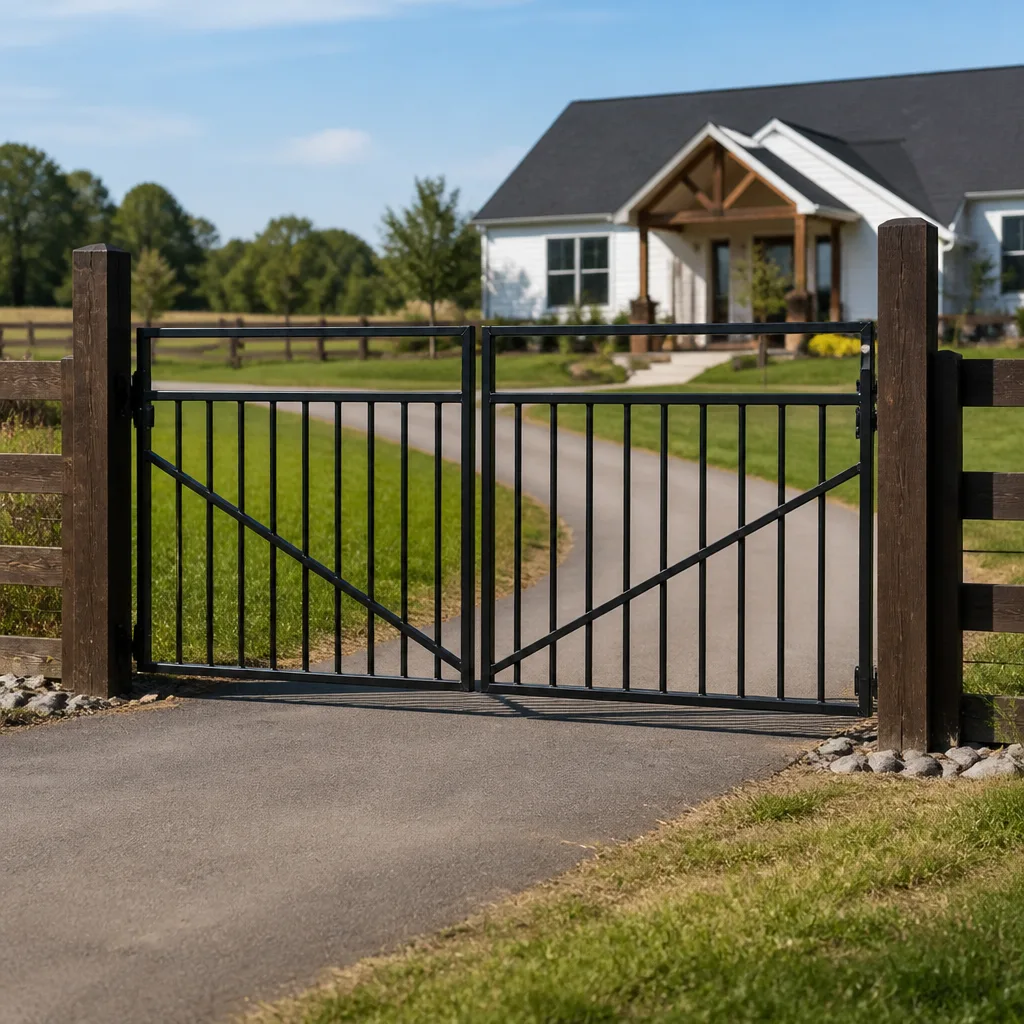 Farm & ranch
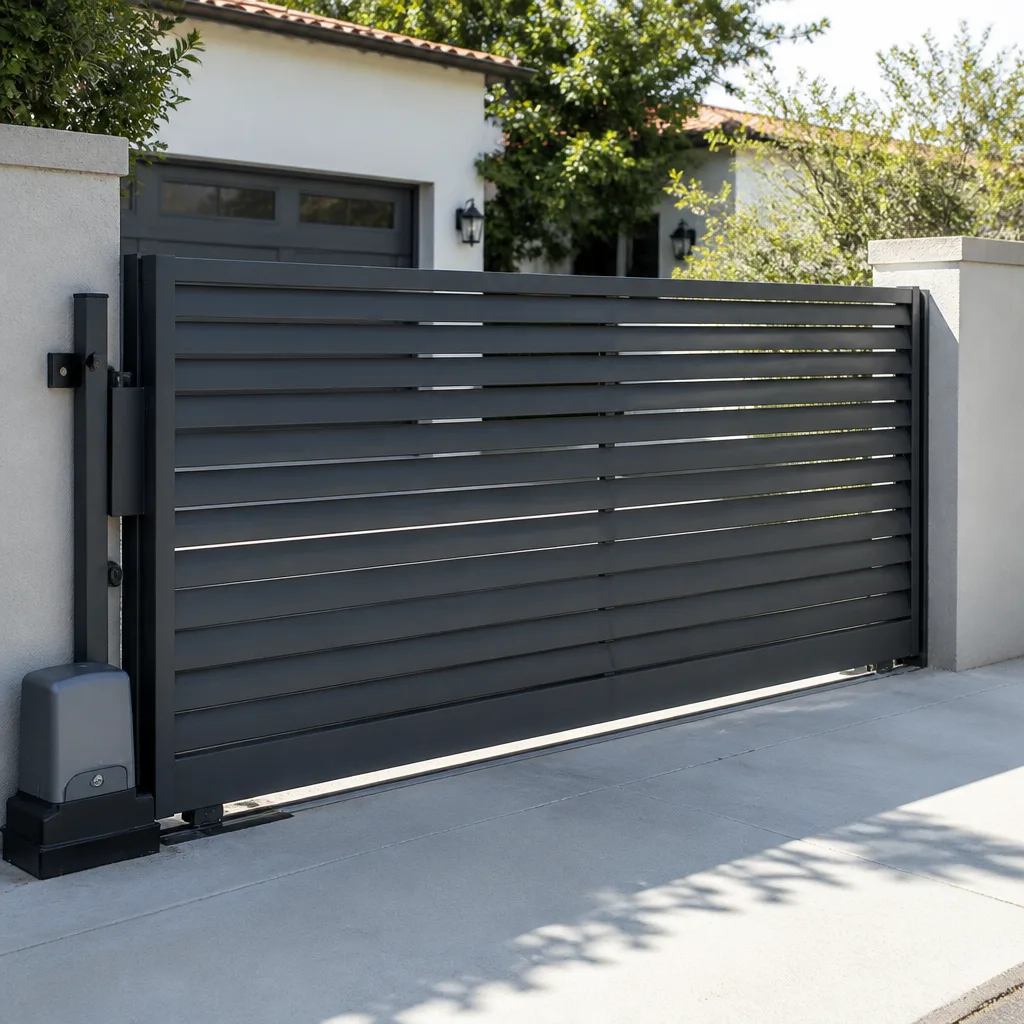 Sliding driveway gates
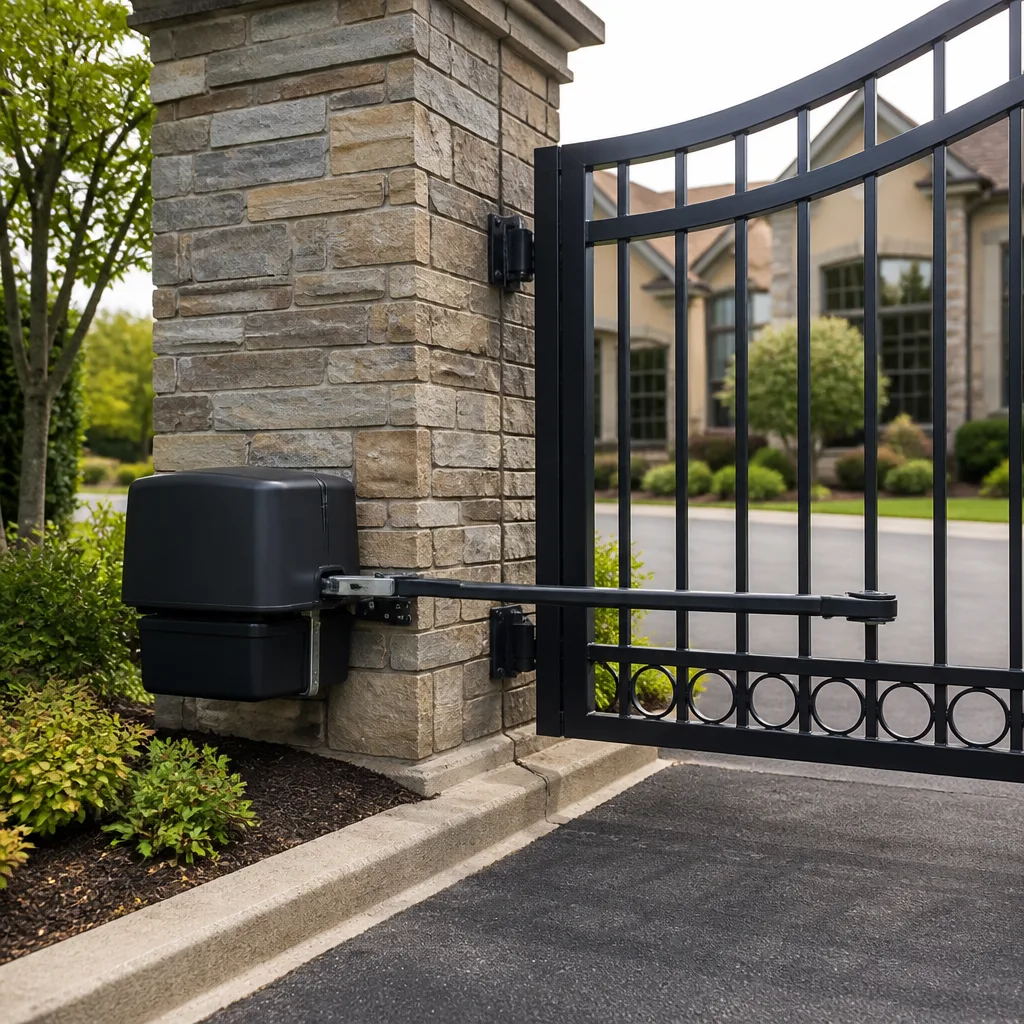 LiftMaster operators
Free on-site gate assessment - hinges, posts, and your LiftMaster or Nice gate operator checked before anything is quoted
The assessment is free and the quote is the invoice.
Get your free estimateDIY vs Professional Gate Installation: What’s Safe to Do Yourself
A 400-pound slide gate that comes off its track because a footing was undersized doesn’t just damage a car. It creates a premises liability exposure that most homeowners’ policies will contest if the installation was unpermitted. That’s the part of the DIY conversation nobody puts on the YouTube thumbnail. This guide covers where a competent homeowner can genuinely save money on gate work in Winchester, where the math flips against DIY, and how to scope a hybrid project so the electrical and the structural work don’t fall into an accountability gap between you and a licensed technician.
Quick Answer
DIY gate installation is only safe for lightweight pedestrian gates (roughly under 75 pounds) on flat ground with no automation, and only if you pull the permit and document every stage. Any vehicle-rated swing or slide gate – the kind that needs a footing, a buried conduit run, or a programming cycle on a LiftMaster or FAAC operator – crosses into structural and electrical work where a licensed professional is the right call, both for safety and for liability.
Styles & brands we work with
- Wrought iron
- Wood & steel frame
- Farm & ranch
- Sliding driveway gates
- LiftMaster operators
Table of Contents
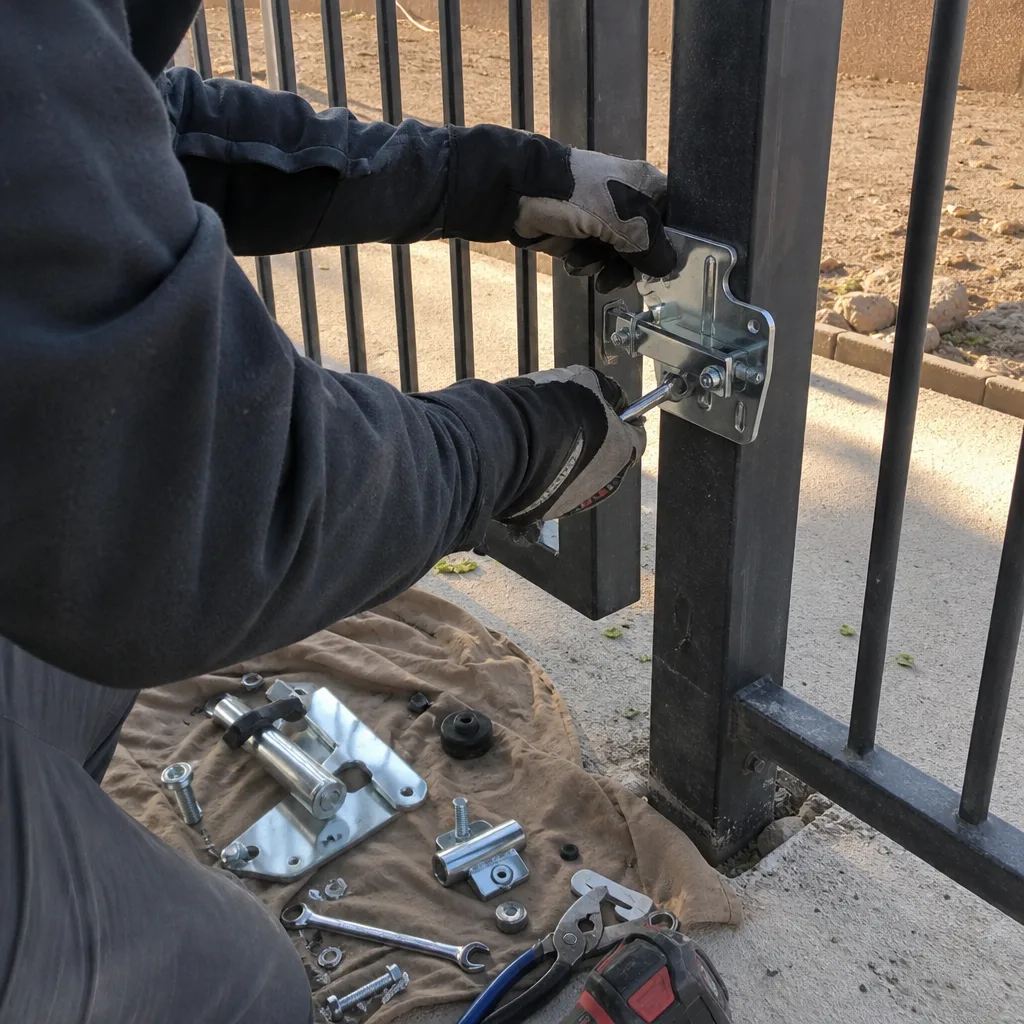
- The Weight and Use Threshold: What’s Actually DIY-Safe
- Permits in Winchester: When You Need One and What Inspectors Check
- Foundation Work: Done Correctly vs Done Adequately
- The Electrical Side: Why the Opener Is the Line
- Documentation a DIY Installer Should Produce and Keep
- Scoping a Hybrid Project Without Gaps in Accountability
- How Your Gate Fails After a Wind Event
- Real Cost Comparison: DIY vs Professional in Winchester
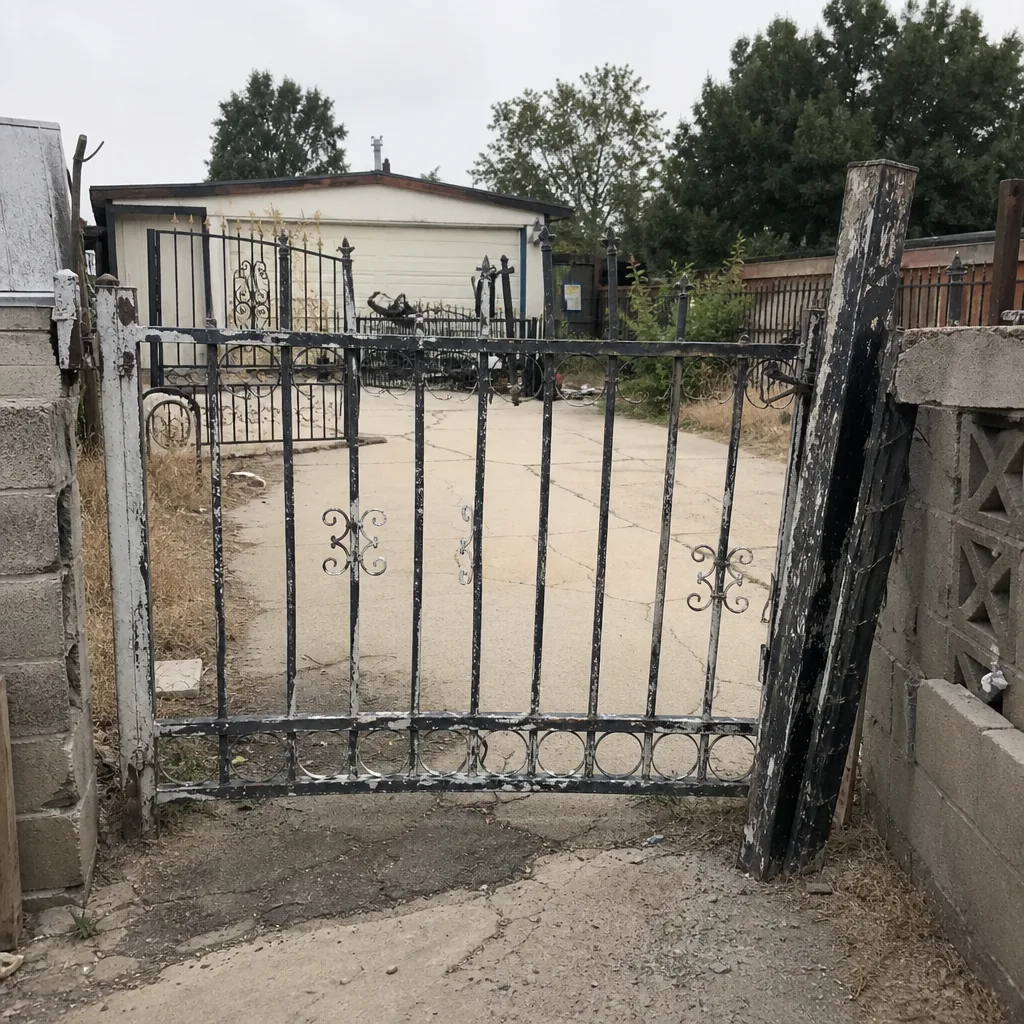 Before
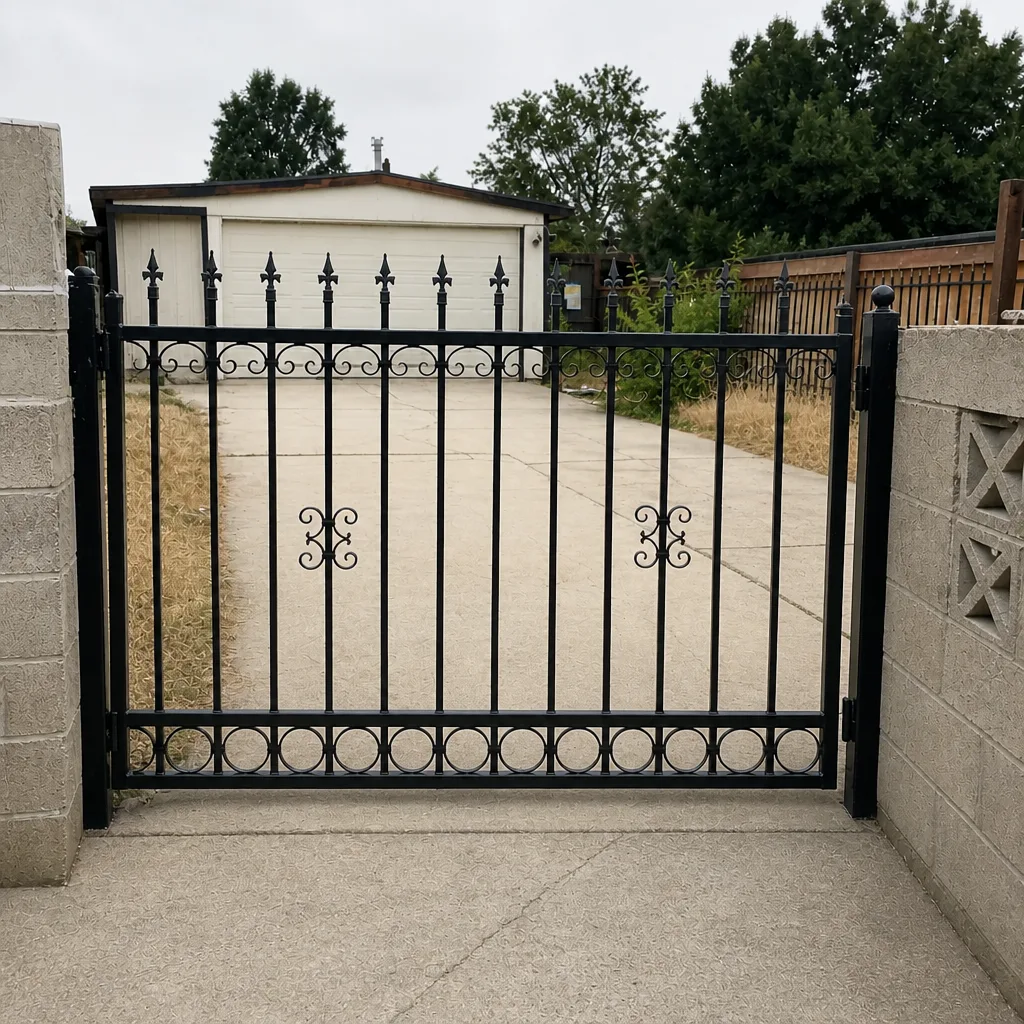 After
The Weight and Use Threshold: What’s Actually DIY-Safe
The dividing line in gate installation isn’t skill. It’s mass and function. A gate under about 75 pounds on a level pedestrian path, hinged to a post anchored in compacted soil, is a reasonable weekend project for a homeowner who can read a level, operate a post-hole digger, and mix concrete to spec. Above that threshold, the physics start working against you: moment loads, wind sail area, footing requirements, and the fact that a heavy gate swinging uncontrolled is a hazard to anyone standing near it.
Here’s how we draw the line in practice:
- Safe to DIY: Lightweight metal or wood pedestrian gates under 75 pounds, manual only, hinged to a post no more than 4 feet above grade, on flat ground, with no wiring involved.
- Borderline: Pedestrian gates in the 75-125 pound range, gates on sloped ground, or gates that will later be automated. Possible, but a footing calculation and a permit check matter.
- Professional territory: Any vehicle-rated swing gate or slide gate, any gate over 125 pounds, any gate with an operator, any gate spanning a driveway, and anything requiring a buried conduit run.
A driveway gate in Winchester has to hold up against high-desert wind gusts that load the entire face of the gate like a sail. That’s a structural calculation, not a carpentry one. When we service automated gates across the valley, the failures we see most often on DIY installs are posts that were set too shallow and footings that were poured without rebar. The gate works fine for eight months. Then a gust event arrives in spring and the post leans two inches. See Gate Installation in Winchester for what a spec’d footing actually looks like.
Permits in Winchester: When You Need One and What Inspectors Check
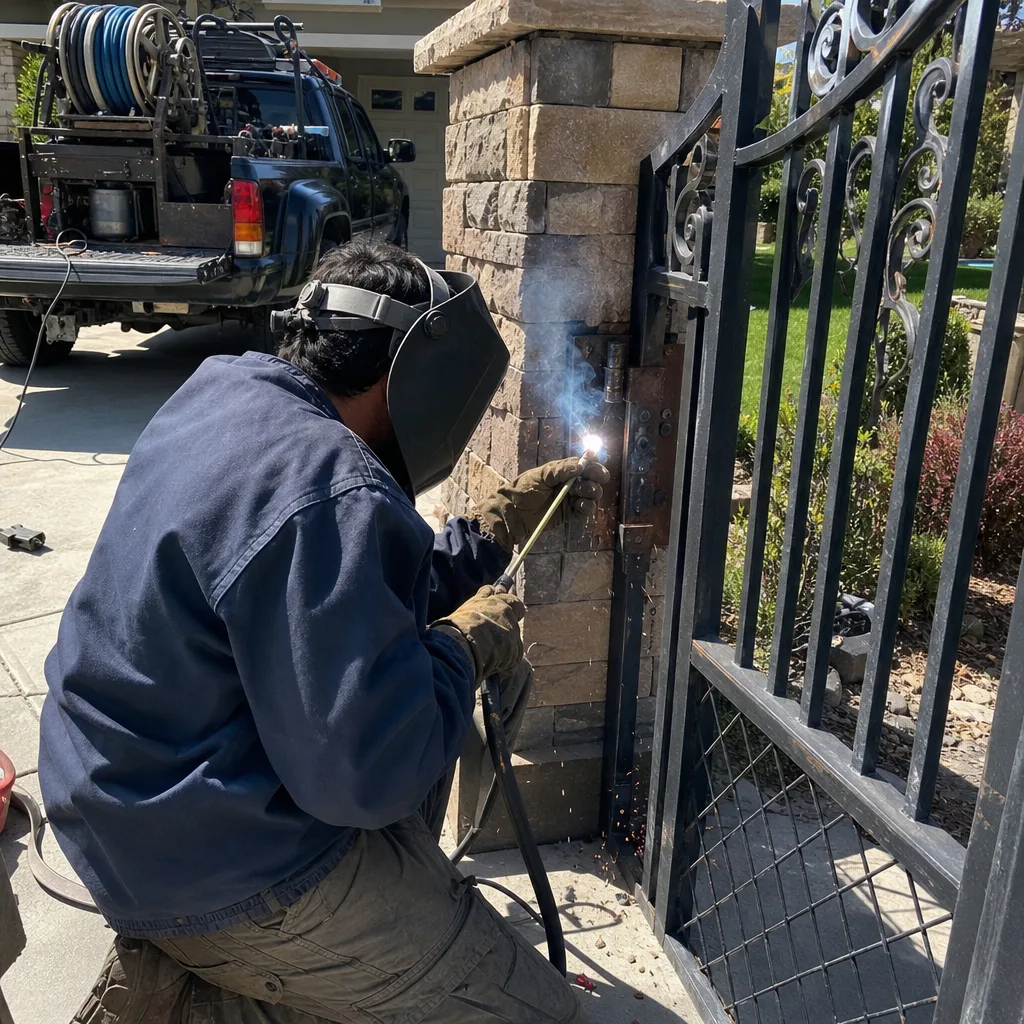
In Winchester and across Clark County, residential gate installation generally requires a building permit when the gate is vehicle-rated, when it involves electrical work for an operator, or when it’s part of a fence or wall over a set height (the exact threshold depends on your lot’s zoning and HOA, so confirm with the county before digging). A lightweight pedestrian gate with no electrical component on a single-family lot often does not require a permit – but “often” is the key word. Pull the permit requirement from the county directly, in writing, before you buy materials.
What inspectors actually look for on a permitted gate install:
- Footing depth and width against the approved plan, checked before the concrete is poured.
- Rebar placement inside the footing – schedule the pre-pour inspection, don’t pour and hope.
- Post anchorage and the gate’s clearances at full open and full close.
- For automated gates, the electrical rough-in: conduit depth, junction box location, grounding, and photo-eye placement.
- Final walk-through: smooth operation, no binding, correct safety reversal on the operator.
Here’s the liability piece most homeowners never hear. If an unpermitted gate fails and damages a vehicle, a fence, or a person, your homeowner’s carrier can contest the claim on the grounds that the installation was non-compliant. You saved $400 in permit fees and now you’re arguing with an adjuster about a $9,000 claim.
Foundation Work: Done Correctly vs Done Adequately
The difference between a footing that’s done correctly and one that’s done adequately only reveals itself after a wind event, or two years of freeze-thaw in the high desert. Adequately means the post doesn’t wiggle when you shake it on install day. Correctly means the footing is sized to the gate’s sail area and load, the post is set below frost depth, the concrete volume matches the plan, and rebar runs the full depth of the pour.
For a typical driveway swing gate in Winchester, a spec’d footing runs roughly 24 to 36 inches deep and 12 to 18 inches in diameter, with a concrete volume in the 3 to 6 cubic-foot range depending on gate weight and wind exposure. A slide gate’s footing is longer and shallower: a continuous concrete pad, often 8 to 12 inches thick and running the full track length, with rebar on a grid. Skip the rebar and the pad cracks in the first summer.
Watch for these signs an install was done adequately, not correctly:
- The post has visible play after a season of wind.
- Concrete at grade is spider-cracked within 12 months.
- The gate no longer latches without lifting it – a sign the footing has settled unevenly.
- No rebar visible in any photograph of the pour (which is why you photograph the pour).
The Electrical Side: Why the Opener Is the Line
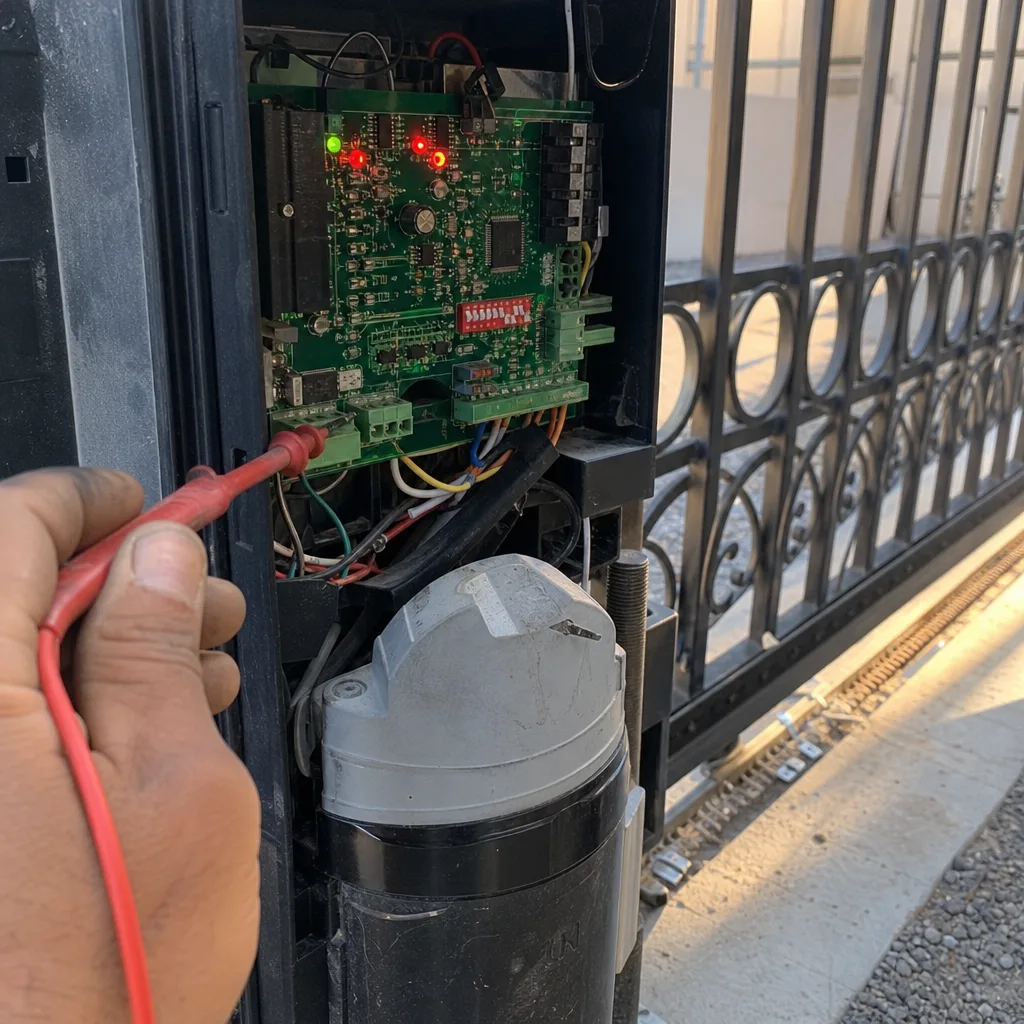
Gate operators run on line voltage and drive hundreds of pounds of steel. That’s the point where DIY stops being a legitimate option. A 120V feed to a gate operator involves a buried conduit run, a weatherproof junction box, grounding, and – on most modern operators – low-voltage control wiring for the photo-eye (the infrared beam that stops the gate if something crosses the path) and the safety edges. Getting any of that wrong is an electrocution hazard or a gate that closes on a car. There is no version of this work we’d recommend a homeowner tackle.
What you should know going in, so you can scope the job correctly: the operator itself is only half the electrical work. The other half is the control circuit. On a LiftMaster or FAAC operator, the installer has to set the limit switches (which tell the motor where “fully open” and “fully closed” are), program the travel time, wire the safety edges in series, and verify the reversal on obstruction. Every one of those settings is a number you can read off a diagnostic screen – and should be written down when the job is done.
If you’re going to have an operator installed on an existing gate, this is exactly the work our team handles under the Haven Standard: written price before the tool bag opens, photo record of every setting and wire label when we leave. More on that at Gate Motor & Opener in Winchester.
Documentation a DIY Installer Should Produce and Keep
This is the section most DIY guides skip, and it’s the one that protects you. Whether you’re doing the work yourself or hiring out, produce a documented record. If you ever sell the home, file an insurance claim, or have a technician out to service the gate, that record is the difference between “we know what’s in the ground” and “we’re guessing.”
Here’s the record to build, in order:
- Pre-dig photos: the site, the string lines, the marked utilities.
- Footing photos: hole depth and width against a tape, rebar in place, concrete going in.
- Wire labels: every conductor at the operator labeled at both ends – photo of the labels before the cover goes on.
- Wiring diagram: a hand-drawn sketch is fine. Show which lead goes where.
- Settings record: limit-switch positions, travel time, safety-edge type and part numbers, operator model and serial.
- Cycle-count baseline: most operators log a cycle count. Record the number at day one. When you have the gate serviced in three years, a technician can tell you exactly how many cycles it’s run.
- Permit and inspection paperwork: scanned and stored with the rest.
Do this on a DIY install and you’ll have a record most professionally-installed gates in Winchester don’t have. It’s the single habit that most separates a gate that’s easy to service from one that costs the next owner twice.
Scoping a Hybrid Project Without Gaps in Accountability
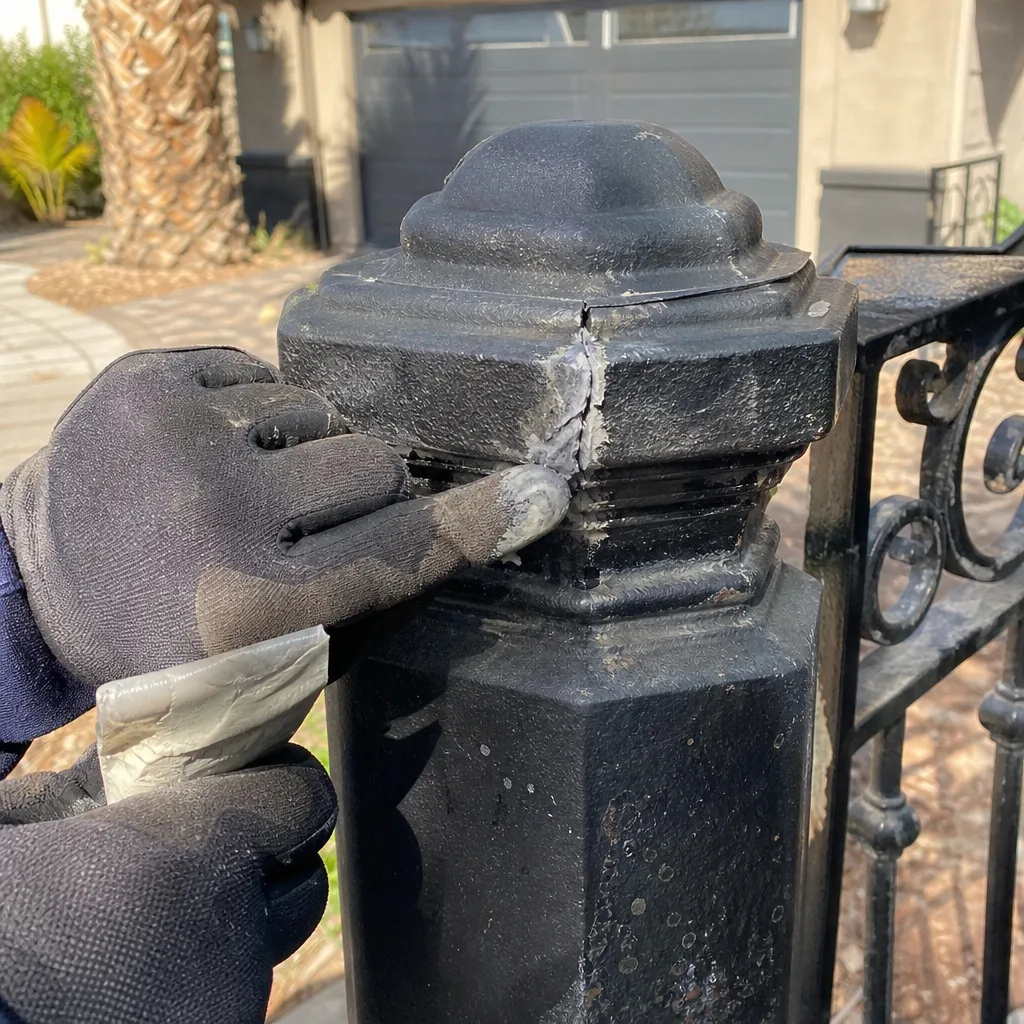
The middle path – DIY the structural work, hire a licensed tech for the electrical and the operator programming – can genuinely save money. It also has one failure mode: the gap between the two scopes. If the footing is 2 inches off from what the operator’s mounting plate requires, the technician arrives and finds the gate can’t be automated without a new footing. Now you’re paying twice.
The way to run a hybrid project cleanly:
- Design first. Pick the operator model before you pour the footing. The operator’s installation manual gives the exact plate dimensions, conduit locations, and clearances. Pour to those specs, not to a guess.
- Stub the conduit correctly. Run the conduit from the operator location to the power source and to the control location (usually a keypad or intercom at the driveway entrance), and cap both ends. Get the conduit inspection signed off before backfill.
- Hand off with a drawing. A one-page sketch of what’s in the ground, where the conduit terminates, and what the model number of the operator will be. The technician’s job is now programming and connection, not archaeology.
- Get the scope in writing from the tech. What’s included, what’s not, and what price. Any company that won’t put the flat price in writing before showing up is a company that’s going to surprise you at the end.
We’ve picked up plenty of hybrid jobs where the conduit was run but not labeled, and the technician spent two hours tracing. That’s an honest cost, but it’s a cost the homeowner pays for a step they didn’t know to take.
How Your Gate Fails After a Wind Event
Winchester sits in a wind corridor, and the gates we service fail in a predictable sequence after a spring gust event. First the post develops play. Then the hinge side drops by a quarter inch. Then the latch stops catching on the first try, and the homeowner starts lifting the gate to close it. By the time we’re called, the footing has usually settled on one side.
What a wind-loaded install is missing, in most cases:
- Footing depth below frost line (the high desert freeze-thaw cycle is real, even if the snow isn’t).
- Rebar running full depth in the pour.
- Post-sized to the gate’s sail area, not just its swing weight.
- Hinge-side and latch-side post alignment verified after the concrete set, not just before.
A professional install builds in the margin. A DIY install that works on a calm day and fails on a windy one was never correctly spec’d – it was just adequately built. See Gate Repair in Winchester for what we look at when we assess a gate that’s already leaning.
Real Cost Comparison: DIY vs Professional in Winchester
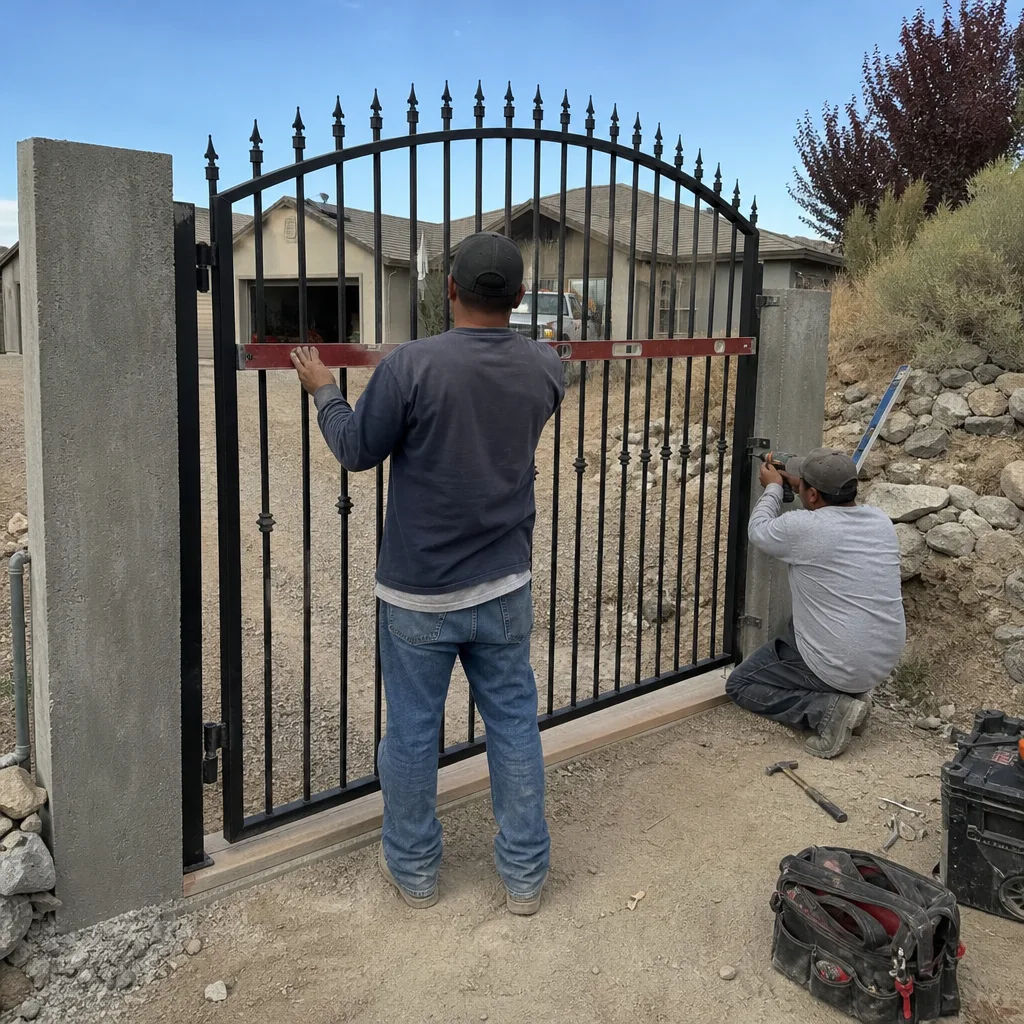
Here’s a rough breakdown of what the two paths actually run in the Winchester market, line by line. Ranges reflect typical residential work; your specific gate and site will change the numbers.
| Item | DIY Cost Range | Professional Cost Range |
|---|---|---|
| Lightweight pedestrian gate (materials) | $250 – $600 | $250 – $600 (same materials) |
| Driveway swing gate (materials) | $1,200 – $2,800 | $1,200 – $2,800 (same materials) |
| Footing concrete + rebar | $80 – $200 | $80 – $200 (same) |
| Labor / installation | $0 | $600 – $1,800 (pedestrian to driveway swing) |
| Building permit | $150 – $400 | $150 – $400 (same) |
| Electrical rough-in for operator | Not DIY-safe | $400 – $900 |
| Operator installation and programming | Not DIY-safe | $500 – $1,200 |
| Documentation / photo record | On you | Included |
Read that table honestly. On a pedestrian gate, DIY saves you real money – $600 to $1,800, plus you learn your property. On a driveway swing gate with an operator, the labor savings shrink against the risk, and you can’t DIY the electrical piece at all, so you’re paying for a technician anyway. The hybrid project is the middle: DIY the structural, pay for the electrical and the programming.
Common Mistakes to Avoid
- Pouring the footing before the operator is picked. The mounting plate dimensions drive the footing layout. Pick the model form (LiftMaster, FAAC, BFT, Linear – brand matters less than the plate spec) and pour to it.
- Skipping the pre-pour inspection. Once concrete is in, the inspector can’t verify rebar placement. That’s a re-pour, not a fix.
- Running conduit at a shallow depth to save a trench. Code enforcement will flag it, and the first freeze-thaw cycle will crack the pipe.
- Not photographing anything. Two years from now, the technician who services your gate needs to know what’s in the ground. No record, no answer.
- Installing a gate on a slope without a plumb-check after set. Slopes push the post out of vertical over the first season. Verify the alignment after the footing cures, not just before.
- Buying an operator on brand alone and not checking settings support. Every operator model has a diagnostic interface. If you can’t read the limit switches and travel time off it, you don’t own the settings.
- Believing a handshake quote. If the price isn’t written before the work starts, the price at the end is not the price you agreed. Get it in writing.
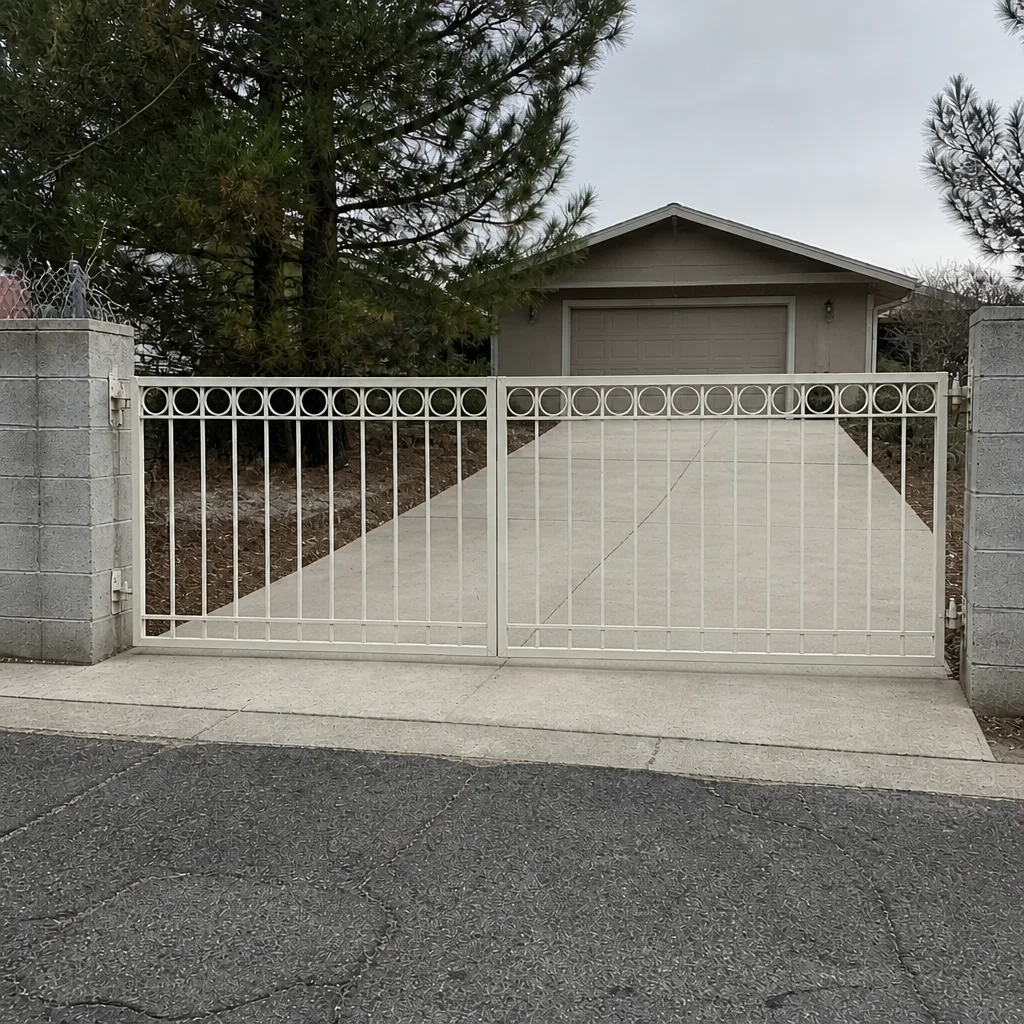
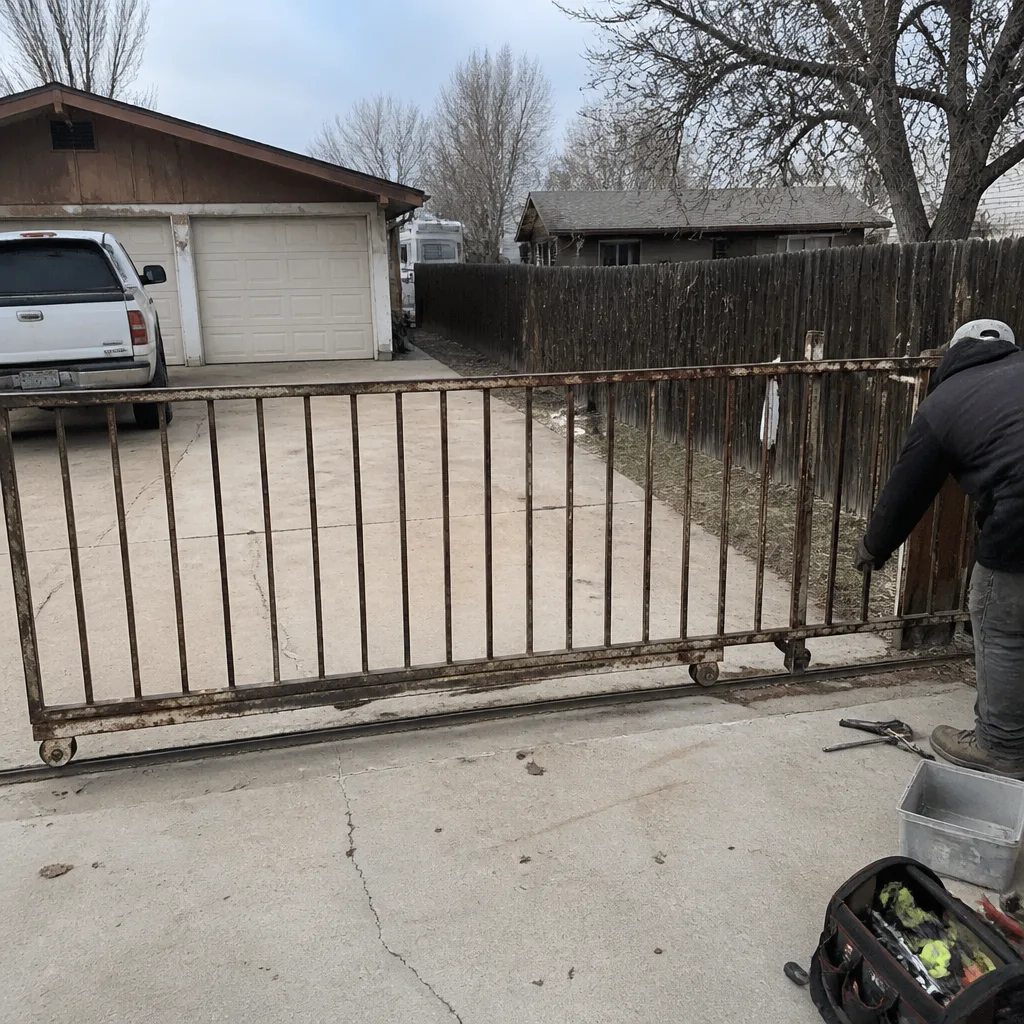
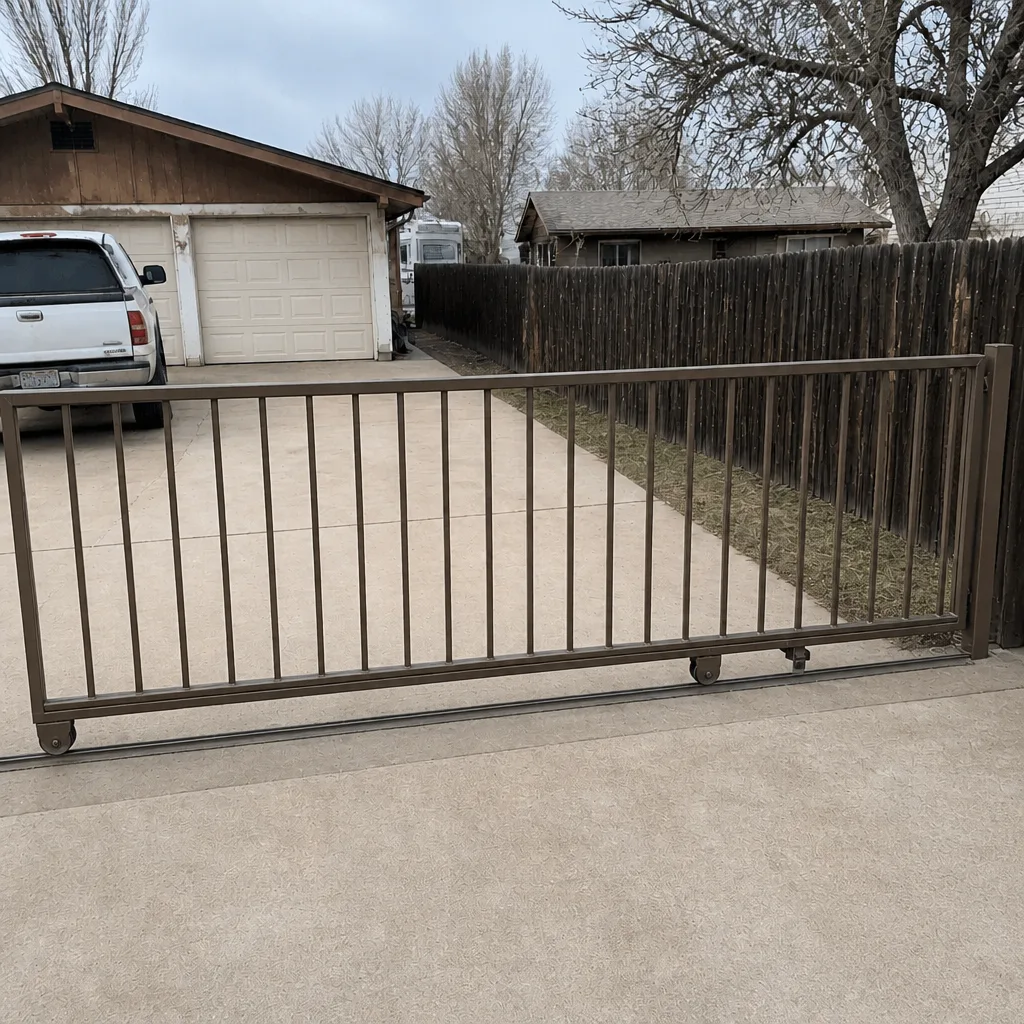
See the difference
BeforeAfter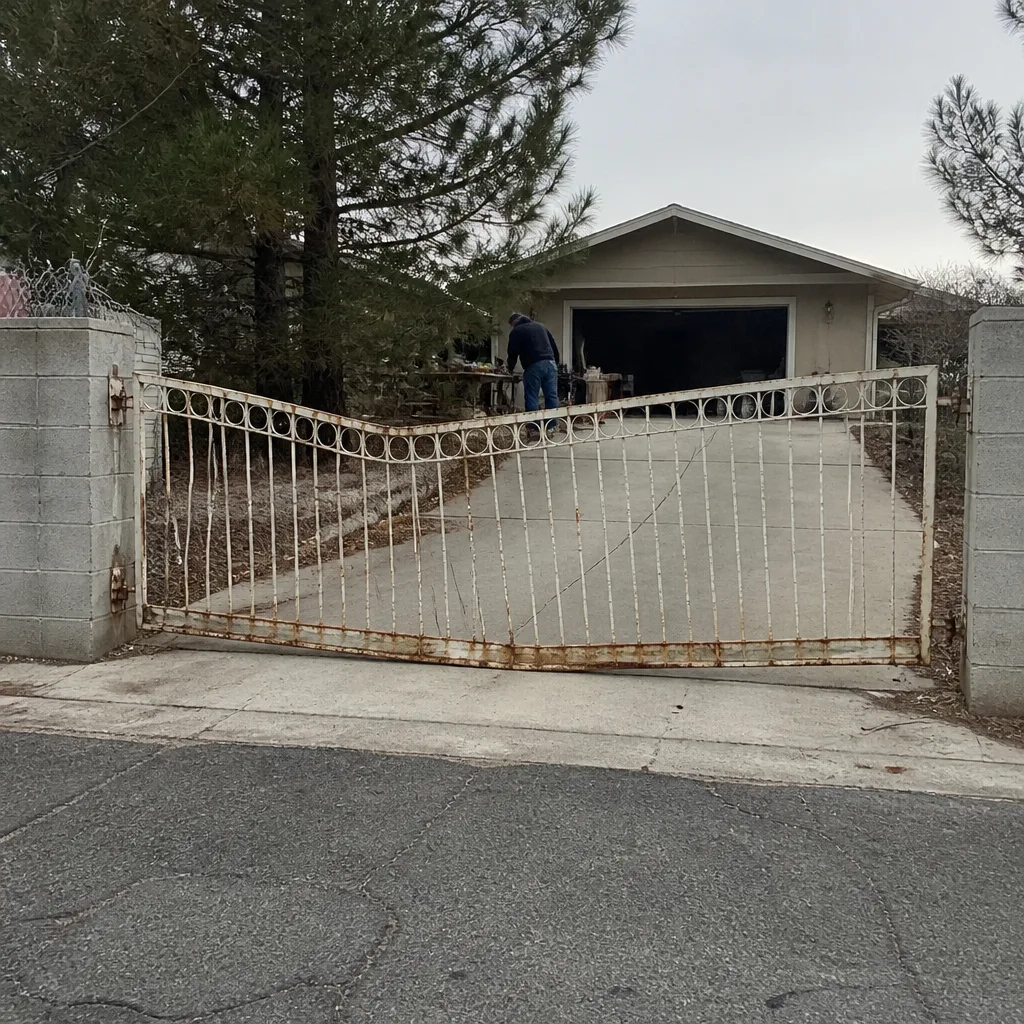 Before
 After
 Before
 After
When to Call a Professional
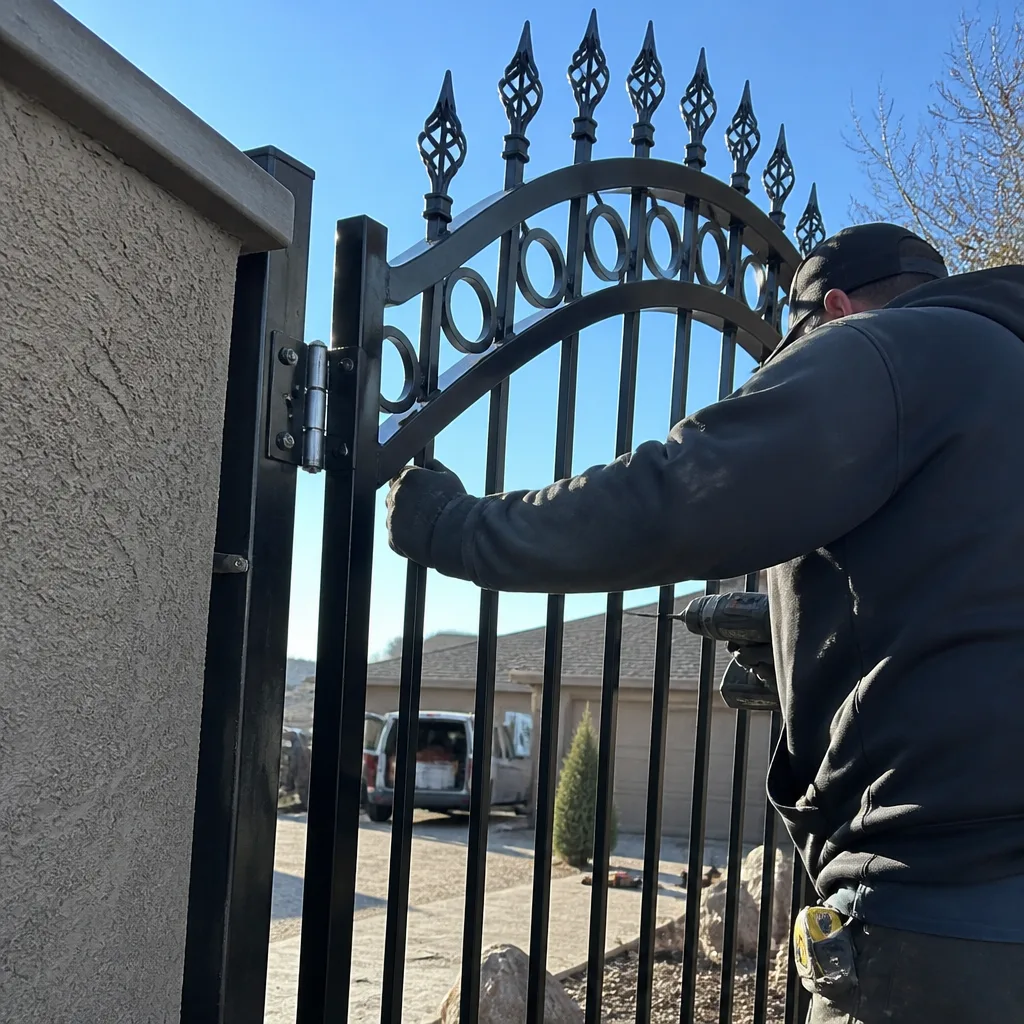
Call a professional the moment any of these is true: the gate is vehicle-rated, the gate weighs over 125 pounds, the gate will be automated, the installation requires a permit you haven’t pulled, or the site has any slope you can’t eyeball-level with a four-foot spirit level. Those conditions represent the entire category where a licensed technician is the right call – not because DIY is beyond you, but because the structural and electrical math is.
Vance Gate Repair Winchester offers free estimates in Winchester – call (866) 983-9213. Our technicians have up to 12 years of experience, we service nine major automation brands (LiftMaster, FAAC, BFT, Linear, DoorKing, Viking, Ghost Controls, Elite, and Mighty Mule), and every visit is governed by The Haven Standard: a written price before any work starts, a documented photo record when we leave, and the 365-Day Done Right Promise on completed work. A live person answers the phone at any hour.
Frequently Asked Questions
You can install the structural post and gate yourself if you’re comfortable with footing work and willing to pull the permit, but anything involving an operator, electrical conduit, or a gate over 125 pounds should go to a licensed technician. A driveway swing gate that fails under wind load is a liability exposure that most homeowner’s policies will contest if the installation was unpermitted. Call (866) 983-9213 for a free estimate – we’ll tell you straight if the job is within DIY scope.
In Winchester and Clark County, a permit is generally required for vehicle-rated gates, any gate involving electrical work for an operator, or a fence or wall over your lot’s zoning height threshold. A lightweight pedestrian gate on a single-family lot often doesn’t require one – but confirm with the county before you dig. Our written estimates always include the permit status for the specific install.
Typical residential operator installation runs $500 to $1,200 for the operator itself, plus $400 to $900 for the electrical rough-in (conduit, junction box, grounding, photo-eye wiring). The brand and the existing gate’s condition drive the range. Call (866) 983-9213 for an exact quote – the price is quoted and written before any work starts.
Your homeowner’s insurance may contest the claim if the installation was unpermitted or non-compliant, which means you could be covering the damage out of pocket. That’s the reason pulling the permit and documenting every stage of a DIY install matters – it’s not bureaucratic, it’s the difference between a covered claim and a fight with an adjuster.
Keep photographs of the footing pour, wire labels at every junction, a wiring diagram, the operator’s settings record, the model and serial number, the cycle-count baseline at day one, and the permit and inspection paperwork. This record is what a future technician needs to service the gate without guessing – it’s the same record we leave after every visit.
Yes. Bring your documentation (photos, wiring sketch, settings record) and we’ll assess the install on-site. If we find something that needs correcting, we’ll write the price before doing anything. Our free second opinion on any written estimate applies whether the estimate came from another company or whether you’re looking for a professional review of your own work.
The Bottom Line
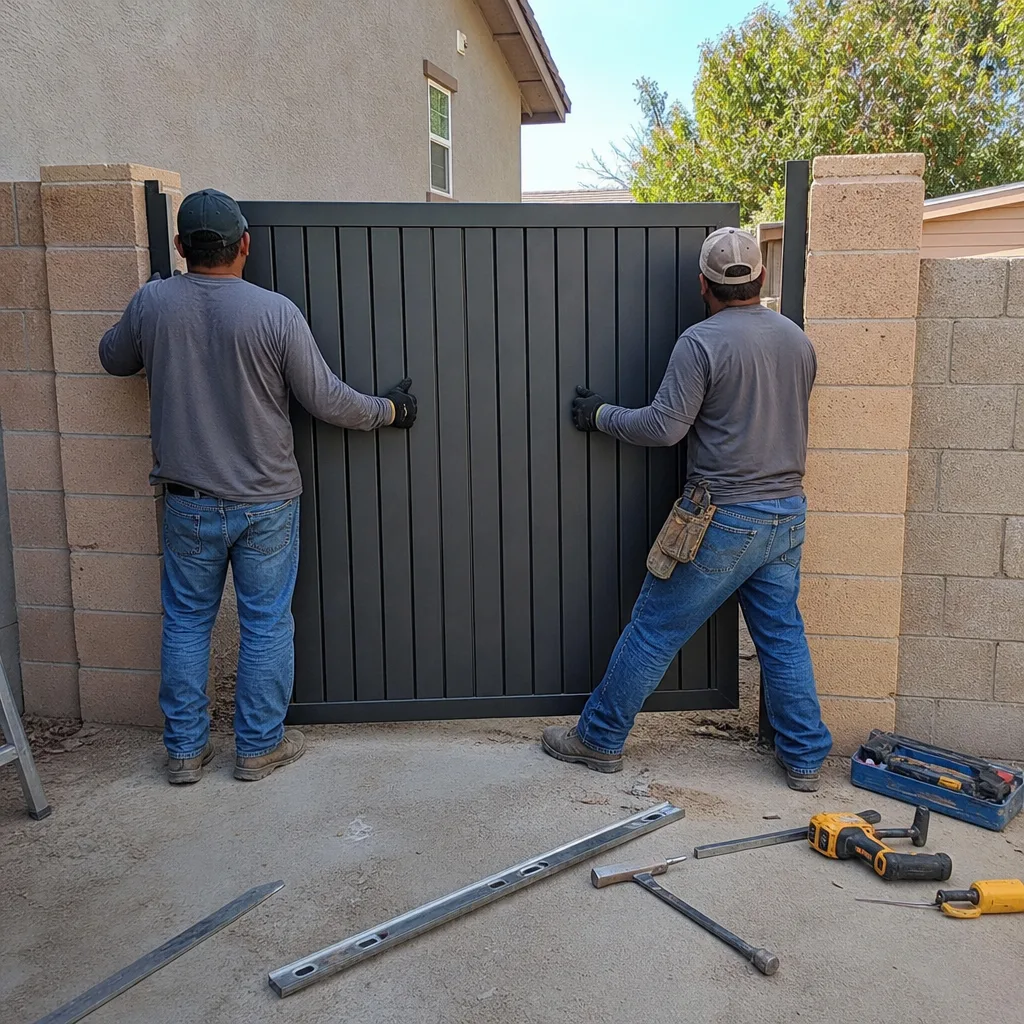
DIY gate installation is a legitimate option for lightweight pedestrian gates on flat ground, with a permit, done with a photo record at every stage. The math flips the moment a vehicle-rated swing or slide gate enters the picture, and it flips hard on the electrical side where the operator, the photo-eye, and the safety edges live. The hybrid path – DIY the structural, hire a licensed tech for the electrical and programming – is the honest middle. Whichever path you take, get the price in writing before anyone picks up a tool. Our team is here when the job crosses that line. For a Winchester service overview, start at Vance Gate Repair Winchester home. For anything beyond the scope of DIY, call (866) 983-9213 for a free estimate.
Written by the team at Vance Gate Repair Winchester.