
Last updated November 18, 2026
 Wrought iron
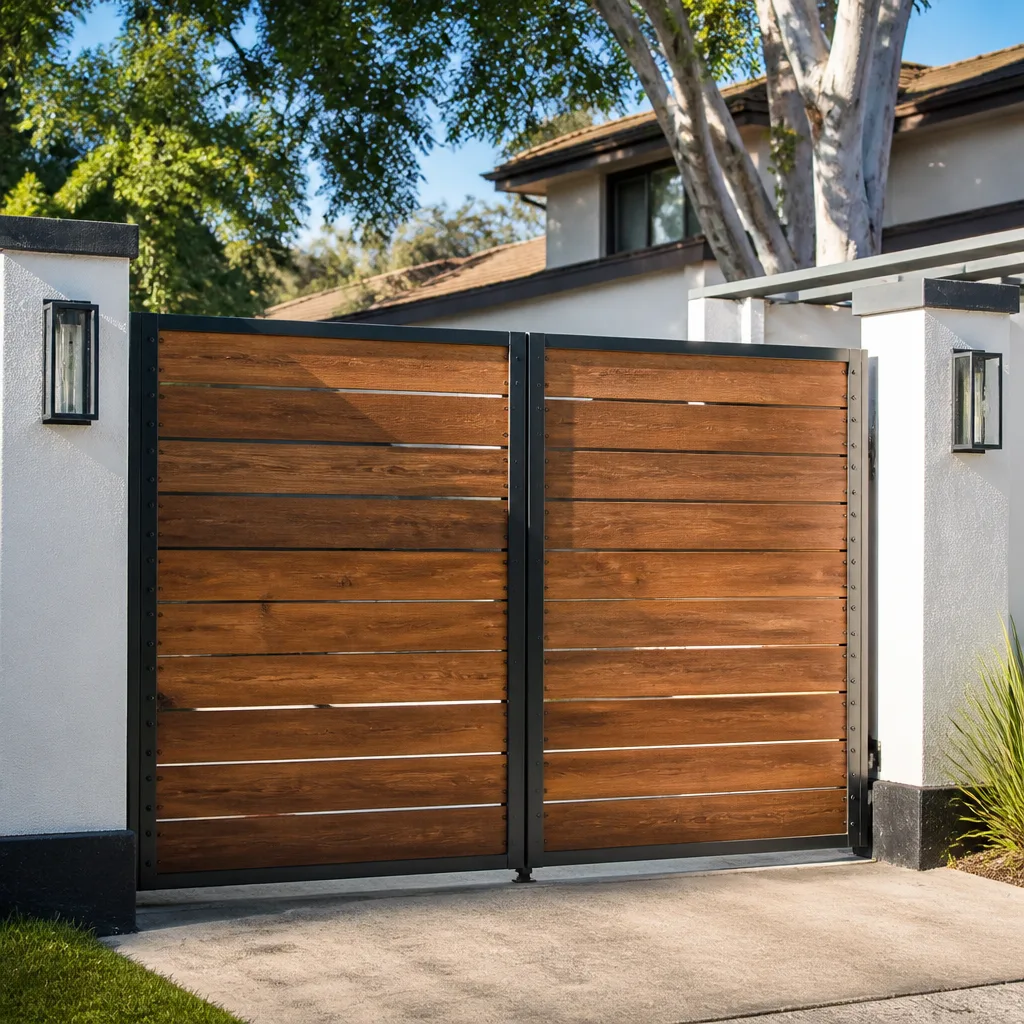 Wood & steel frame
 Farm & ranch
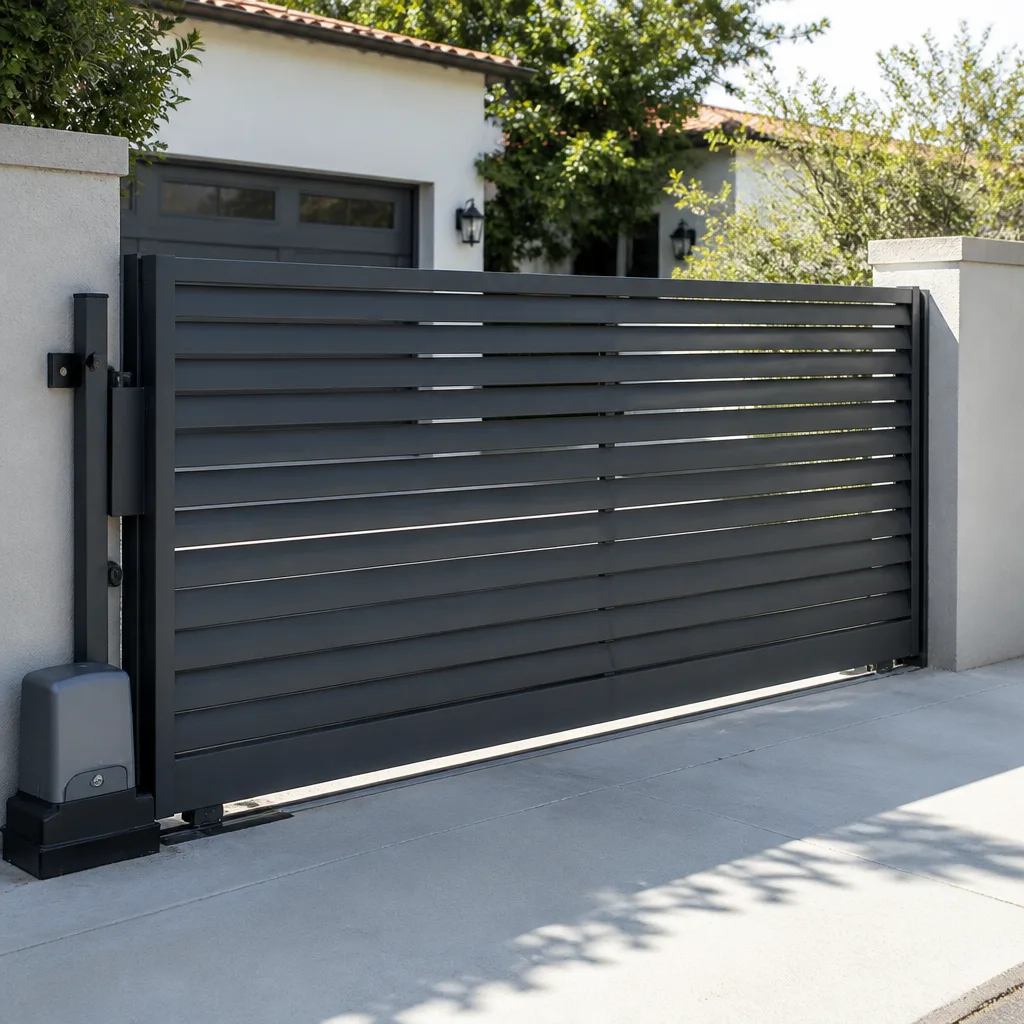 Sliding driveway gates
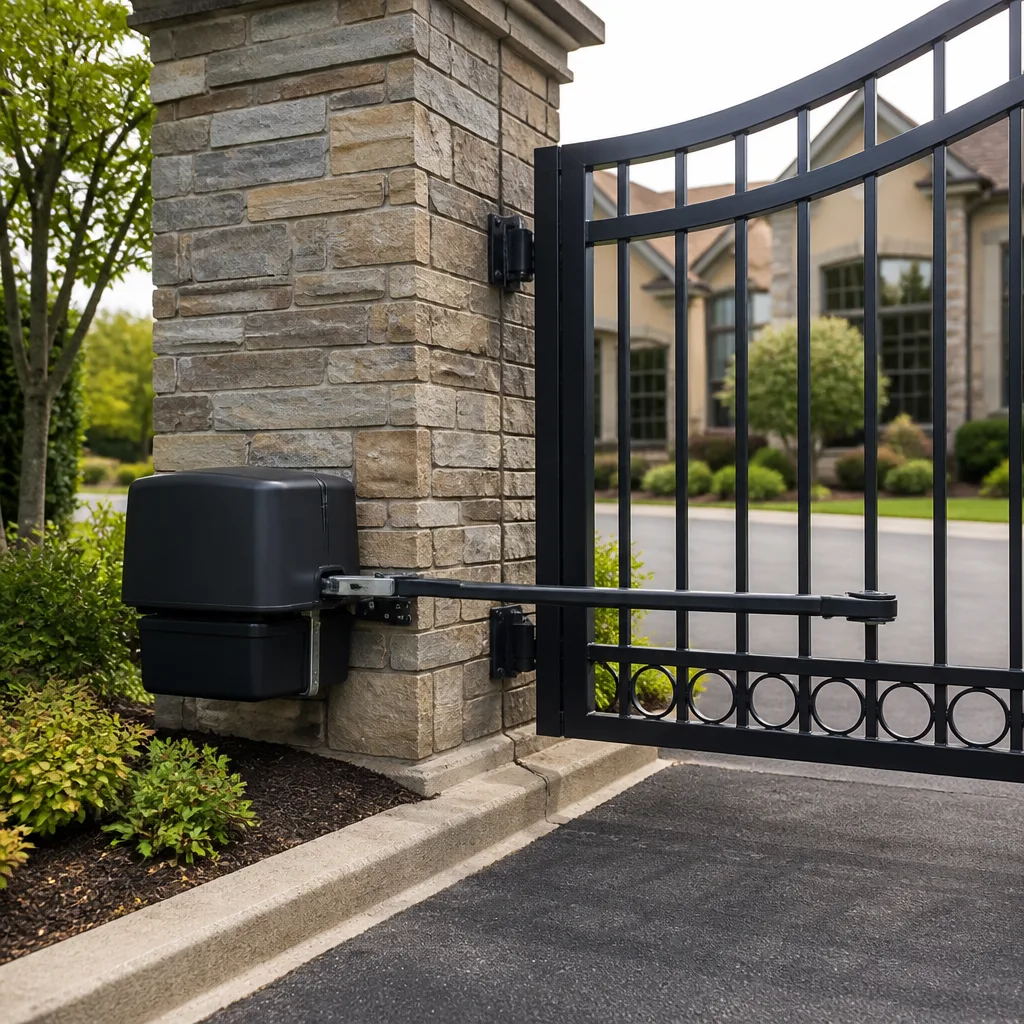 LiftMaster operators
Free on-site gate assessment - hinges, posts, and your LiftMaster or Nice gate operator checked before anything is quoted
The assessment is free and the quote is the invoice.
Get your free estimateGate Installation Troubleshooting: Common Problems and How to Fix Them
If your new gate is grinding, binding, or throwing error codes in the first three months, the problem almost certainly existed on day one. It just wasn’t visible until the system ran a few hundred cycles. We’ve walked up to enough fresh installations in Winchester to know the pattern: the gate worked fine at the walkthrough, then settled, shifted, and started complaining. This guide separates normal break-in from genuine installation defects, shows you how to document a warranty claim so it’s undeniable, and gives you a 90-day inspection checklist that catches settling issues before they turn structural.
Quick Answer
Most post-installation gate problems fall into two buckets: normal break-in (limit-switch drift, chain tension drop, slight settling) that needs a routine adjustment, and true installation defects (post movement, footing gaps, chafed wiring, settings never configured for the actual gate weight) that the installer should correct under warranty. The key is documenting the symptom with dated photos, cycle counts, and error codes so your claim rests on evidence, not a phone description.
Styles & brands we work with
- Wrought iron
- Wood & steel frame
- Farm & ranch
- Sliding driveway gates
- LiftMaster operators
Table of Contents
- Installation Defect vs. Normal Break-In: How to Tell the Difference
- Limit-Switch Drift: The Most Common First-90-Day Symptom
- Post Movement and Footing Gaps in the First Season
- Why So Many “Problems” Are Settings That Were Never Configured
- How to Document a Post-Installation Problem for a Warranty Claim
- The 90-Day Inspection Checklist
- Return Visit or Routine Service? Deciding What Your Symptom Needs
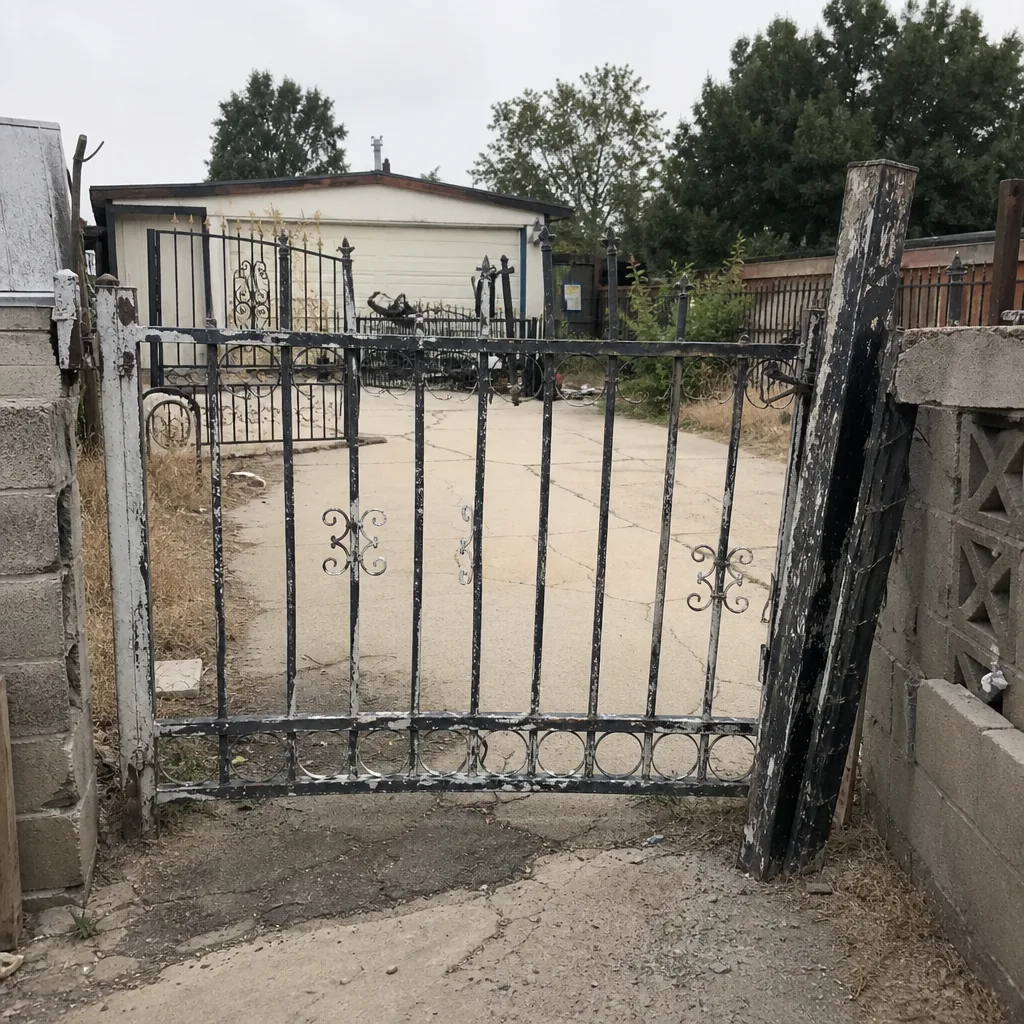 Before
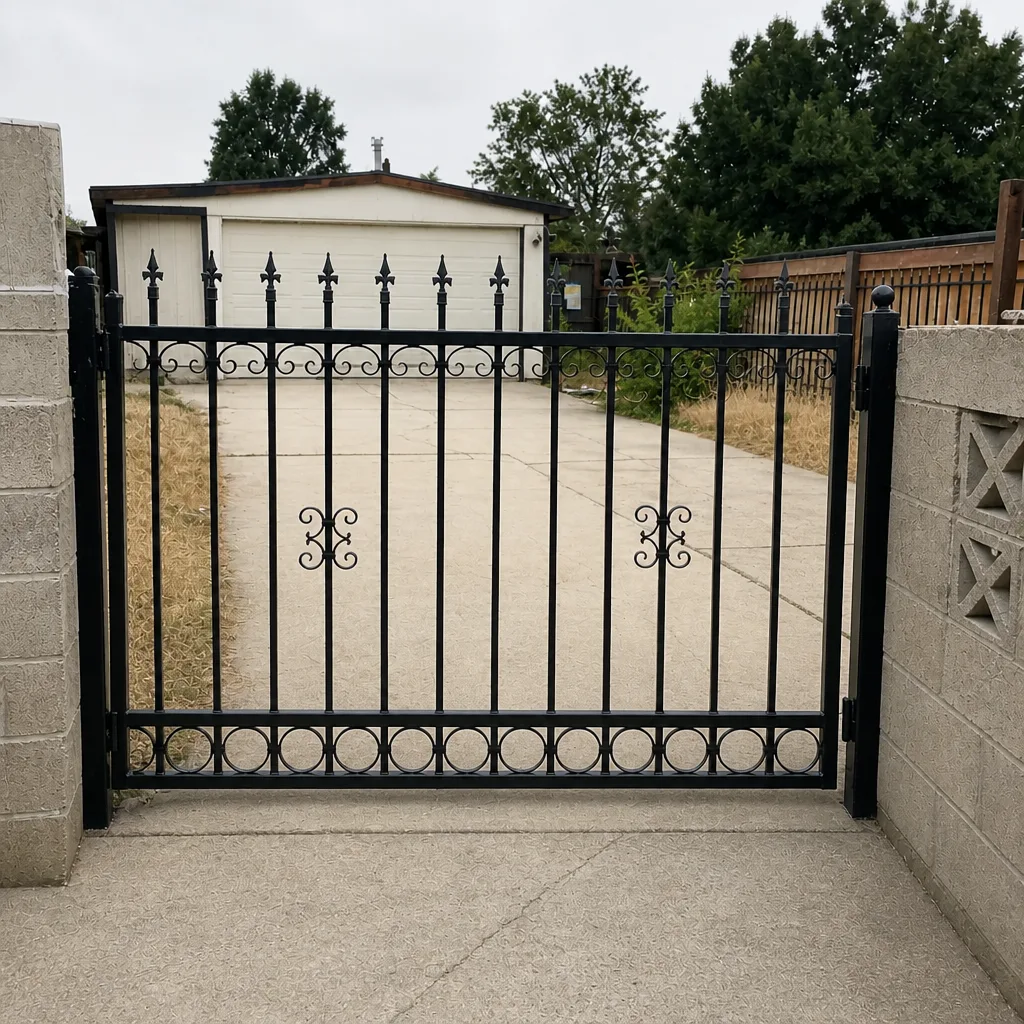 After
Installation Defect vs. Normal Break-In: How to Tell the Difference
A gate is a mechanical system under load, and the first 90 days are when every fastener, footing, and setting reveals whether it was done right. Some movement is expected. Some is a defect that should have been caught before the installer drove away. The distinction matters because one is covered maintenance and the other is a warranty claim you shouldn’t pay twice for.
Here’s the framework we use when we’re asked to look at a gate someone else installed:
- Limit-switch drift is normal. The gate travels a few degrees past where it did on day one after settling. A one-time reset fixes it.
- Post movement in the first season is a defect. If the hinge post has shifted, the footing wasn’t set to the right depth or the soil wasn’t compacted properly. That’s not break-in; it’s a foundation problem.
- Chain tension drop is normal. Chains stretch slightly under initial load. A single adjustment after a few hundred cycles is expected.
- Ground-wire corrosion at the first winter is a defect. A properly sealed and routed ground connection shouldn’t corrode in one season. That’s a workmanship issue.
- Obstruction faults that fire on nothing are usually settings. The sensitivity was left at the factory default instead of tuned to the gate’s actual weight.
In Winchester, we see the ground-wire corrosion pattern more than most because the seasonal moisture swings here work on any connection that wasn’t sealed correctly. A gate that was fine in summer starts faulting by the first cold snap. If you’re weighing whether a repair or a return visit is the answer, our gate repair in Winchester team can inspect the install and tell you which bucket your symptom falls into before you call the original installer.
Limit-Switch Drift: The Most Common First-90-Day Symptom
Limit switches tell the motor where the gate should stop. They’re set to a specific travel distance at installation, and as the gate settles and the hardware beds in, that travel changes slightly. The result is a gate that overshoots, stops short, or reverses for no clear reason. This is the single most common first-90-day call, and it’s almost always a normal adjustment rather than a defect.
What it looks like:
- The gate stops a few inches short of fully closed, or slams into the stop point.
- The motor reverses immediately after reaching the end of travel.
- An error code related to travel or limit appears intermittently.
- The problem is worse in cold weather or after a hot afternoon.
The fix is a limit-switch reset: measuring the new travel, adjusting the switch position, and photographing the final setting so the next person knows exactly where it sits. We do this on LiftMaster and FAAC operators regularly, and the reset itself takes minutes. What takes longer is confirming the drift is genuinely normal and not a symptom of a loose post or a worn hinge that’s changing the gate’s path.
One thing worth knowing: if the limit switch drifts repeatedly, that’s not normal. A switch that needs resetting every few weeks points to a mounting problem or a mechanical issue upstream. That’s when it becomes a defect conversation.
Post Movement and Footing Gaps in the First Season
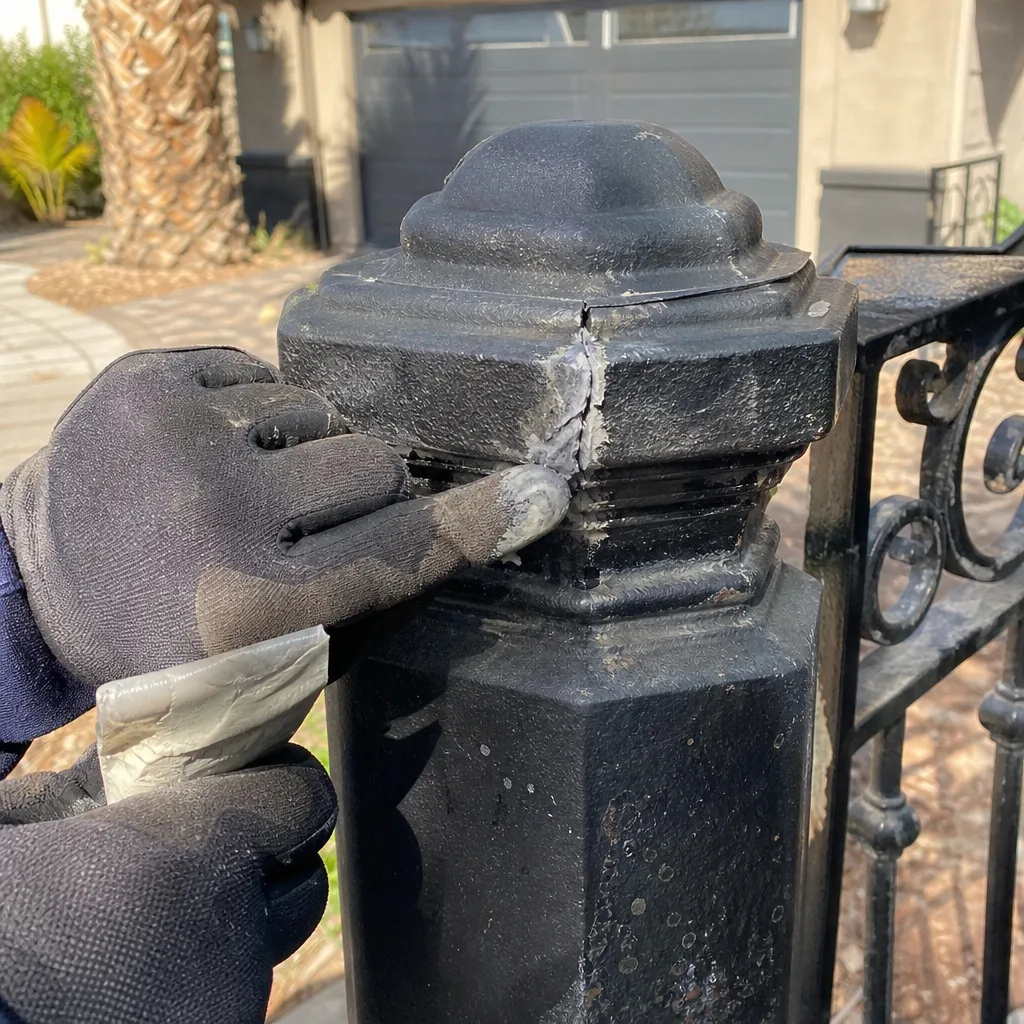
A gate post that moves in the first year is a footing problem, and footing problems are installation defects. The post should be set below the frost line, in properly compacted soil, with the right concrete mix and cure time. When it isn’t, the gate reveals it the first time the ground gets wet and soft, or the first time the gate’s weight loads the post in a way the footing can’t hold.
What to check:
- Plumb the post. A level against two faces of the post tells you if it’s leaning. A post that was plumb on install day and leans after a season has moved.
- Look at the footing gap. A visible gap between the post base and the concrete, or cracks radiating from the post, means the footing is separating.
- Check for soil erosion. Soft ground or a depression around the post base suggests water is undermining the footing.
- Watch the gate’s swing path. A gate that suddenly drags or binds on one side usually traces back to a post that’s shifted.
Winchester’s soil and seasonal moisture make this a real risk for any gate installed without adequate footing depth. If the post has moved, the fix isn’t tightening bolts; it’s addressing the footing, which is squarely the installer’s responsibility under most warranties. Document the lean with dated photos from the same angle over a few weeks so the movement is visible as a trend, not a single snapshot.
Why So Many “Problems” Are Settings That Were Never Configured
Plenty of gates that get flagged as broken are actually running on factory-default settings that were never tuned to the gate they’re attached to. Obstruction sensitivity, travel limits, and auto-close delay all ship at generic values. On a light gate they may work fine. On a heavy or wide gate, they cause phantom faults, false reversals, and gates that close on a schedule nobody asked for.
The three settings that cause the most trouble:
- Obstruction sensitivity. Set too high, the gate reverses on a stiff hinge or a gust of wind. Set too low, it won’t reverse when it should, which is a safety problem. This has to be calibrated to the gate’s actual weight and the site’s conditions.
- Travel limits. If these were copied from a template rather than measured, the gate will fight its own stops.
- Auto-close delay. Left at default, the gate may close before a slow-moving vehicle clears it. That’s a setting, not a failure.
When we service a new install, we recalibrate all three against the gate’s real weight and the actual approach, then photograph the settings screen so there’s a record. On BFT and Linear operators this step is often skipped because it adds time to the install, and it’s the step that prevents most of the “it keeps reversing” calls in month two. Getting your operator properly configured is core to gate motor and opener service in Winchester.
How to Document a Post-Installation Problem for a Warranty Claim
The difference between a warranty claim that gets honored and one that gets argued about is documentation. A verbal description of “the gate doesn’t close right” gives the installer room to call it normal wear. A dated photo sequence, a cycle count, and a logged error code makes the claim undeniable.
Here’s the documentation package that makes a claim airtight:
- Dated photos from consistent angles. Same camera position, same framing, taken over several days or weeks. The trend is the evidence.
- Cycle counts. Most operators log how many cycles they’ve run. A problem that appears at 300 cycles is a break-in observation; one at 50 cycles is a defect.
- Error codes. Photograph the display or the app log. The code tells a technician exactly what the system saw.
- The original scope document. Your install paperwork is the baseline. It establishes what was promised, what was configured, and what conditions the install was designed for.
- A written symptom log. Dates, times, weather, and exactly what the gate did. Cold mornings and hot afternoons produce different failures, and the pattern matters.
When we leave a job, we hand over a photo log and a written record of every part number and setting so the homeowner has that baseline from day one. That’s Clause 4 of the Haven Standard: evidence on every job. If you’re dealing with an installer who left you nothing but an invoice, bring whatever paperwork you have and our team will review another company’s estimate at no cost.
The 90-Day Inspection Checklist
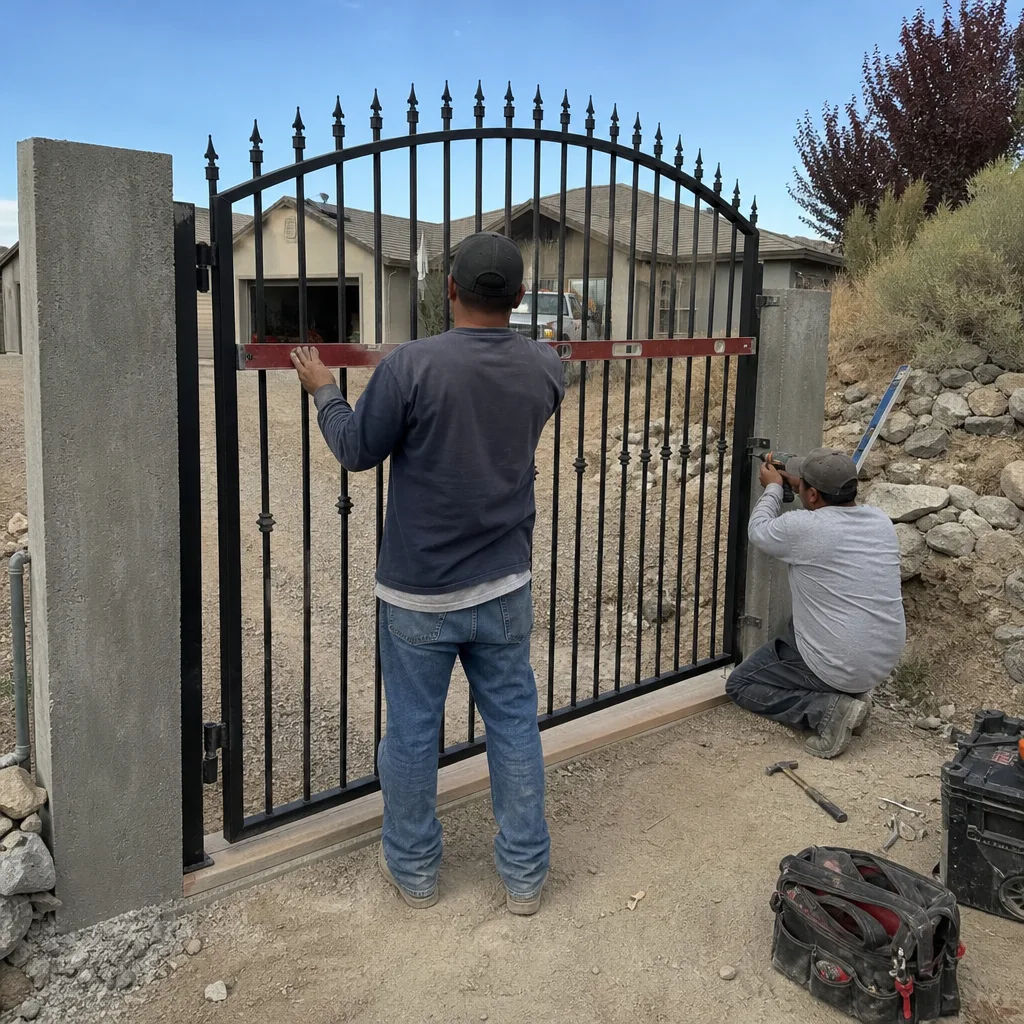
Ninety days after installation, run this checklist. It catches settling issues before they become structural, and it gives you documentation for any warranty conversation that follows.
- Post plumb. Check every post with a level on two faces. Note any lean and photograph it.
- Footing gap. Inspect the base of each post for separation from the concrete, new cracks, or soil erosion.
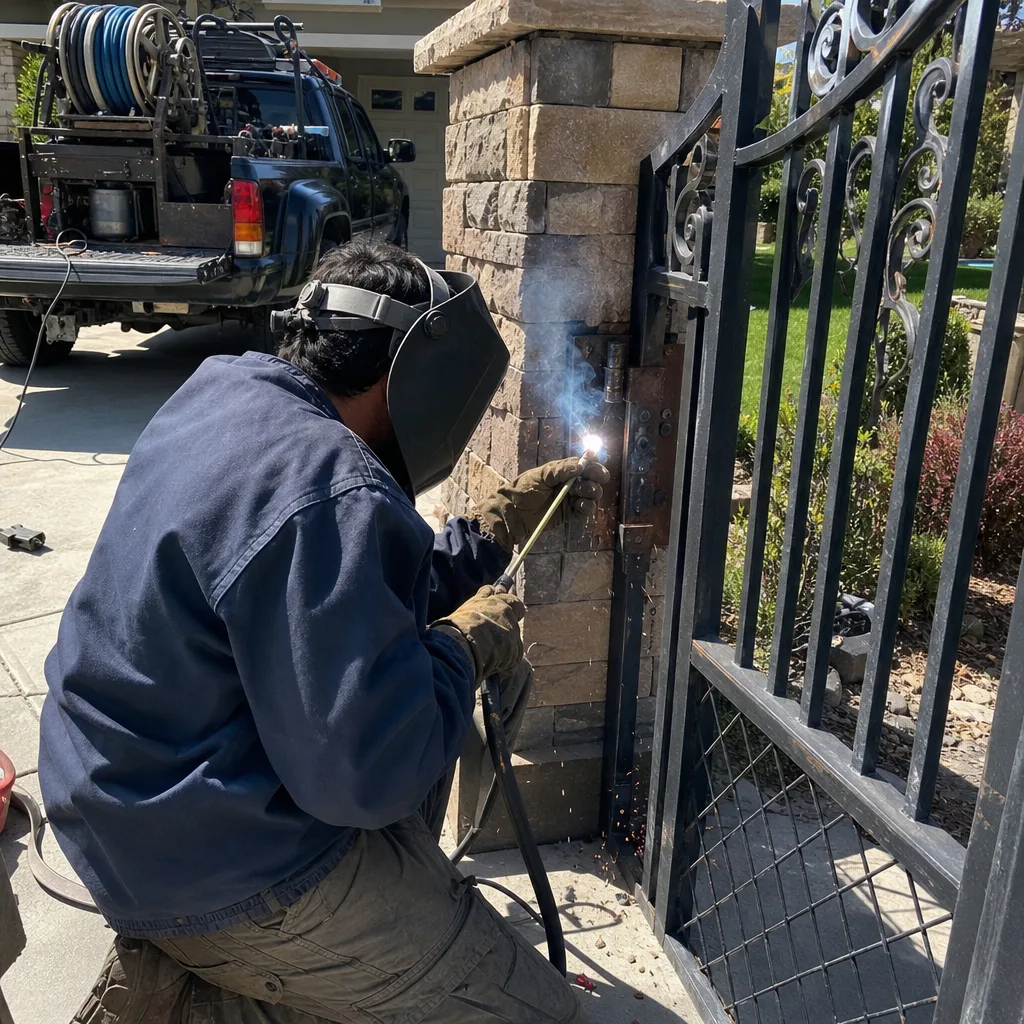
- Weld stress cracks. Look closely at every weld on the gate frame and hinges. Hairline cracks are early warning signs.
- Wire chafe points. Trace the control wiring and look for spots where it’s rubbing against metal, a hinge, or the gate frame. Chafing leads to shorts and phantom faults.
- Loop detector sensitivity. If you have an exit or safety loop, confirm it still detects vehicles reliably and doesn’t hold the gate open on a stray signal.
- Chain tension and hardware torque. Check chain sag against the operator’s spec and confirm hinge bolts are tight.
- Obstruction and safety device test. Test the photo-eye and the gate’s reversal behavior. A safety device that doesn’t work is the one item on this list that shouldn’t wait for a scheduled visit.
Any single item that fails is worth a documented note. Two or more related failures (a leaning post plus a cracked weld, say) is a clear signal to call the installer back. A safety device that fails, especially, is a stop-and-call situation. This list is also the basis of the inspection we run when a homeowner asks us for a second opinion on a problem install.
Return Visit or Routine Service? Deciding What Your Symptom Needs
Not every post-install problem is a warranty claim, and knowing the difference saves you an argument and gets your gate working faster.
Call the installer (installation defect):
- Post movement or footing separation in the first year.
- Weld cracks on the gate frame.
- Ground or control wiring that corroded or chafed within one season.
- Settings that were never configured and cause continuous faults.
- Safety devices that fail shortly after install.
Schedule routine service (normal adjustment):
- A one-time limit-switch reset after settling.
- A first chain-tension adjustment.
- Seasonal hinge lubrication and a hardware torque check.
- Recalibrating obstruction sensitivity after the gate beds in.
If the installer is unresponsive or the warranty has run out, a documented service visit is still the right move. The key is having your evidence in hand so whoever works on the gate knows what was found, what was set, and what was installed. If you’re not in Winchester, the same rules apply wherever you are: start from our Vance Gate Repair Winchester home page to find the service that matches your problem, or look at gate installation in Winchester if the gate is still under its first-year warranty.
Common Mistakes to Avoid
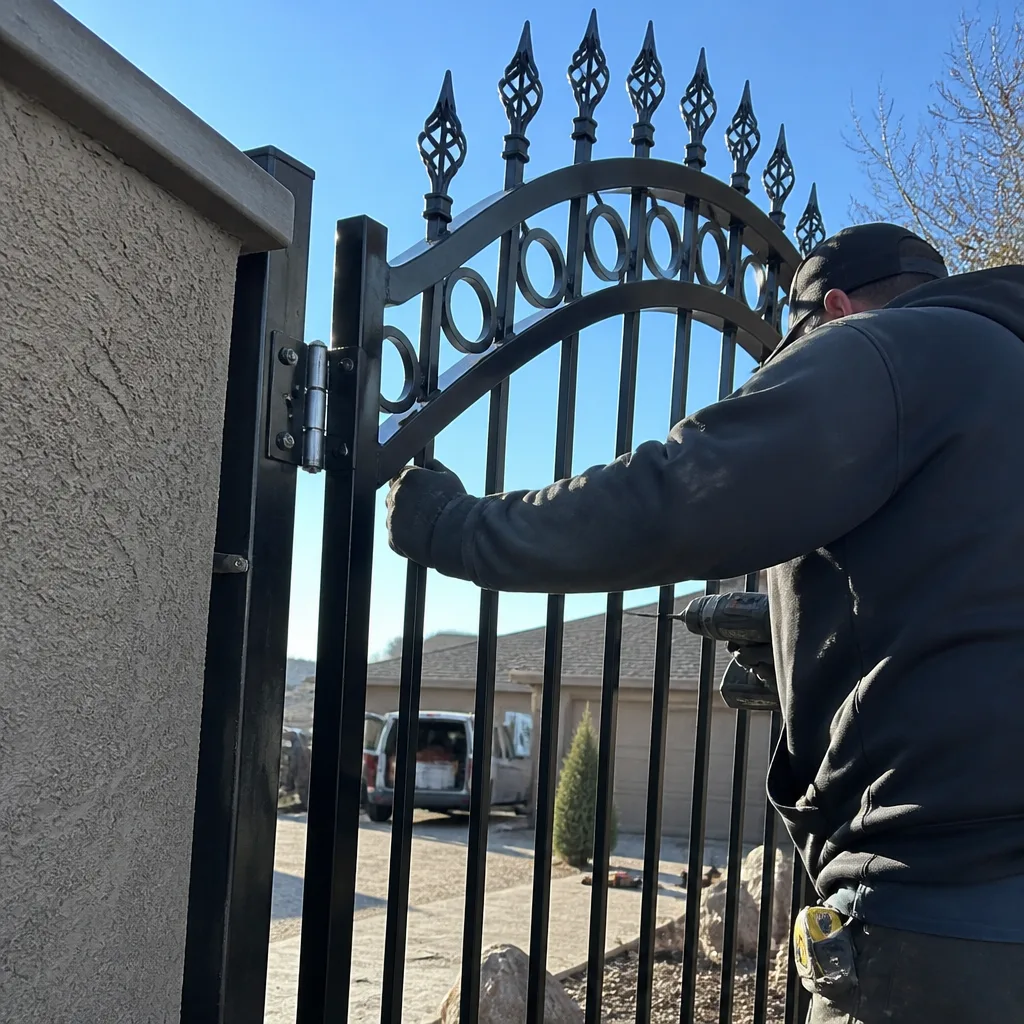
- Treating every post-install symptom as normal settling. Post movement and wiring corrosion are defects, not break-in. Ignoring them lets a warranty window close.
- Relying on a verbal description for a warranty claim. “It doesn’t close right” gives the installer room to argue. Dated photos and error codes don’t.
- Adjusting limit switches repeatedly without checking the post. If the switch drifts every few weeks, the cause is mechanical, not the switch.
- Skipping the 90-day inspection because the gate “seems fine.” Settling issues are quiet until they aren’t, and Winchester’s seasonal moisture swing is exactly the condition that turns a small footing gap into a leaning post.
- Leaving obstruction sensitivity at the factory default. A gate tuned for a light gate behaves unpredictably when it’s actually carrying a heavy one.
See the difference
BeforeAfter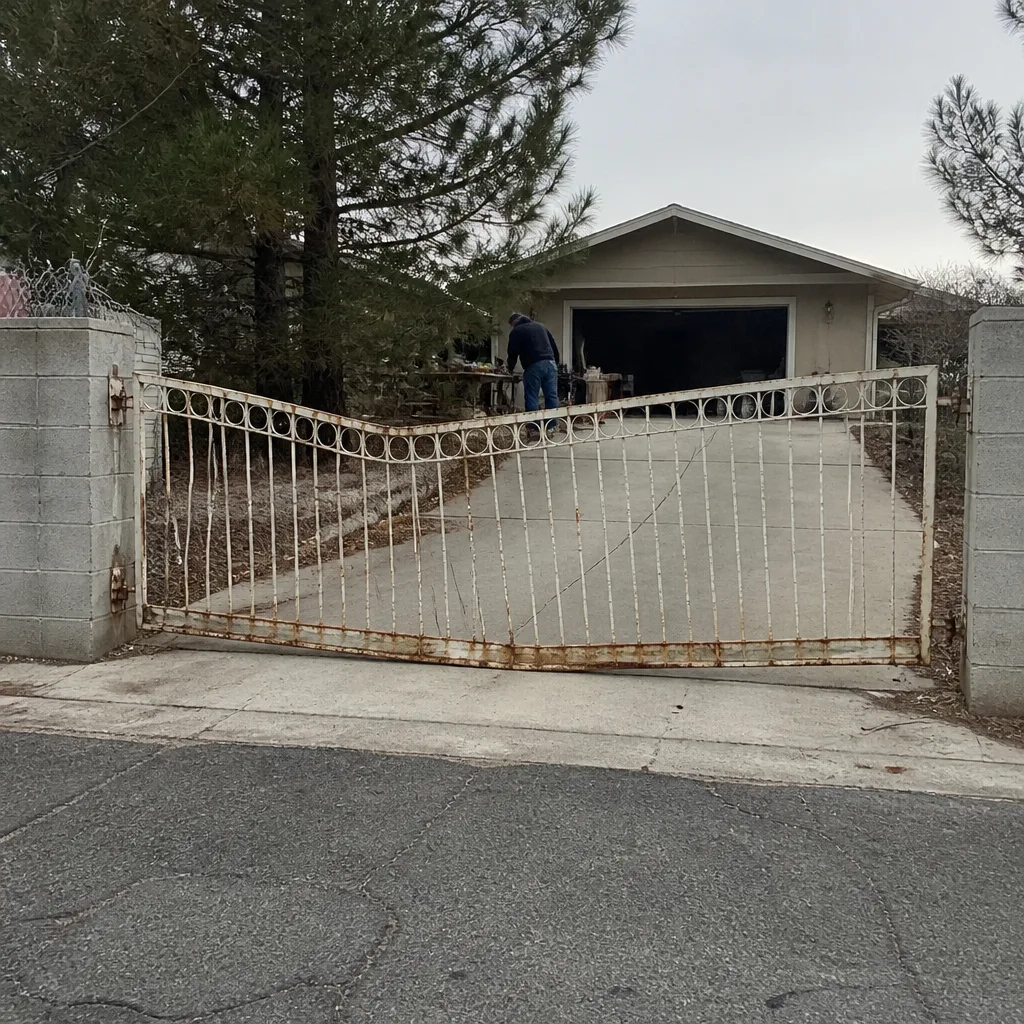 Before
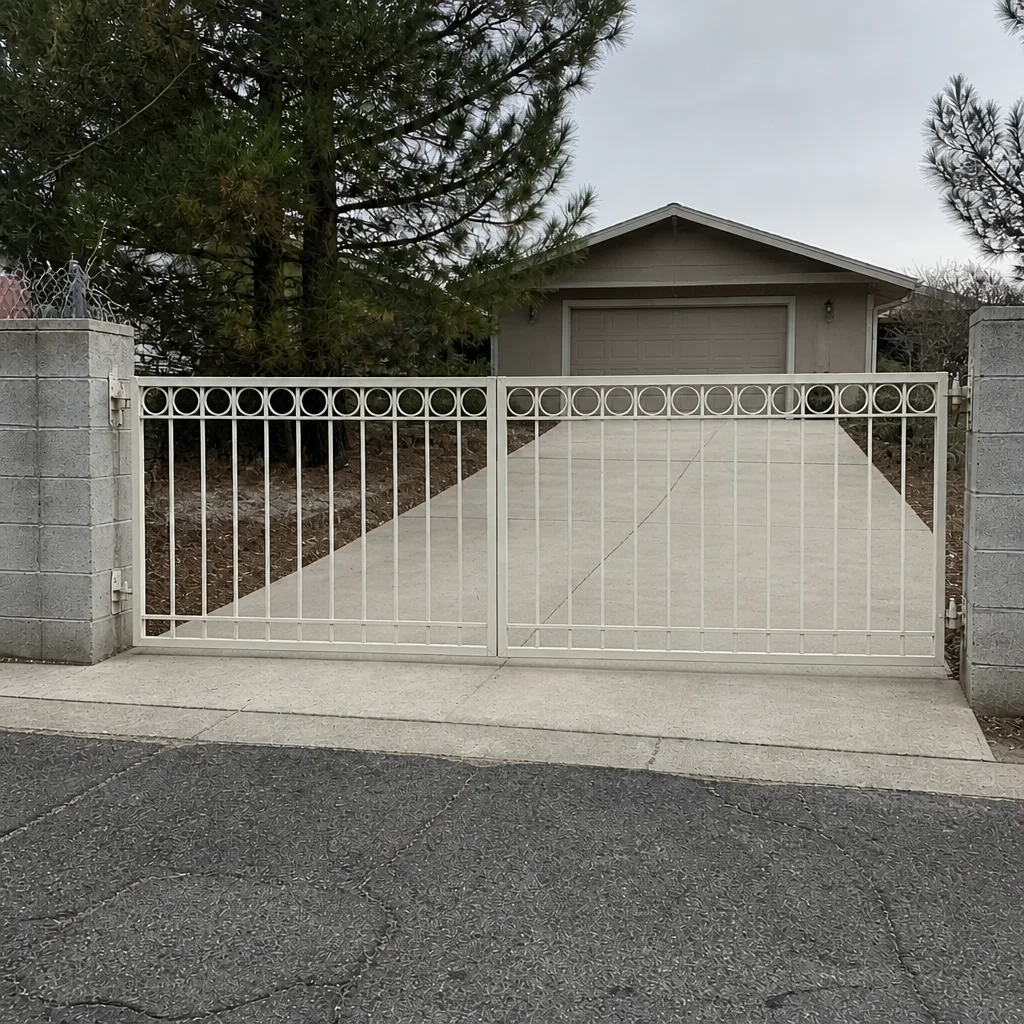 After
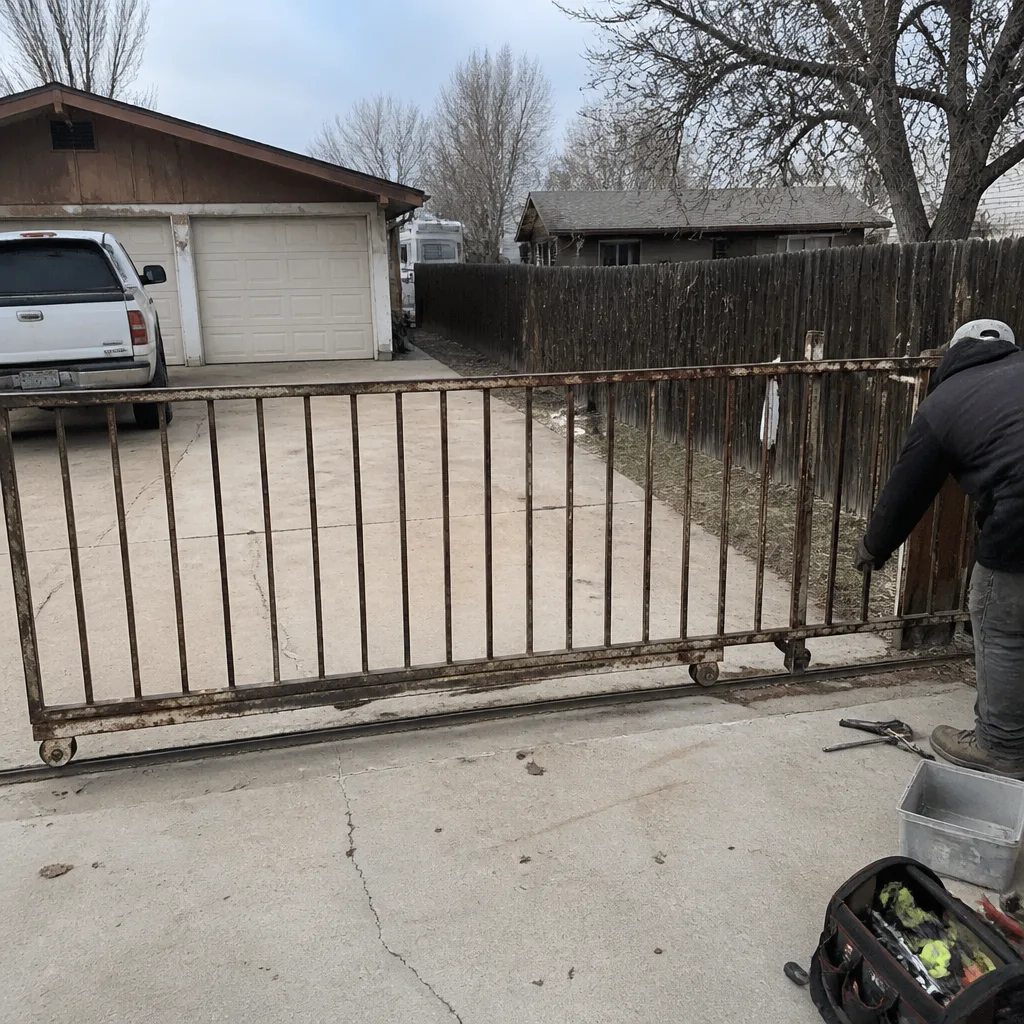 Before
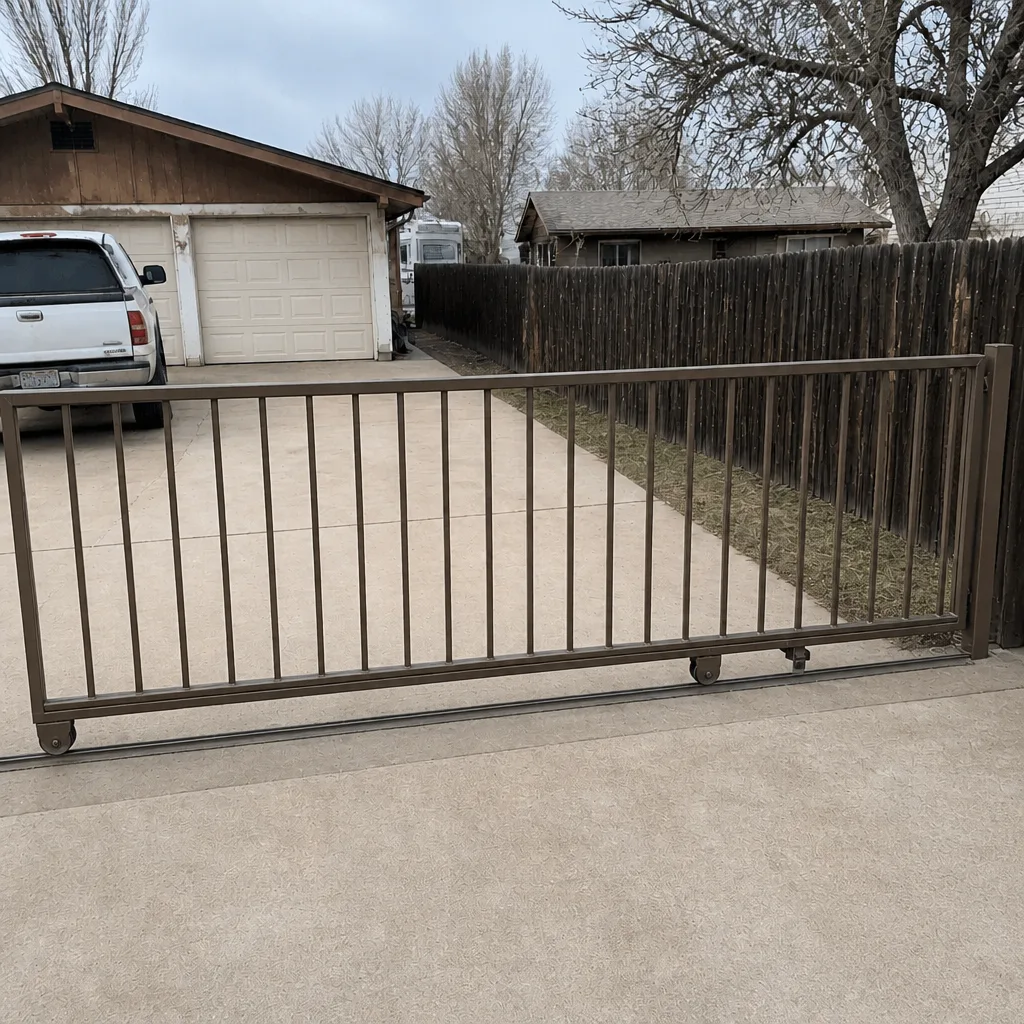 After
When to Call a Professional
Call a professional when a post has moved, when you see weld cracks or footing separation, when a safety device fails a test, or when a wiring connection has corroded or chafed. These are the symptoms where a quick fix makes the underlying problem worse. A gate that reverses unpredictably, a photo-eye that doesn’t detect, or a post that’s leaning under load is a safety issue first and a convenience issue second.
Our technicians have up to 12 years of experience on installations and repairs, and we’ll tell you plainly whether your symptom is a warranty claim or a routine adjustment. Vance Gate Repair Winchester offers free estimates in Winchester, with the flat price written and handed to you before any work starts. Call (866) 983-9213 and a live person will answer, day or night.
Frequently Asked Questions
Post movement in the first season, footing gaps, weld cracks, wiring corrosion, and settings that were never configured are installation defects; limit-switch drift and a first chain-tension drop are normal break-in. The distinction matters because defects should be covered by the installer’s warranty, so document the symptom with dated photos, a cycle count, and any error codes before you call.
Obstruction sensitivity set too high is the usual cause, and it’s a configuration issue rather than a broken part. When sensitivity isn’t calibrated to the gate’s actual weight, the motor reads a stiff hinge or a gust of wind as an obstruction and reverses. Recalibrating the setting usually stops it, and we photograph the new setting so there’s a record.
Call as soon as you see post movement, a footing gap, or a weld crack, because those won’t fix themselves and the warranty clock is running. For a single limit-switch drift or a chain-tension drop, one adjustment is normal; if the same adjustment is needed twice in a few weeks, call the installer and treat it as a defect.
Dated photos from consistent angles, the operator’s cycle count, any error codes, and your original scope document as the baseline. Add a written symptom log noting dates, weather, and exactly what the gate did. That package turns a phone description into evidence the installer can’t argue with.
Yes. We work on nine major automation brands, including LiftMaster, FAAC, and Linear, and we can inspect a problem install and tell you whether it’s a warranty claim or a routine adjustment. We also review another company’s written estimate at no cost if you want a second opinion before you commit.
Yes. A first-year gate needs a chain-tension check, hinge lubrication, and a hardware torque pass as part of routine service. Those are expected maintenance items, separate from any defect. Run the 90-day checklist and you’ll catch both the maintenance items and the defects before either becomes expensive.
The Bottom Line
Most problems on a new gate aren’t random failures. They’re installation defects that show up as the gate settles and load patterns emerge, and the ones that get fixed under warranty are the ones that get documented well. Separate normal break-in from defects, run the 90-day inspection, and keep a dated photo record with cycle counts and error codes. If your installer is unreachable or you want a second opinion on a problem install, call (866) 983-9213 for a free estimate in Winchester. The flat price is written before any work starts, and every visit leaves you with a documented record of what we found and what we fixed.
Written by the team at Vance Gate Repair Winchester.