
Last updated November 18, 2026
 Wrought iron
 Wood & steel frame
 Farm & ranch
 Sliding driveway gates
 LiftMaster operators
Free on-site gate assessment - hinges, posts, and your LiftMaster or Nice gate operator checked before anything is quoted
The assessment is free and the quote is the invoice.
Get your free estimateGate Parts & Welding Troubleshooting: Common Problems and How to Fix Them
If your gate is sagging and you’ve already adjusted the hinges twice, stop adjusting the hinges. The hinge is reporting a problem that lives somewhere else. We’ve pulled apart enough residential driveway gates in Winchester to know that most “hinge problems” are actually foundation problems, post problems, or weld problems wearing a hinge costume. A gate is a lever arm bolted to a post that’s sunk into the ground. When the assembly moves, the movement almost always starts at the bottom, not the top. This guide walks the diagnosis from the ground up: post anchor first, then welds, then frame, then hardware. By the end you’ll know what to inspect, what the three most common weld failures look like, and exactly what information to hand a technician so they show up with the right filler metal the first time.
Quick Answer
Most residential gate structural problems trace back to a failed post anchor weld or a cracked weld at the hinge plate, not to the hinge itself. Diagnose from the ground up: check post anchors for cracking and rust weep, check hinge-plate welds for stress fractures, check frame corner joints for fatigue cracks, and only then look at hardware. A brace is an acceptable temporary fix on a decorative gate but a liability on a vehicle entry gate under daily load.
Styles & brands we work with
- Wrought iron
- Wood & steel frame
- Farm & ranch
- Sliding driveway gates
- LiftMaster operators
Table of Contents
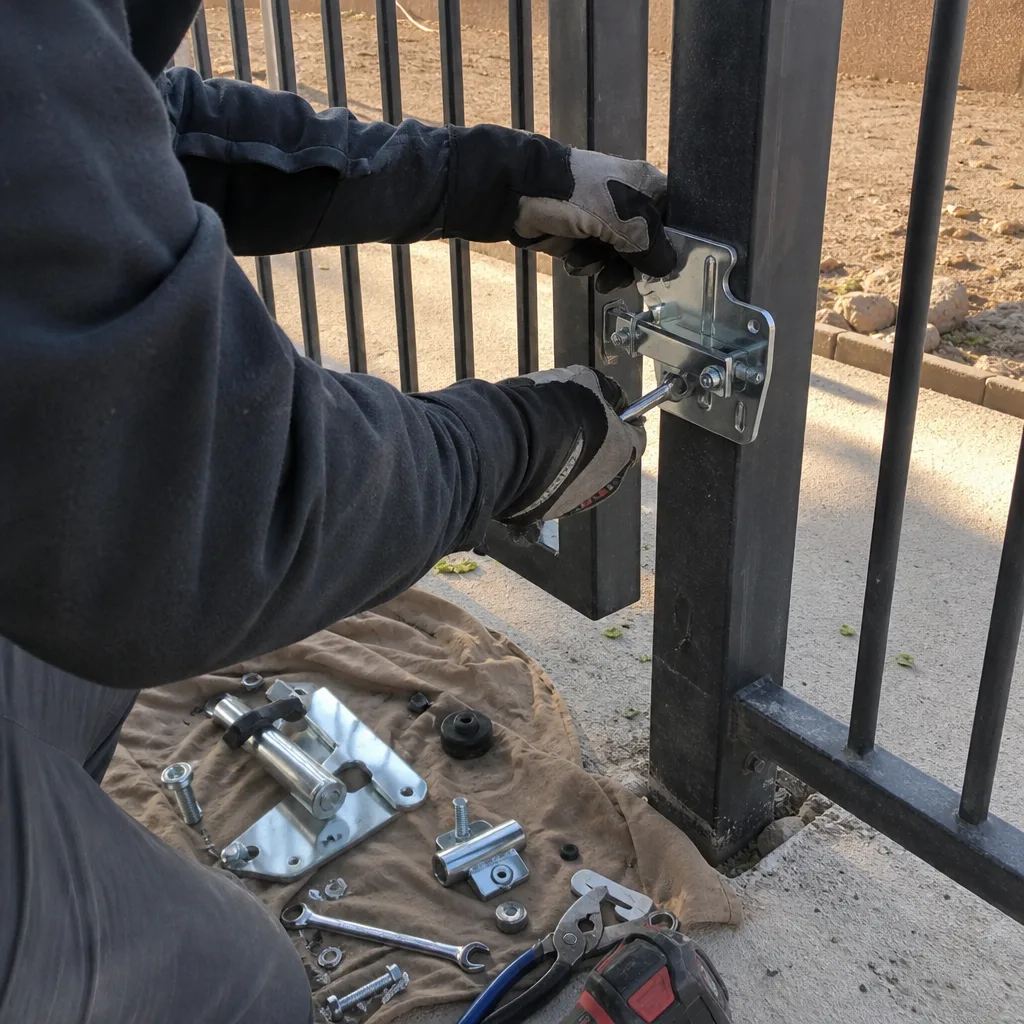
- The Root-Cause Checklist: Diagnose From the Ground Up
- The Three Weld Failures We Find Most Often
- The Four Tools You Actually Need to Inspect a Gate
- When a Temporary Fix Is Fine (and When It Becomes a Liability)
- Why Winchester Heat and Dry Cycles Accelerate Weld Fatigue
- What to Tell a Technician Before They Arrive
- Common Mistakes to Avoid
- Frequently Asked Questions
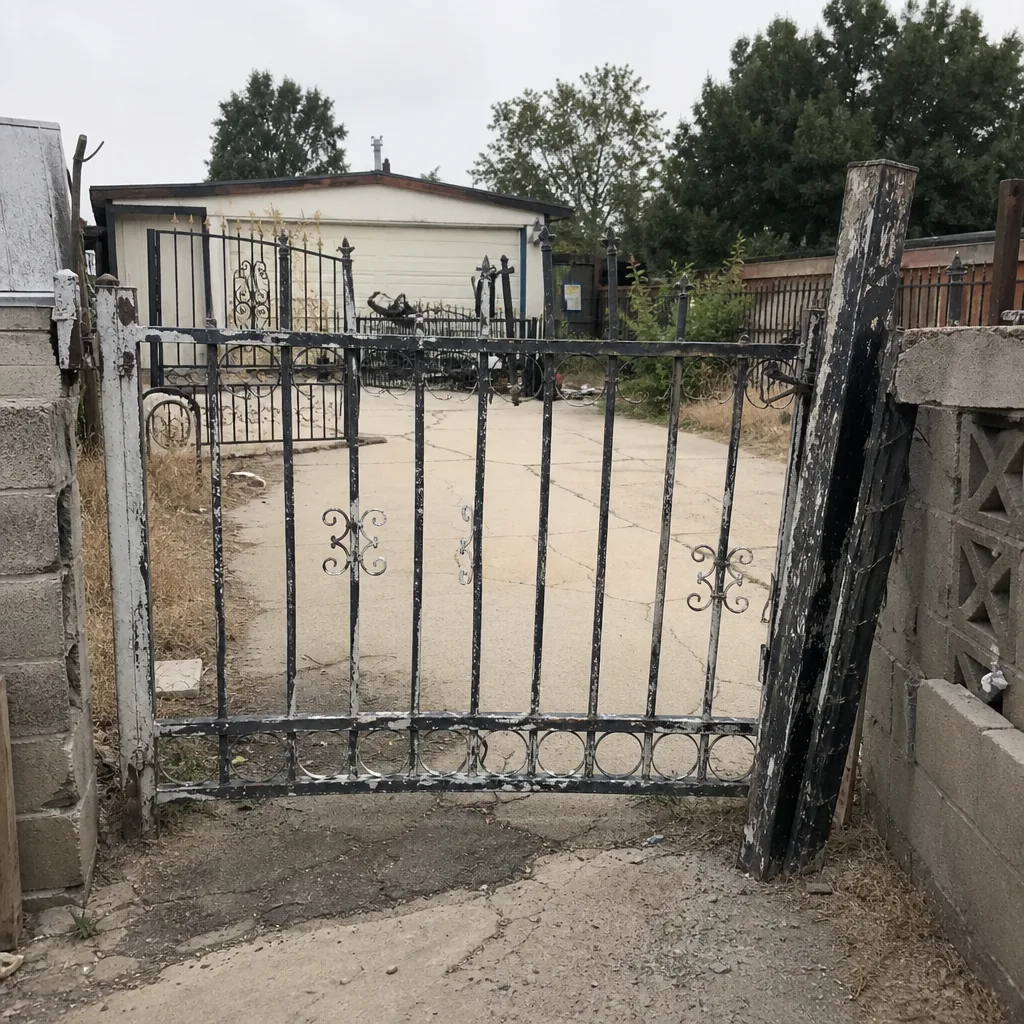 Before
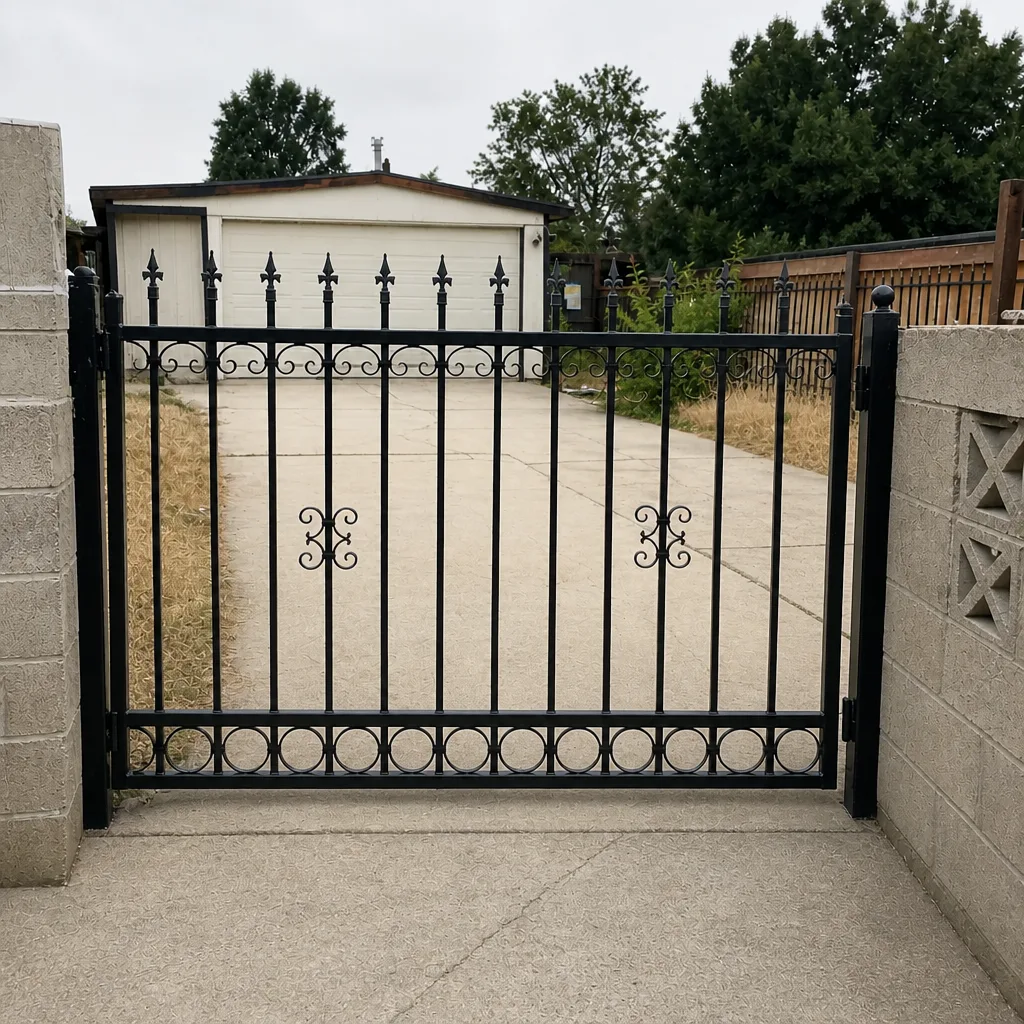 After
The Root-Cause Checklist: Diagnose From the Ground Up
When we roll up to a gate in Winchester, the first thing we do is not look at the gate. It’s look at the ground. A sagging gate has four possible points of failure, stacked like floors of a building, and if you skip a floor you’ll misdiagnose everything above it. Here’s the order we follow, and it’s the order we recommend you follow on your own gate before you call anyone.
- Post anchor integrity. Grab the gate post (not the gate) and push it firmly in both directions. It should not move. Any rock, any flex at the ground line, any visible gap between concrete and post means the anchor is failing. Look for rust weeping out of the concrete collar; that’s a tell that water has reached the anchor weld.
- Hinge inspection. Only after the post is confirmed solid. Check each hinge for vertical play, grinding, and paint cracked in a stress pattern around the weld that attaches the hinge to the gate frame or the post.
- Gate frame. Sight down the top rail of the gate from one end. A straight frame will look straight; a bent one will show a subtle arc. This is where the level and straight-edge come in.
- Hardware and latches. Last, and least likely to be the root of anything structural. Latch misalignment is almost always a symptom of the gate having moved, not a latch failure.
The reason order matters: if you adjust the hinge on a gate with a failing post anchor, you’re pulling the hinge out of alignment to compensate for a post that’s already out of alignment. That adjustment looks like it works for a month. Then it doesn’t. In Winchester we’ve seen gates go through three hinge replacements before anyone looked down and found the anchor weld was cracked a few inches below grade. That is a fix nobody needed to pay for three times.
The Three Weld Failures We Find Most Often
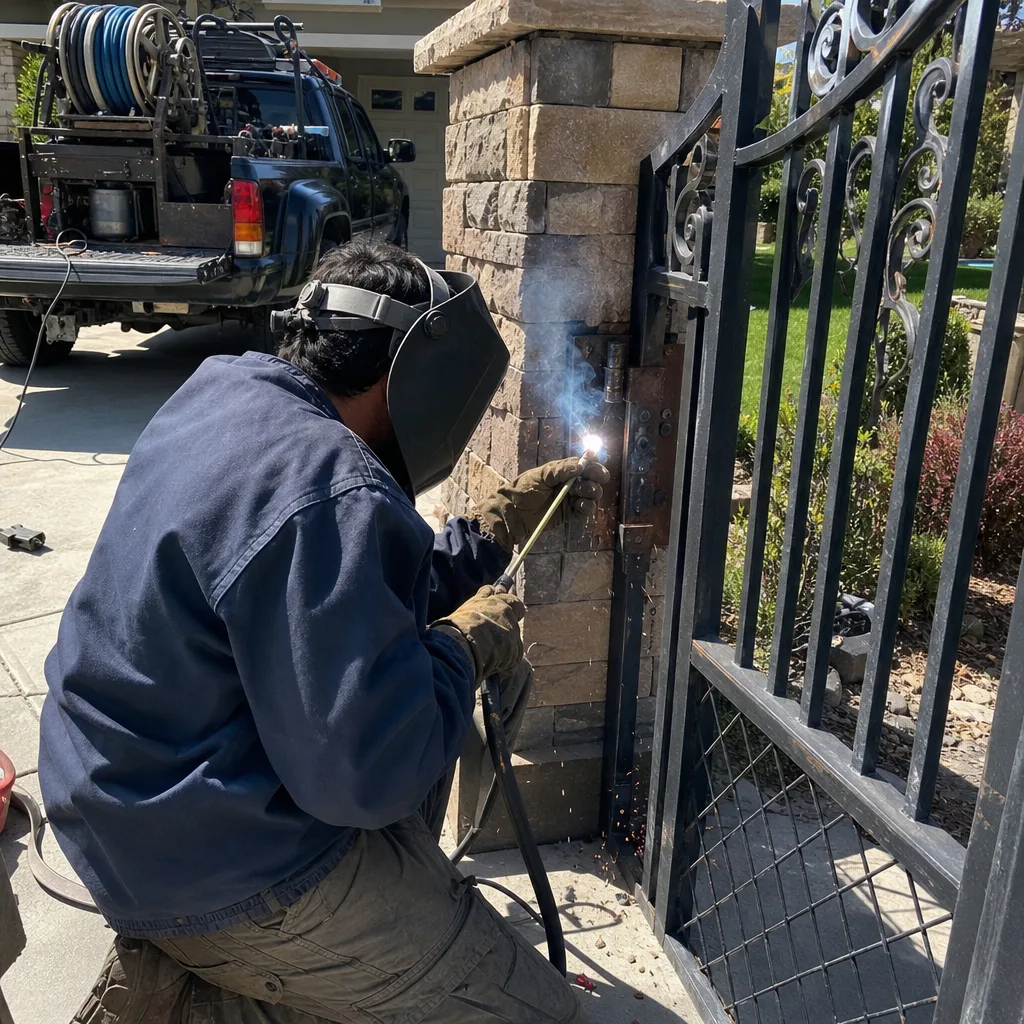
Welds fail three ways on residential driveway gates. They aren’t random; each failure lives in a specific spot, and each looks different when you know what to look for. Wet the surface down or hit it with a flashlight at a low raking angle to make cracks visible. Here’s what we’ve seen on the gate-repair side of our work, over and over.
1. Stress fractures at the hinge plates
The hinge plate carries every cycle the gate makes, all the way around the arc. Over years of use, the weld that ties the plate to the frame or post develops a stress fracture. It usually starts as a hairline crack right where the weld toe meets the steel. Paint flaking in a fine curved line around the weld bead is your first clue. On heavier double-driveway gates, we look at this spot first because it’s where the load concentrates.
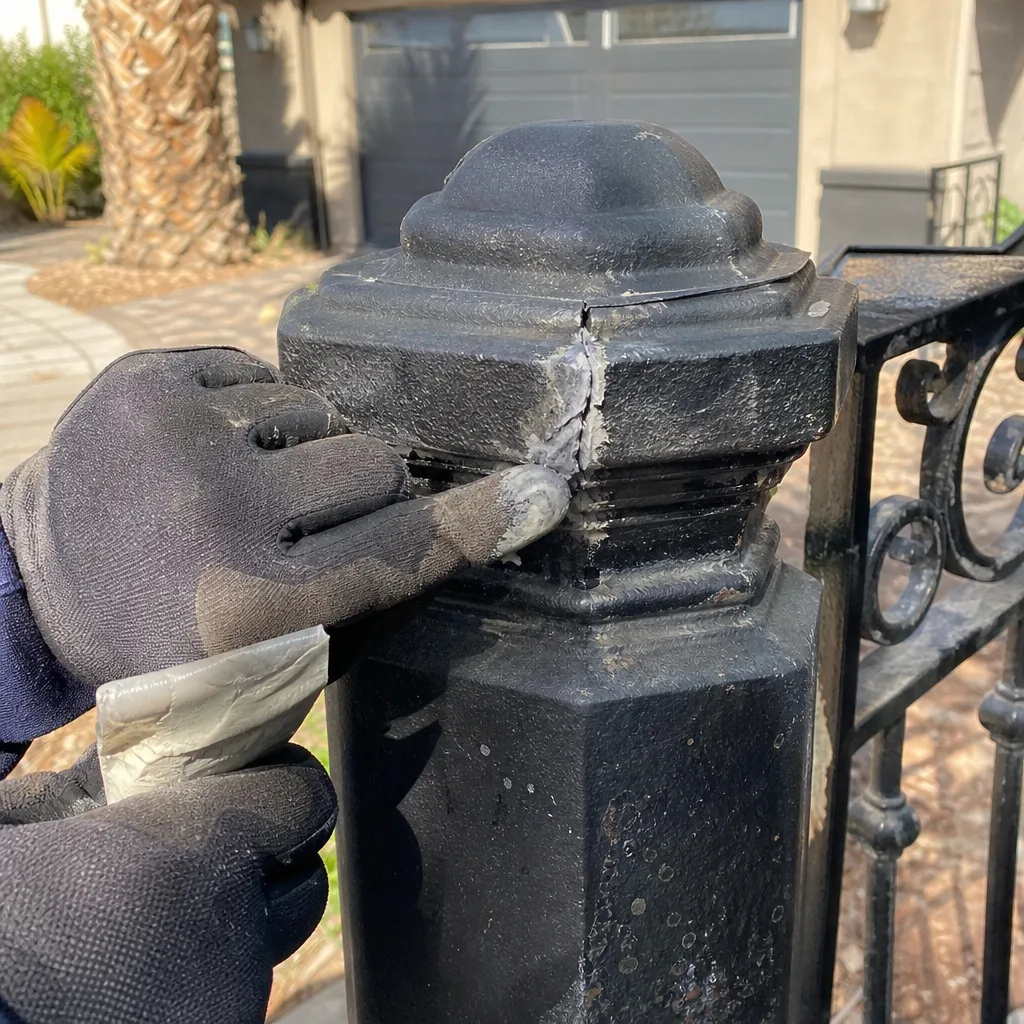
2. Corrosion-induced separation at the post caps
Post caps are a water-trap spot. Rain sits between the cap and the top of the post, and the seam between them rusts through. Over enough seasons, the cap separates from the post and the top of the post starts to hollow. In Winchester, our dry-summer / rain-season swings accelerate this because the steel expands and contracts with the temperature cycle, opening the seam a little wider each year.
3. Fatigue cracking at frame corner joints
Every corner joint is a stress point. The gate frame flexes minutely on each cycle, and those movements work any small imperfection in the weld into a fatigue crack. A corner crack often doesn’t look like a crack at all; it looks like a slightly soft corner where the paint has begun to peel. If you can catch the crack with a fingernail and it clicks, it’s structural and needs welding by someone who knows gates.
For the motor and operator side of things, the same weld clues apply: a motor mount with a cracked weld at the bracket will drive the gate slightly out of square. See our Gate Motor & Opener in Winchester page for the mechanical side of that diagnosis.
The Four Tools You Actually Need to Inspect a Gate
You don’t need a welding helmet, a dye-penetrant kit, or any specialty gear to find the problem on your own gate. You need four things that are already in most garages, and one of them is a flashlight held at the wrong angle on purpose.
- A four-foot straight edge. Sight down the top rail of the gate with the straight edge against the frame. Any daylight between the straight edge and the frame tells you the frame is bent, and where.
- A spirit level. Set it on the level rail of the gate frame and on the posts. A post leaning 2 degrees will pull the whole gate out of alignment further down the chain.
- A bright flashlight held at a raking angle. Hold it about a foot from the surface, shining along the weld at a shallow angle. Cracks that look invisible head-on show up as shadows when raked. This is how professional inspectors find micro-cracks before they become visible cracks.
- A magnet. A small magnet sticking solidly to the steel is a good sign. If the magnet grabs in one spot and barely grips an inch away, that’s a clue the paint is hiding filler or rust underneath.
If a professional welded your gate already, our team photographs the new weld points so future inspections have a baseline. That’s part of our documentation habit under The Haven Standard: photo record every visit. If you’re doing a home inspection of your own gate, we recommend the same: photograph the weld today so future-you can see when the crack first appeared.
When a Temporary Fix Is Fine (and When It Becomes a Liability)
We get asked some version of this on nearly every call: “Can I just brace it and get a few more months?” The honest answer depends on what the gate is and who’s driving through it.
A brace is acceptable on a decorative gate that isn’t carrying the weight of a vehicle, isn’t the primary entrance, and isn’t automated. A garden gate, a side-yard gate, a pedestrian gate that gets used once a day: a brace is a legitimate temporary fix and there’s no shame in it. It buys you time. It does not fix the weld beneath it.
A brace is not acceptable on a vehicle entry gate, a gate that’s part of a security perimeter, or any gate that’s automated. Here’s why: a vehicle entry gate is under load from a moving car, from wind, and from a motor driving it open and closed. A brace bolted to a cracked weld on a loaded gate doesn’t remove the load from the weld; it relocates the load to whatever the brace is attached to. Now you have two failing welds, and the gate has a failure mode (sudden collapse) that didn’t exist before.
In our experience, the moment a homeowner braces a loaded gate and drives through it a thousand more times, we see two outcomes. Either the brace holds, and they forget to call for six months until a bigger weld fails. Or the brace fails at speed, and now we’re doing a full frame repair instead of a weld repair. If it’s a security gate or a vehicle gate, call it in and get it welded properly. If it’s a decorative gate and you’ve braced it while you save up for the repair, that’s fine as long as you’re not automating it or running a car through it daily.
Why Winchester Heat and Dry Cycles Accelerate Weld Fatigue
Gate welds fail anywhere, but they fail a little differently in Winchester because of the climate. Summer heat pulls the steel toward its expansion limit, and the cooler rain-season nights pull it back. Every big swing between 100-degree-plus afternoons and nighttime cool-downs works that cycle once. Over years, that’s tens of thousands of expansion-contraction events on every weld bead on the gate.
What that means for you: look hardest at the welds that are already load points (hinge plates, frame corners, post caps). That’s where the thermal cycle and the mechanical cycle stack. If you’ve owned the gate for five years or more in Winchester, it’s a reasonable time to inspect. If you’ve owned it for ten, a weld failure isn’t unlikely; it’s due. Our Gate Repair in Winchester team sees the pattern often enough that we now just build the inspection into every repair call.
One more Winchester-specific wrinkle: dust. The dry season in the Las Vegas valley pushes fine dust into every crevice, including between your gate post and the cap. That dust traps moisture during rain events, and the moisture is what rusts the seam. When we inspect a gate post cap in Winchester, we’re looking for a rust line at the seam more often than we’re looking for a weld crack. The rust is the early warning. The weld crack is what comes after.
What to Tell a Technician Before They Arrive
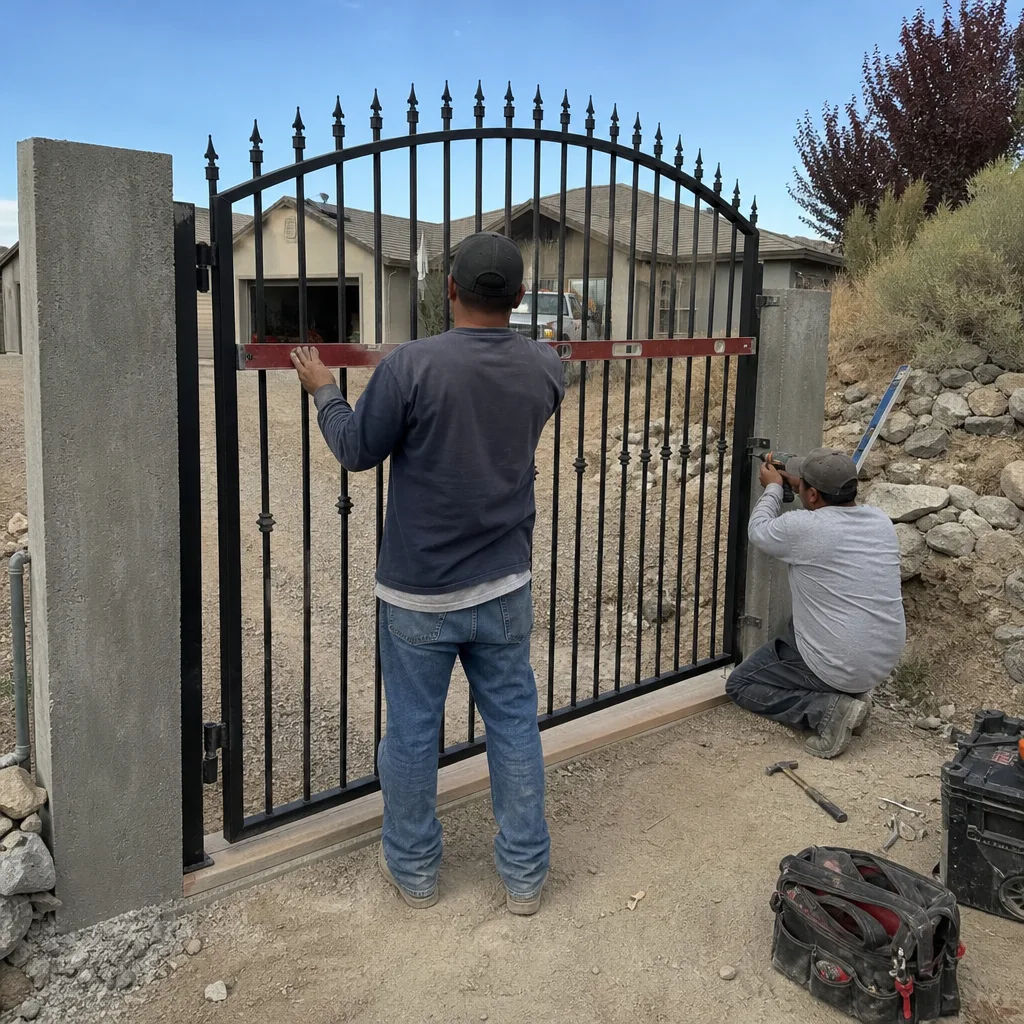
Here’s the most useful thing you can do to keep a gate repair from turning into a two-trip repair: give the technician the right information up front so they show up with the correct filler metal and the correct replacement parts. If you’re guessing at what to say, use this list.
- The gate material. Most residential driveway gates in Winchester are mild steel, aluminum, or wrought-iron style. Steel takes one filler metal; aluminum takes a very different one; and yes, a welder can usually tell from a photo. Send a close-up of a bare weld bead if you can find one.
- Where the failure is. “Hinge plate” is more useful than “the gate broke.” Say which hinge (top, middle, bottom), which corner, or which post; photograph it with a reference object like a coin or a tape measure so the scale is clear.
- Age and history of the gate. A gate that’s ten years old and has been welded once is a different job than a fresh install with a factory defect. Tell them what’s happened before.
- Motorization. If the gate is motorized, name the brand. Ghost Controls, DoorKing, Elite, and Mighty Mule are the four we’re most often asked about in Winchester, and if the gate is motorized, the technician will want to know before coming out so they can check the operator attachment points too.
- Access. “The gate is under a tree and I can’t get a car close” is a real logistical problem. Tell them up front.
If your gate isn’t motorized yet and you’re considering it, wait until the structural repair is done. Adding an operator to a gate with a cracked weld is like putting a bigger engine in a car with a bent frame. See our Gate Installation in Winchester page for the ordering process and what a new install includes.
Common Mistakes to Avoid
- Adjusting the hinge before checking the post. The hinge is almost never the root cause. Grab the post and push before you touch a wrench, or you’ll be adjusting a symptom and calling it a fix.
- Using a hardware-store bolt to patch a weld. Bolts pull out of steel plates under load. If the weld is cracked, patch-welding or replacing the weld is the repair, not bolting a plate over the crack.
- Painting over a fresh crack. Cosmetic paint hides the crack from a future inspector. If you see a crack, photograph it first, then paint. Our Vance Gate Repair Winchester home team includes photo documentation in every visit for exactly this reason.
- Bracing a loaded vehicle gate and forgetting about it. A brace on a decorative gate buys time. A brace on a vehicle entry gate hides a failure mode that gets worse, quietly, until it doesn’t.
- Welding aluminum with steel filler. This is a real mistake we’ve seen on aluminum residential gates, and it produces a weld that will crack again within a season. If you don’t know the material, find out before you weld.
- Ignoring the post cap. The cap is the least glamorous part of the gate and the most common starting point for the corrosion that leads to weld failure. Clean out the seam and re-seal it before it becomes a weld repair.
- Assuming a motor problem is electrical. If the gate is moving but not smoothly, that’s a mechanical problem: a weld, a hinge, a post. Electrical diagnostics come second. See the gate motor and opener page for the sequence.
See the difference
BeforeAfter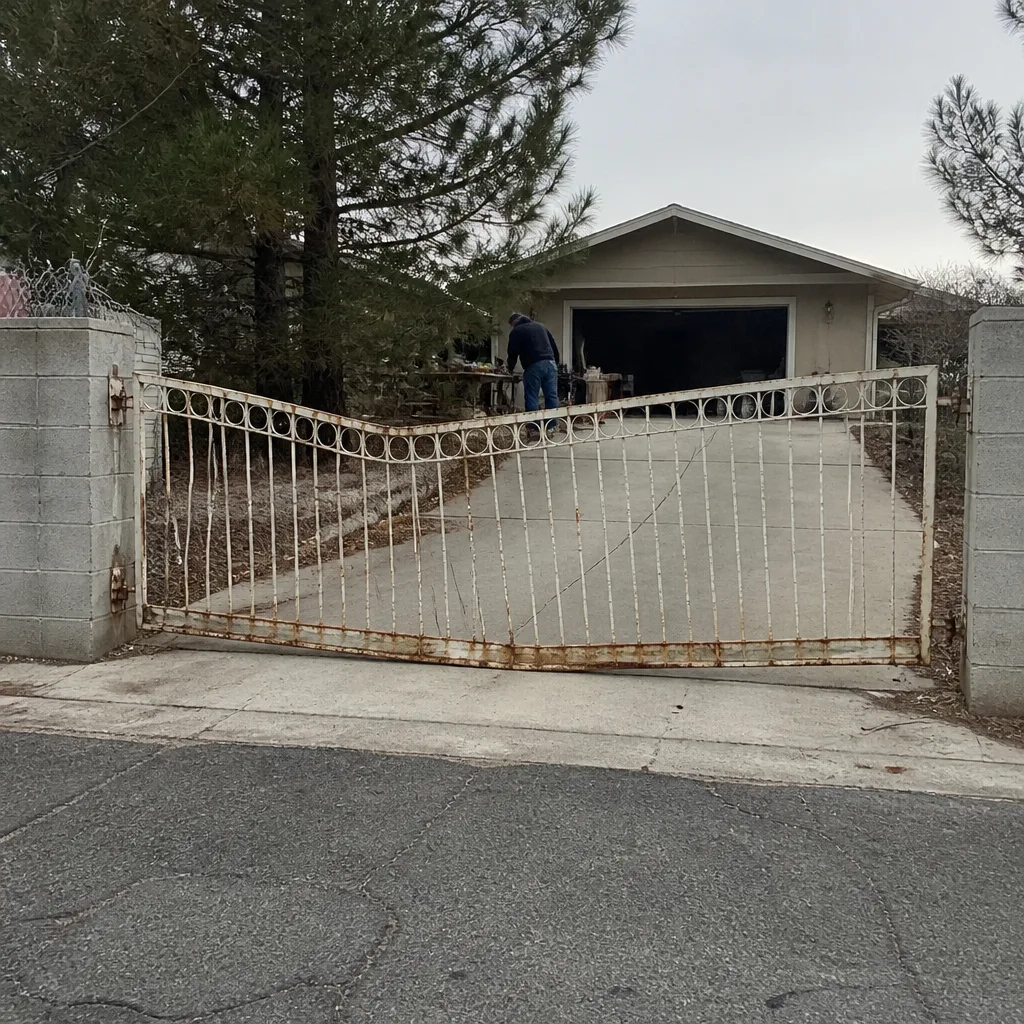 Before
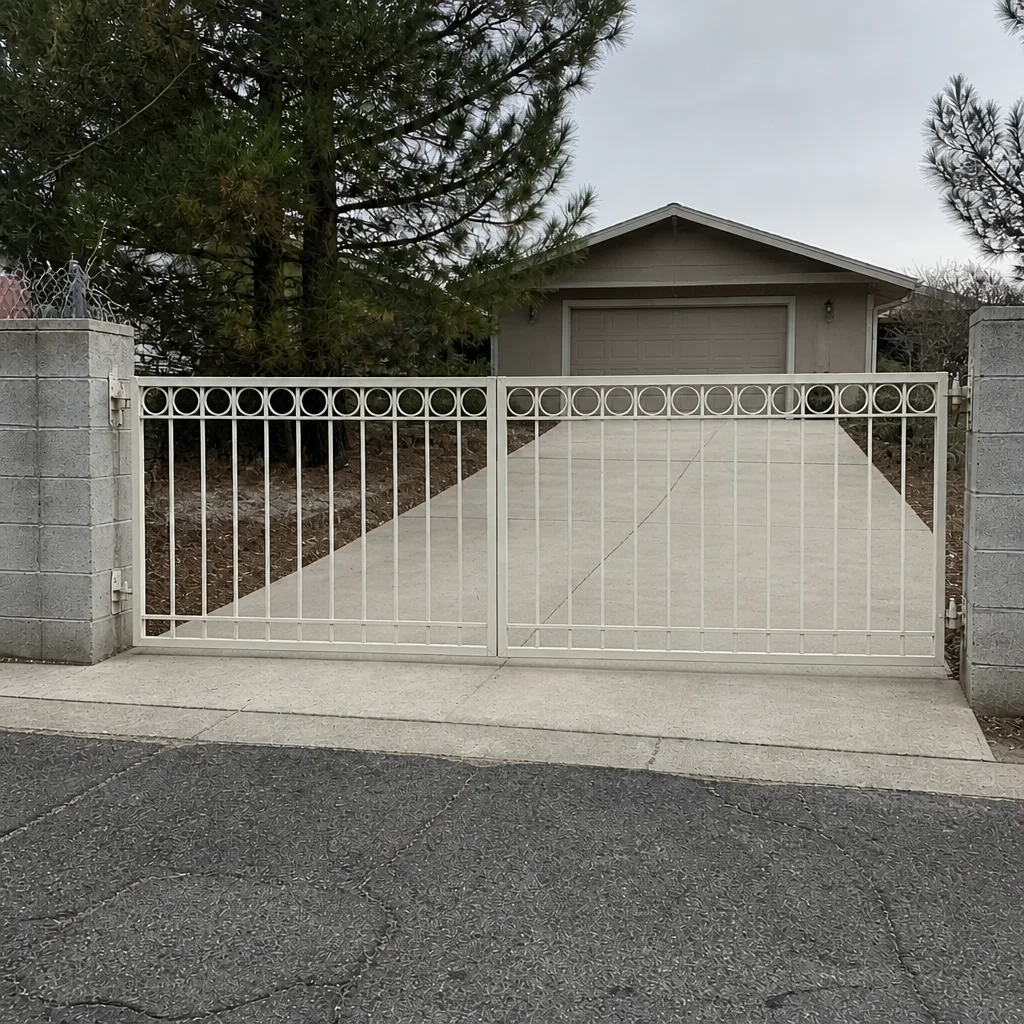 After
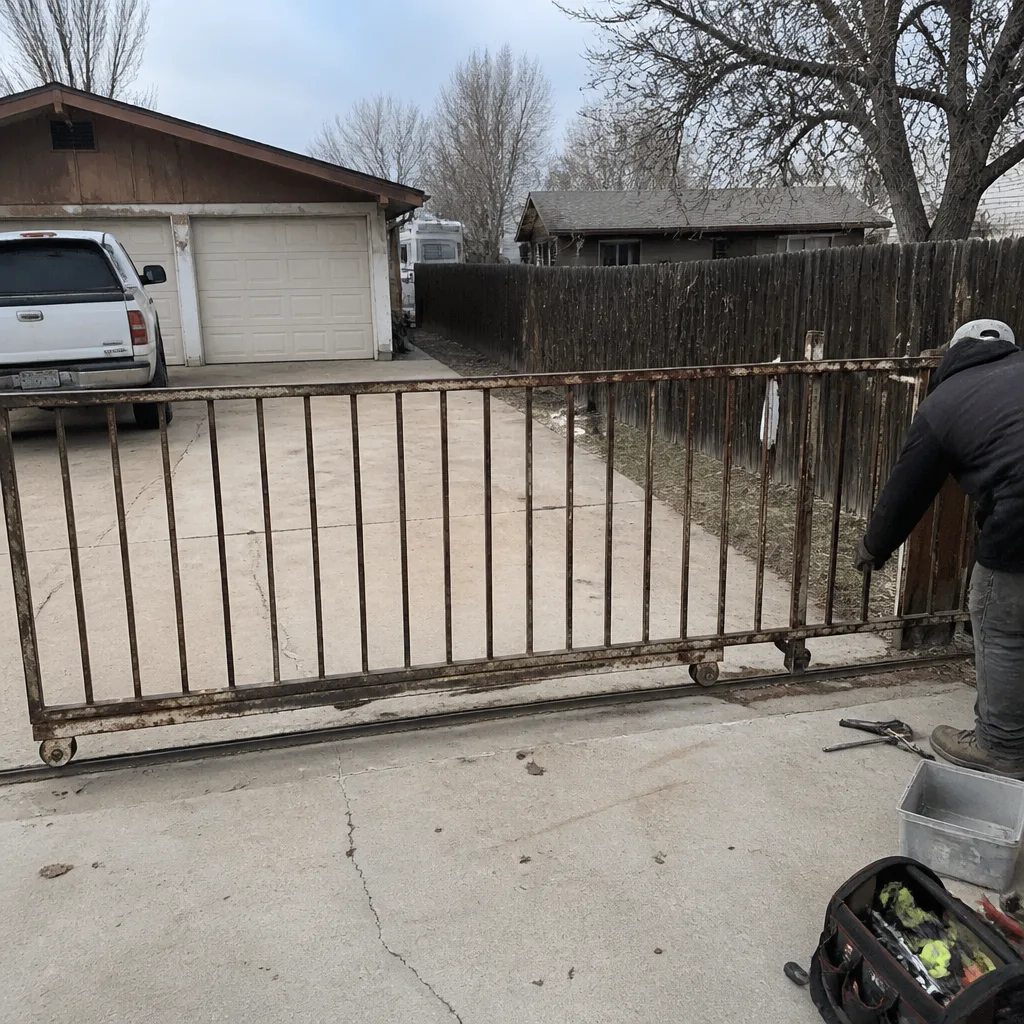 Before
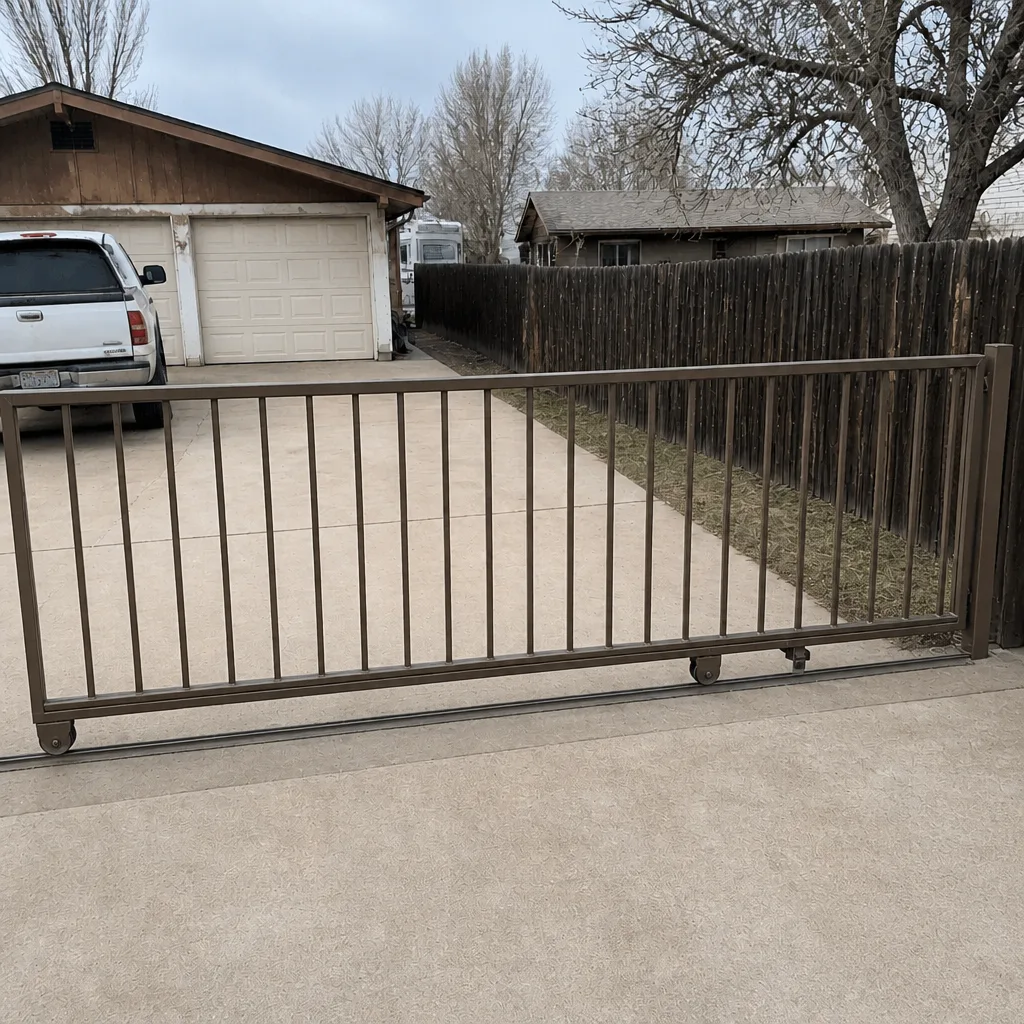 After
When to Call a Professional
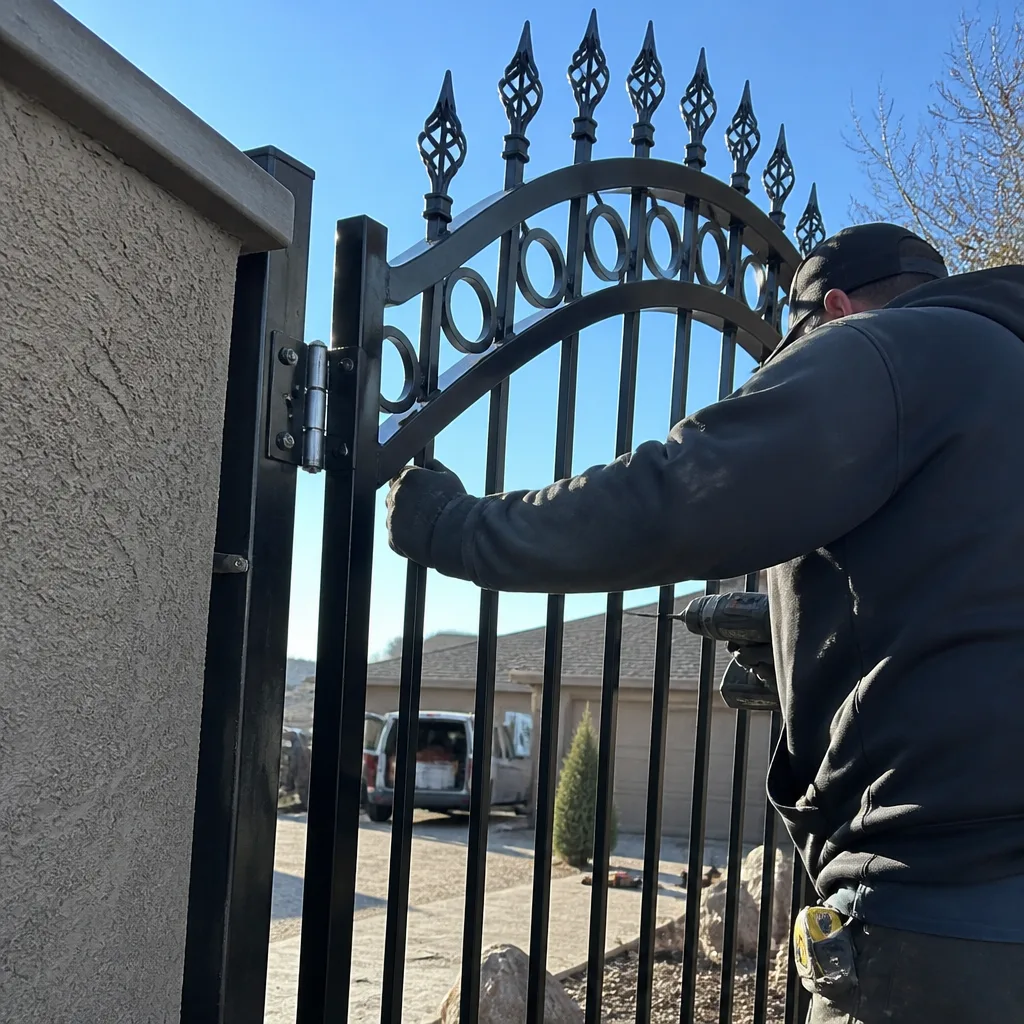
Call a professional the moment the gate has visible movement at the post, any weld crack you can catch with a fingernail, or any failure on a vehicle entry gate or automated gate. Welding on a loaded gate is genuinely dangerous work: welding arcs carry serious electrical current, structural steel under load can release suddenly, and a gate that fails while you’re standing next to it is not a small accident. Do not attempt to weld a vehicle gate under load on your own. The safety margin isn’t worth it. Vance Gate Repair Winchester offers free estimates in Winchester, with the price written out before any work starts, so there’s no surprise invoice at the end. Call (866) 983-9213.
Frequently Asked Questions
Not on a loaded or automated gate. Small cosmetic cracks on a decorative pedestrian gate can sometimes be cleaned and patched by a confident DIY welder, but any crack on a vehicle entry gate, a security gate, or a motorized gate needs a professional. The load on those welds is high, and a failed weld on a moving gate can cause injury.
Because the hinge is reporting a problem that lives elsewhere. In the vast majority of sag situations we diagnose in Winchester, the real cause is a failed post anchor weld, a cracked weld at the hinge plate, or a post that’s leaning. Adjusting the hinge temporarily compensates for the real failure; it doesn’t fix it. Check the post first.
Most residential gate weld-repair calls in Winchester run in the range of a few hundred dollars for a single weld resurfacing or a hinge-plate weld repair, with larger structural work on vehicle gates priced higher depending on the material and the scope. We don’t quote a number over the phone; we inspect, photograph, and hand you a written price before any work starts. Call (866) 983-9213 for an exact quote. Estimates are free.
Stress fractures at the hinge plates, corrosion-induced separation at the post caps, and fatigue cracking at the frame corner joints. Each has a characteristic location and a characteristic appearance. Raking a flashlight along the weld at a shallow angle is the fastest way to spot them.
Sometimes. If the gate is straining, opening unevenly, or stalling midway, the operator may be fighting a gate that’s out of square because of a cracked weld or a failing post. If your gate runs on LiftMaster, FAAC, BFT, Linear, Viking, Ghost Controls, DoorKing, Elite, or Mighty Mule automation, we can service the mechanical side and the operator side together. Call (866) 983-9213 for a free estimate.
A weld tolerance is how far a weld bead can deviate from spec before it fails under load. It matters in Winchester because the thermal expansion-contraction cycle here works the weld harder than in a stable climate, so a weld that would last in one place may crack sooner in Winchester. Ask any gate welder how they set their tolerance for the local climate; if they don’t have an answer, that’s a signal to call someone else.
The Bottom Line
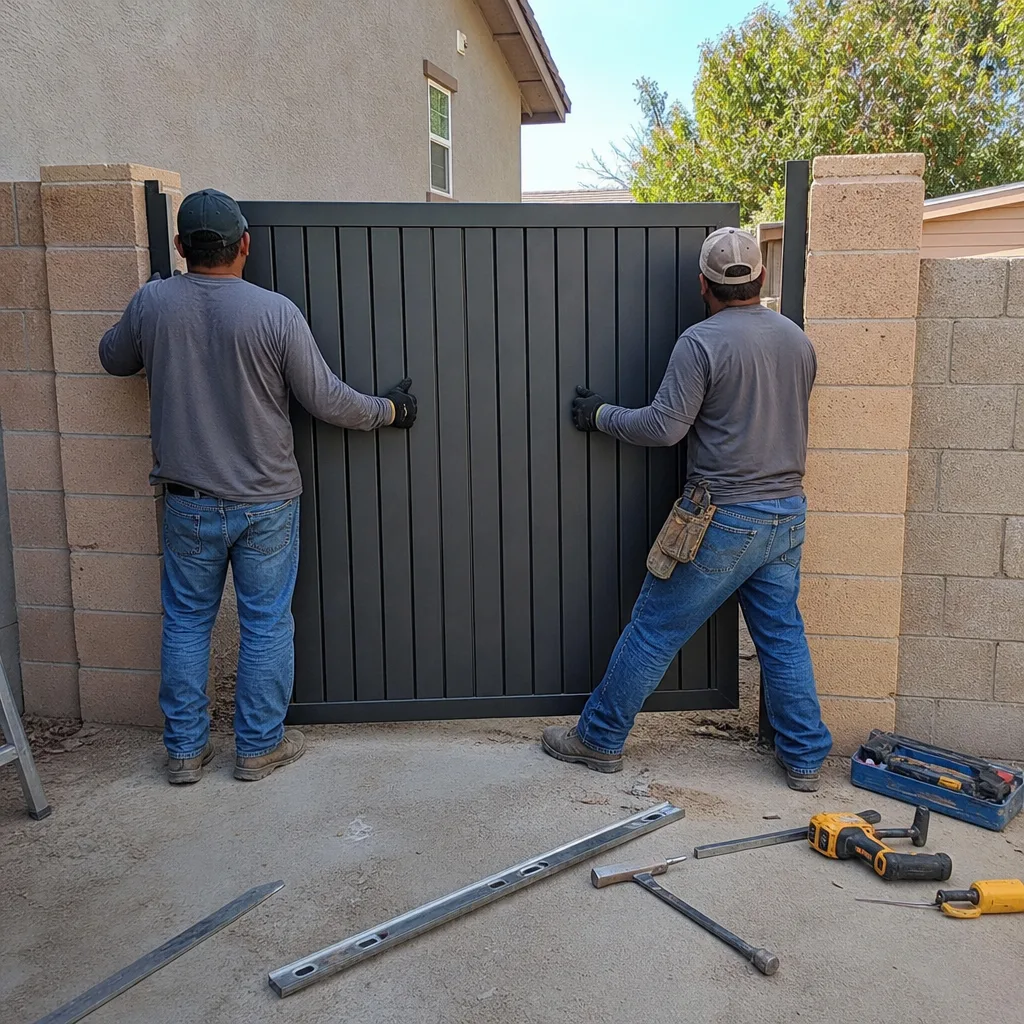
Diagnose the gate from the ground up. Check the post anchor first, look for the three common weld failures second, sight the frame with a straight edge and a level, and leave the hardware for last. A brace on a decorative gate buys you time; a brace on a loaded vehicle gate hides a failure mode. If a crack is there on a gate that matters, weld it properly, photograph it, and keep the record. If you’re not sure what you’re looking at, don’t guess at it, and don’t weld on a loaded gate yourself. Vance Gate Repair Winchester has photographed a lot of gate welds in Winchester over the years; we’d be glad to look at yours. Call (866) 983-9213 for a free estimate, with the price in writing before any work begins.
Written by the team at Vance Gate Repair Winchester.