
Last updated November 18, 2026
 Wrought iron
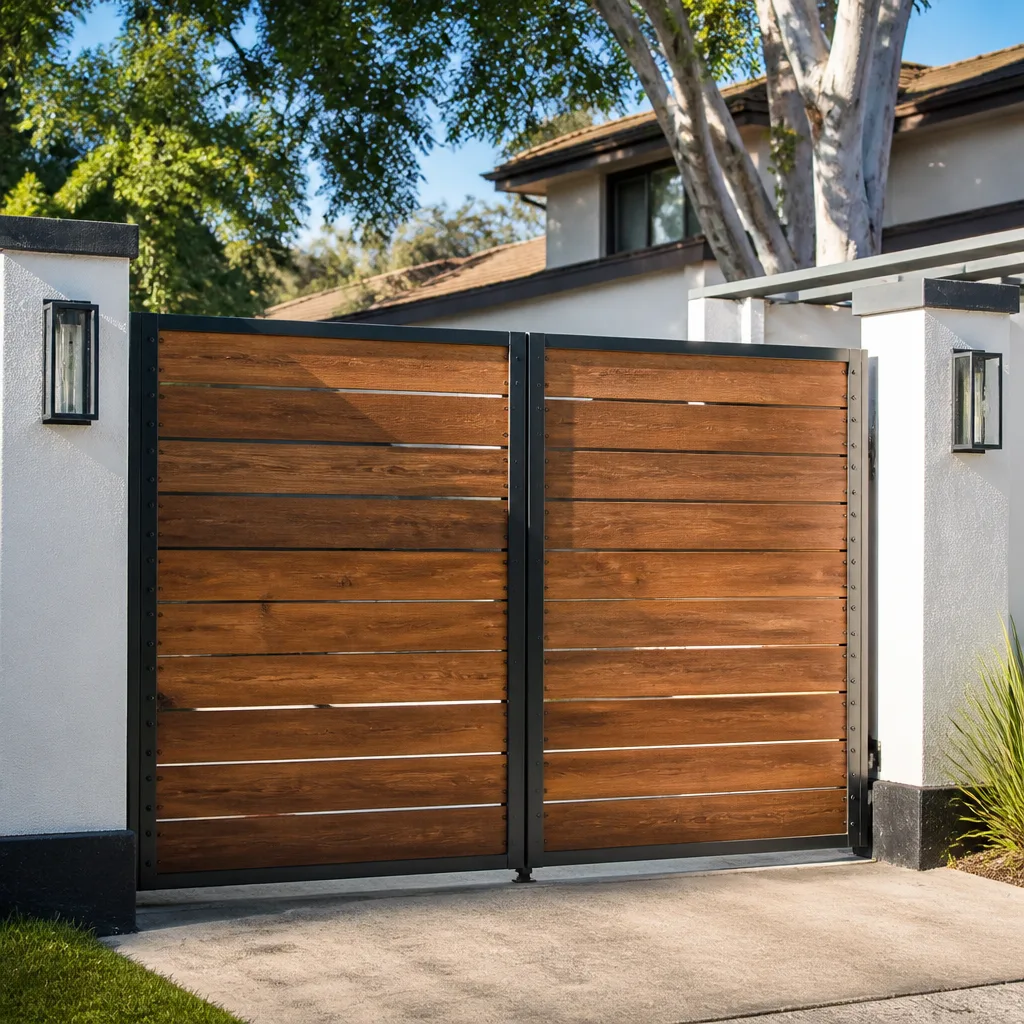 Wood & steel frame
 Farm & ranch
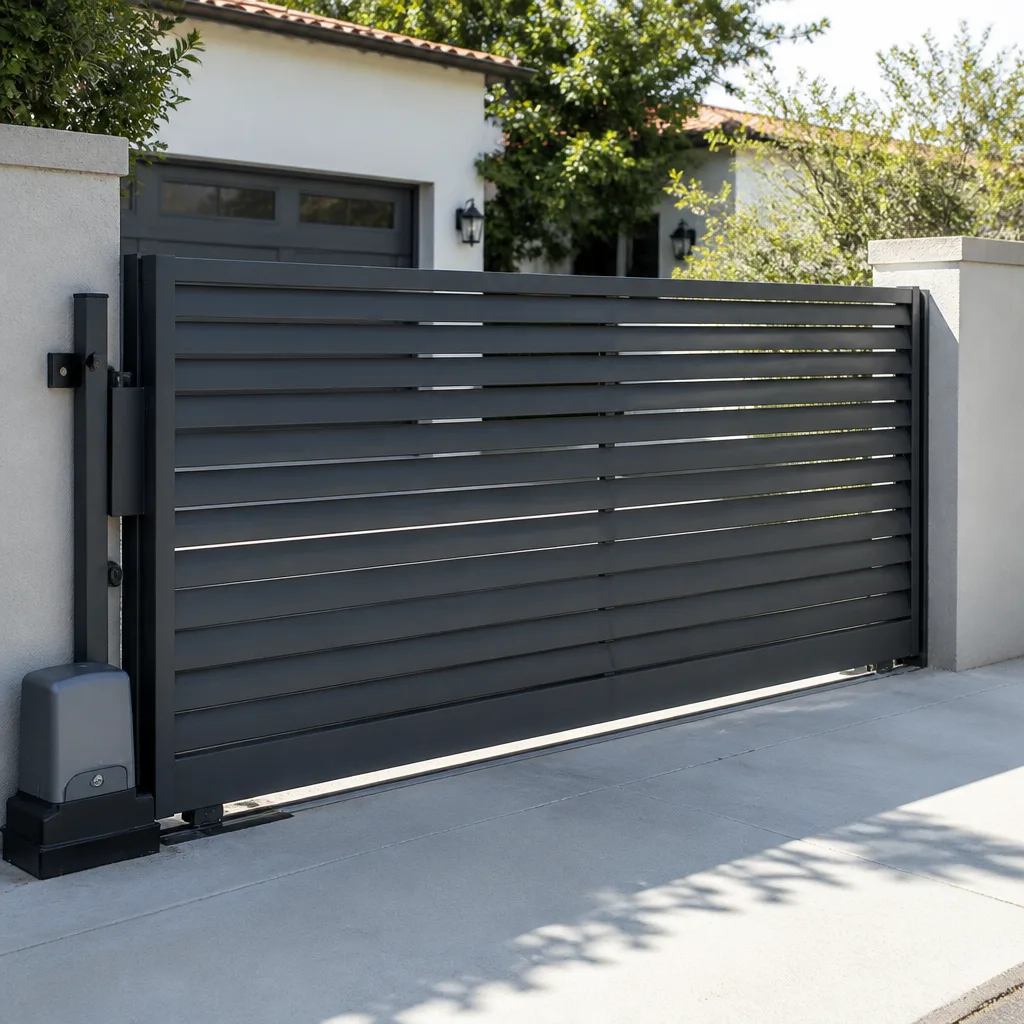 Sliding driveway gates
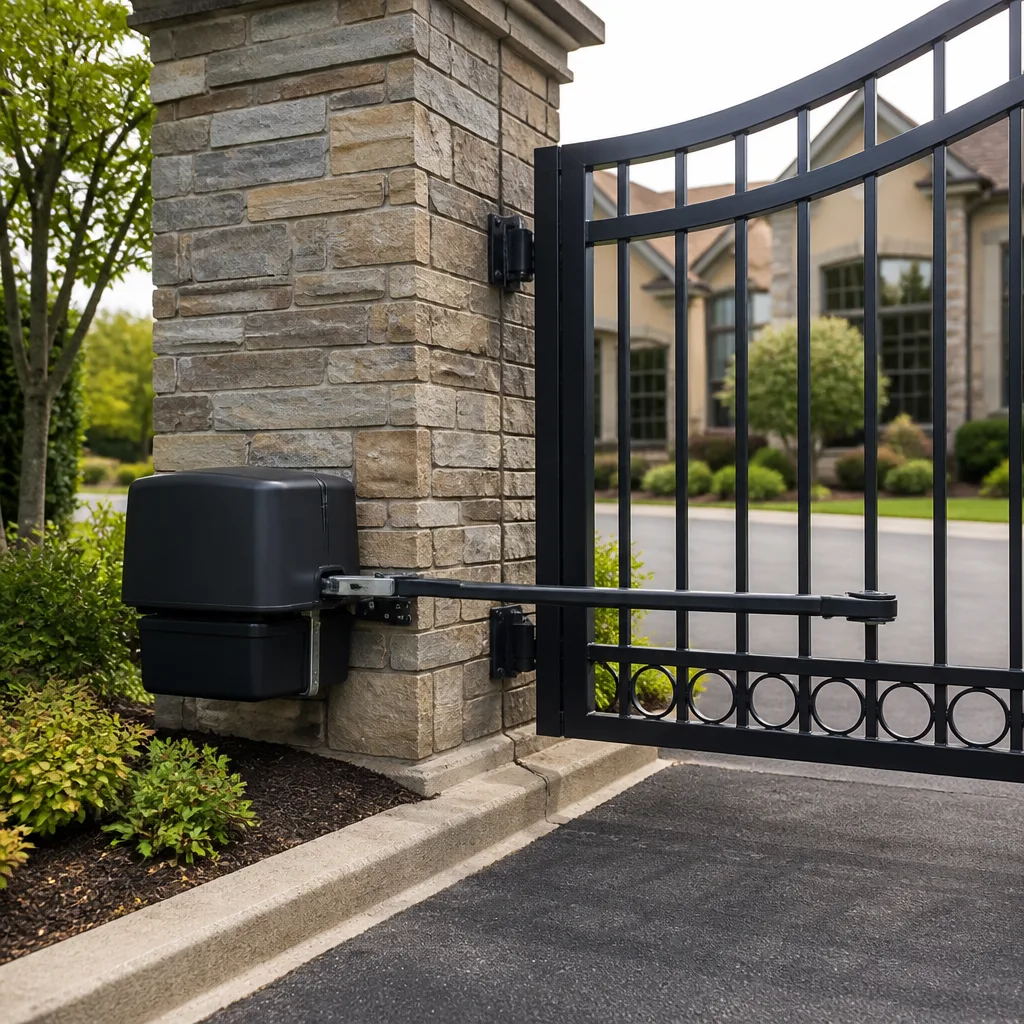 LiftMaster operators
Free on-site gate assessment - hinges, posts, and your LiftMaster or Nice gate operator checked before anything is quoted
The assessment is free and the quote is the invoice.
Get your free estimateGate Repair Troubleshooting: Common Problems and How to Fix Them
Most gate “diagnoses” are guesses with parts attached. Here’s the number that should shape how you think about this: a gate that reverses immediately after closing could have six different causes, and the most expensive possible fix – replacing the control board – is the right answer in fewer than 15% of those cases. The board takes the blame because it’s the part a frustrated owner or an under-equipped technician reaches for when nothing else is obvious. What actually narrows a fault is measurement, taken in a fixed order, before a single part is ordered. This guide walks you through a symptom-first sequence you can follow in Winchester: what to look at, what to read with a meter, and the exact point where the job stops being safe to do yourself.
Quick Answer
Gate repair troubleshooting starts with measuring, not replacing. Read your opener’s LED blink codes or diagnostics menu first, then check the safety photo-eye alignment and the battery voltage under load. Most “dead board” diagnoses turn out to be a weak battery, a misaligned photo-eye, or a bad wiring connection. Only after those readings come back clean should you suspect the control board itself – and on a typical residential gate, that should happen in fewer than one in seven cases.
Styles & brands we work with
- Wrought iron
- Wood & steel frame
- Farm & ranch
- Sliding driveway gates
- LiftMaster operators
Table of Contents
- Start With Measurements, Not Parts
- How to Read Your Opener’s Blink Codes and Diagnostics
- A Symptom-by-Symptom Fault Tree
- Voltage and Resistance Readings That Separate Board, Transformer, and Wiring
- The Three Most Misdiagnosed Gate Faults
- When Troubleshooting Becomes Parts Swapping – and Liability
- When to Call a Professional
- Frequently Asked Questions
Gate systems fail on a small number of repeated patterns. Our technicians, who carry up to 12 years of experience on residential and light commercial gates, see the same handful of fault families over and over in Winchester – and the measurement-first sequence below is how we approach every one of them.
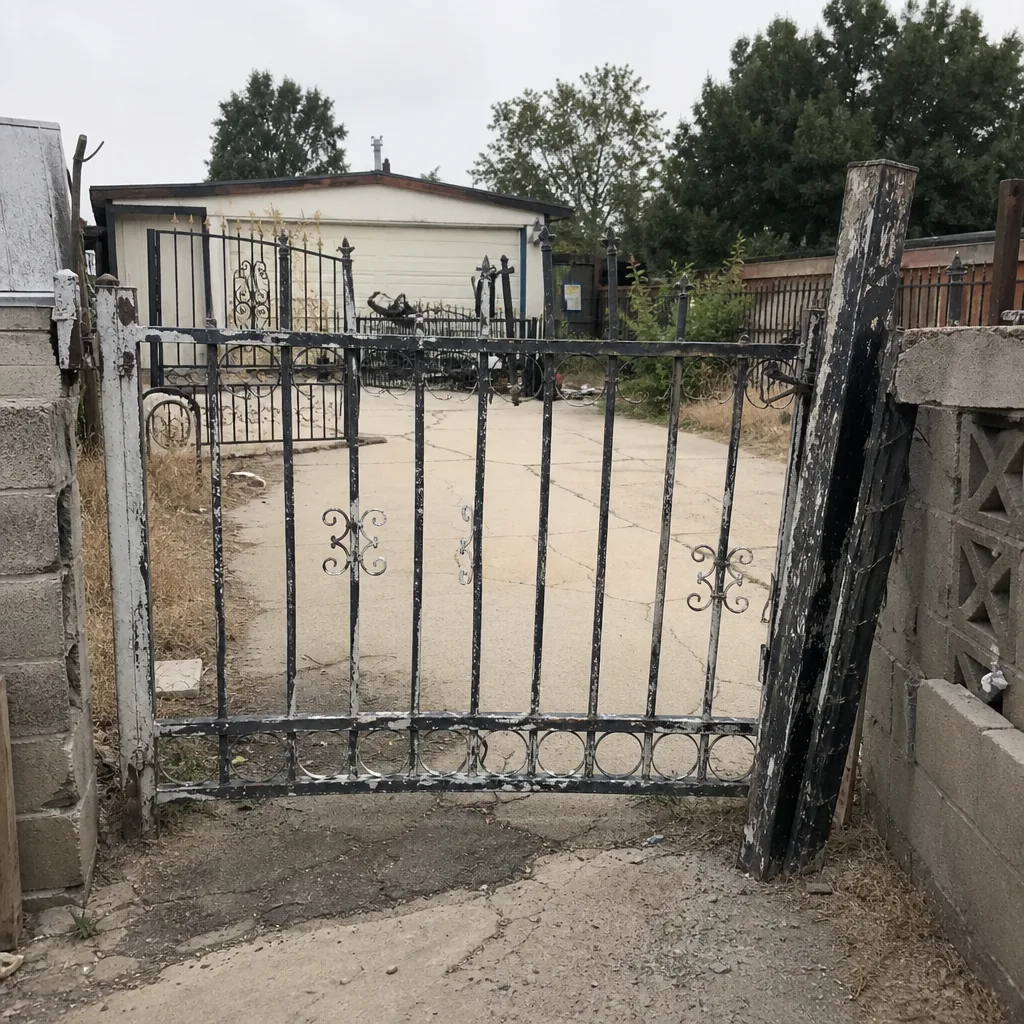 Before
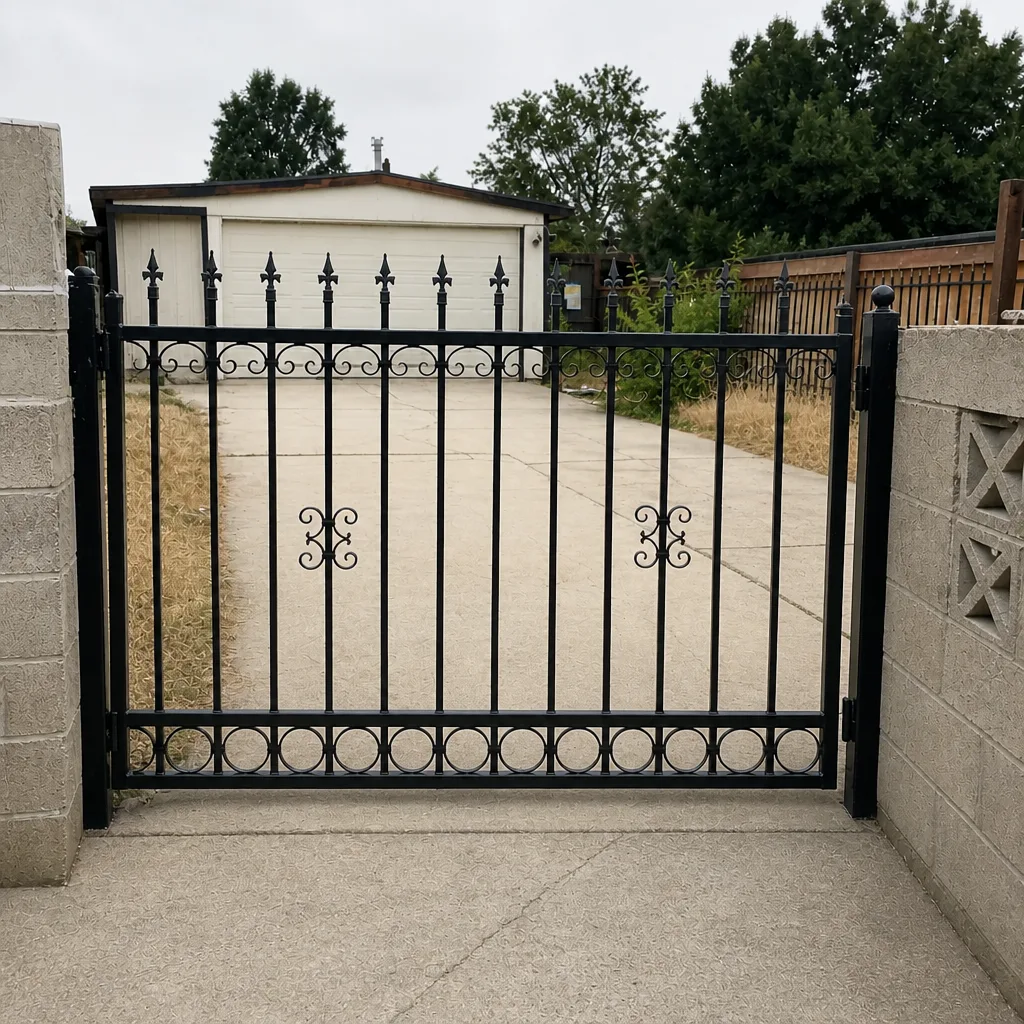 After
Start With Measurements, Not Parts
Before you loosen a single screw, spend ten minutes establishing a baseline. A gate that “just stopped working” almost always gives you evidence if you look in the right order: power in, power out, then signal. Skipping that order is how a $40 battery becomes a $300 control board and an afternoon of frustration.
Here’s the measurement-first checklist we use on a first diagnostic visit. You can run most of it yourself with a multimeter, a screwdriver, and your phone’s camera:
- Confirm supply voltage at the transformer. Measure AC input at the transformer’s line side. If it’s not close to the expected line voltage, the fault is upstream in the circuit, not the gate.
- Measure the transformer’s output at the control board terminals. Compare against the voltage printed on the transformer or in the manual.
- Load-test the battery (if the opener is battery-backed). A resting voltage near 12V means little; you want a reading while the gate motor is trying to move. A battery that sags hard under load is a dead battery.
- Check the photo-eye alignment and confirm the receiver’s indicator LED changes state when the beam is broken by hand.
- Read the board’s blink code or diagnostics before touching wiring.
Each reading either clears a subsystem or points at the next one. When you’ve cleared power supply, battery, and safety beam, you’ve eliminated most of the cheap candidates. That’s when the meter starts earning its keep.
How to Read Your Opener’s Blink Codes and Diagnostics
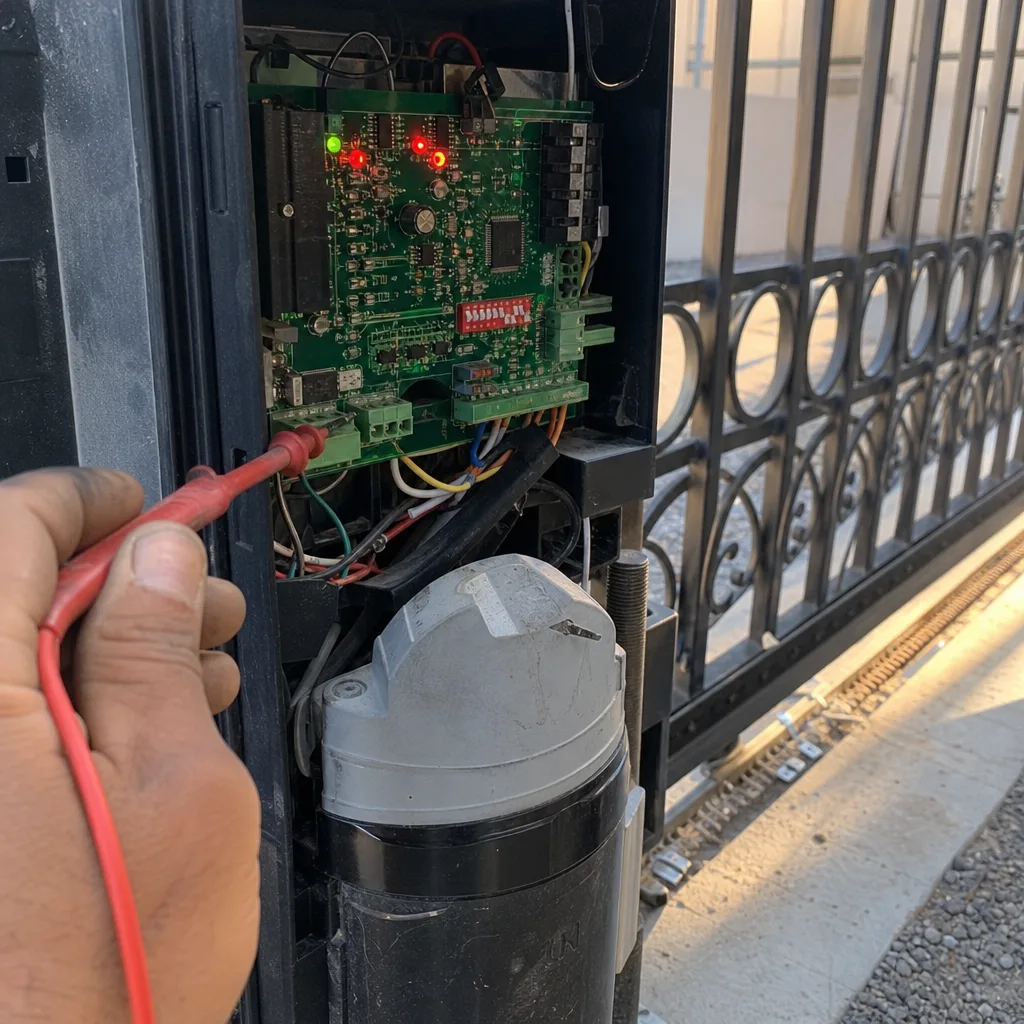
Your opener has been trying to tell you what’s wrong the entire time. Most modern operators – including the Linear and Viking units common on Las Vegas Valley properties – use a status LED that flashes a pattern after a fault. Two flashes, five flashes, one long and two short: each brand maps a different meaning onto the same flashes, and that map is in your manual or on a sticker inside the housing.
Grab the manual before anything else. If you don’t have it, the model number is usually printed on a label on the inside of the housing or on the arm. Photograph that label; it’s the single most useful piece of information you’ll have when you call for parts or service, and it saves a return trip.
What the codes typically separate:
- Obstruction/photo-eye fault codes. The gate stops or reverses, and the LED flashes a code for a blocked or misaligned safety beam. This is by far the most common code we see.
- Limit/position faults. The gate travels past where it should, or stops short. The opener thinks the gate is open when it’s closed, or the reverse.
- Low battery or power faults. The operator reports insufficient supply or a battery that won’t hold.
- Motor/drive faults. The board reports current draw or encoder feedback outside range – often a motor capacitor, sometimes a worn arm.
The troubleshooting that matters here isn’t interpreting the code – it’s trusting it. In our experience, the code is right far more often than the consumer’s first hunch. Write the code down. When you speak to a technician, hand them “Five flashes, gate reverses at close” instead of “it’s broken,” and you’ve already cut the diagnostic time roughly in half.
A Symptom-by-Symptom Fault Tree
A part-first approach says “the board is bad, replace it.” A symptom-first approach asks what the gate is actually doing and narrows from there. Five symptoms account for the overwhelming majority of residential calls in Winchester: the gate won’t open at all, it reverses immediately after closing, it grinds, it opens slowly, or the remote works but the keypad doesn’t. Each leads to a short list of likely causes, ordered from cheapest to fix.
Gate won’t open
- Dead battery or tripped breaker at the supply.
- Photo-eye blocked or misaligned (safety circuit holds the gate closed).
- Limit switch stuck, so the board believes the gate is already open.
- Remote/keypad battery or code (see below), not the operator.
- Failed motor capacitor or board.
Gate reverses immediately after closing
- Photo-eye beam broken by a leaf, spider web, or wind-blown debris.
- Photo-eye misaligned by a couple of inches after a hard bump or settlement.
- Reverse/obstruction sensitivity set too high.
- Limit switch set past the intended closed position.
- Hall-effect or encoder sensor out of alignment, so the board loses position.
- Genuine motor or board fault (the rarest of the six).
Gate grinds or sounds rough
- Worn or dry hinge bearings.
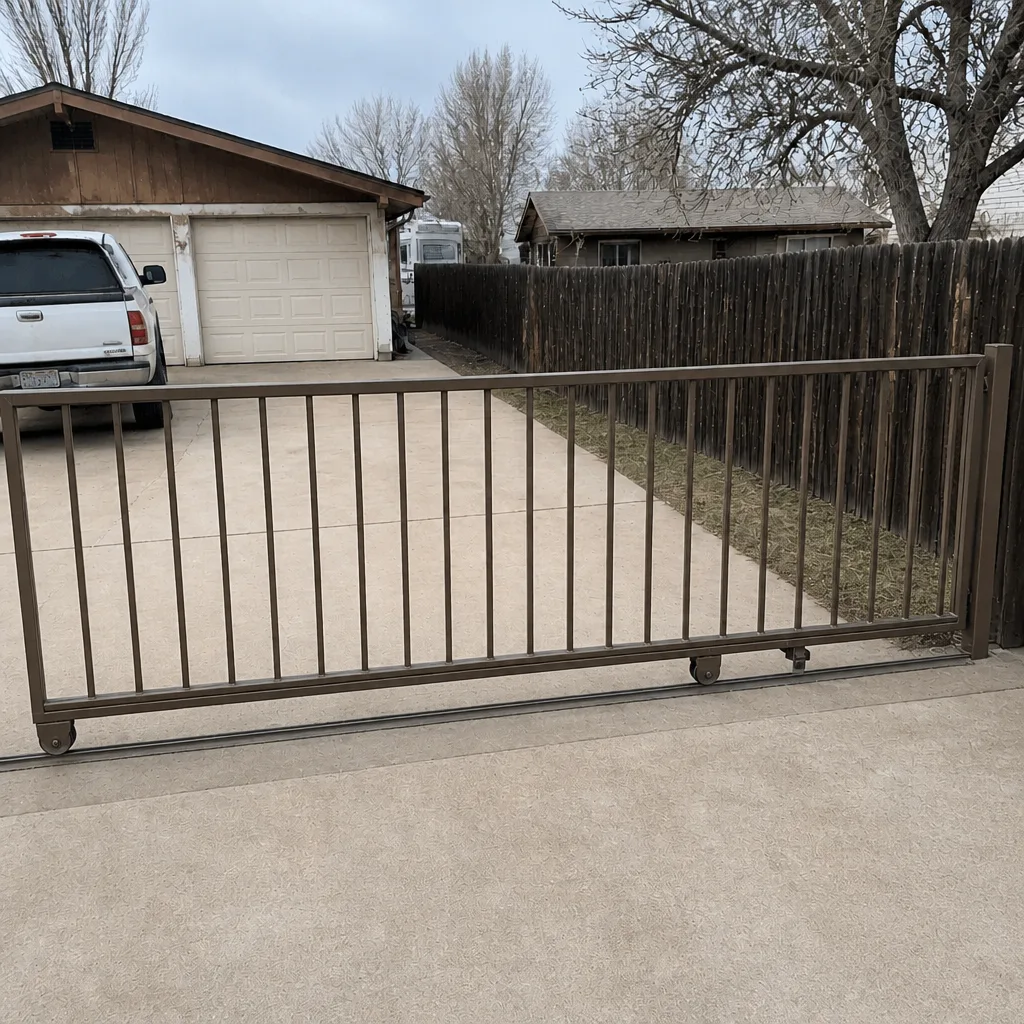
- Debris in the track (slide gates) or a bent roller.
- Loose arm bracket or a motor pinion wearing into the rack.
- Sagging gate frame from post settlement or ground movement.
Gate opens slowly
That’s a setting or a power problem, not usually a motor problem. Check the speed setting in the operator’s programming menu, then the battery under load, then the motor capacitor. A capacitor that’s drifted doesn’t fail outright; it just makes the motor feel tired.
Remote works but keypad doesn’t
The operator is fine. The keypad’s own supply or its programmed code is the problem – check the keypad battery, the access code, and the keypad’s wiring back to the operator. This is a keypad fault, not a gate fault, and it’s one of the cheapest fixes on the list.
Voltage and Resistance Readings That Separate Board, Transformer, and Wiring
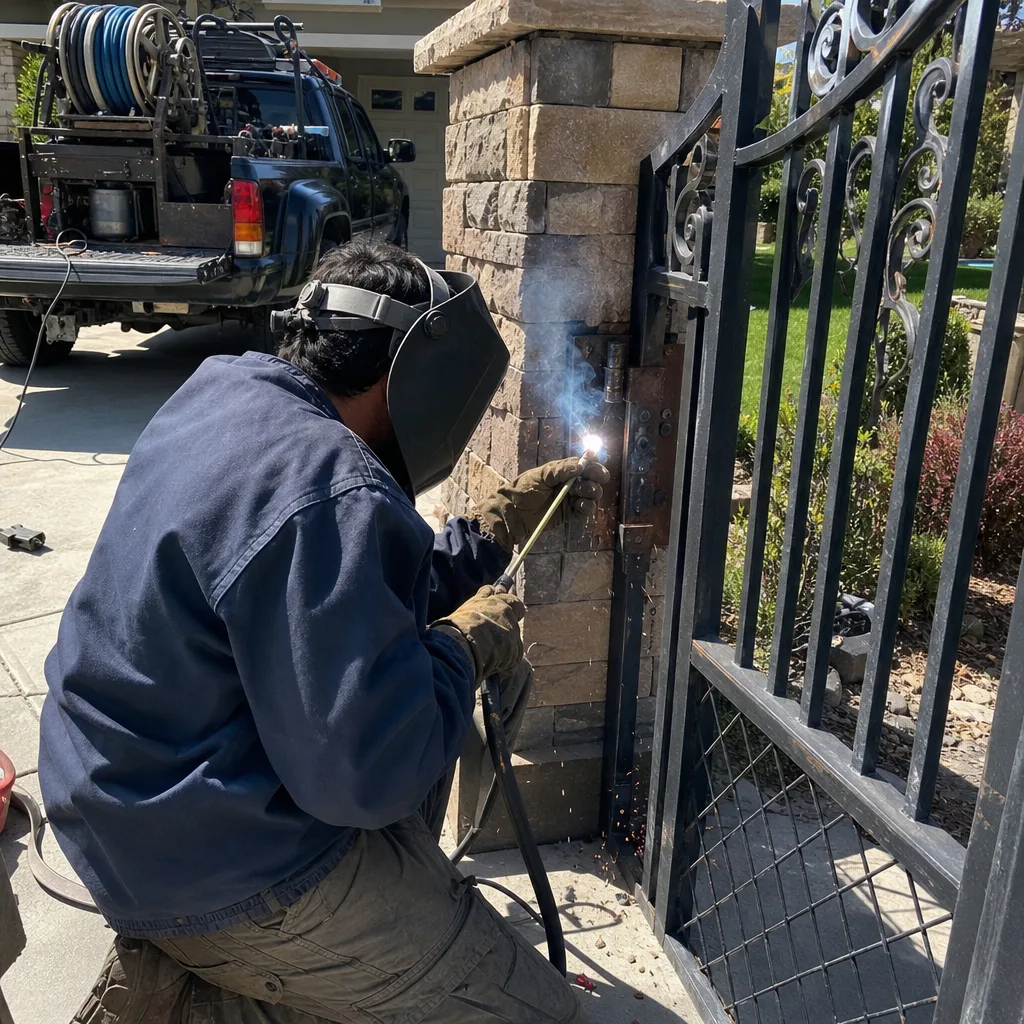
This is where the money is saved. Three different components – the transformer, the control board, and the wiring between them – can each produce nearly identical symptoms: the gate doesn’t move and the operator seems dead. Without a meter, you’re guessing. With one, you can usually tell them apart in a few minutes.
You’ll need a digital multimeter, a screwdriver that fits your terminal blocks, and the operator’s manual for the expected voltages. That’s it. (A clamp meter is useful on commercial gear but unnecessary for most residential diagnostics.) These are the readings that matter:
- Transformer output, unloaded. Measure AC across the transformer’s secondary at the board terminals. It should be close to the rated value printed on the transformer. A reading at zero says the transformer or its primary wiring has failed; a reading well below spec suggests a winding on the way out or a heavy downstream load.
- Board supply, loaded. Measure the board’s DC supply while the motor is commanded to move. A supply that collapses under load points at a weak battery or an inadequate transformer, not a failed board. A supply that holds steady while the gate still doesn’t move pushes suspicion onto the board or the motor.
- Continuity across the wiring run. With power off, check resistance from the board’s photo-eye and control terminals out to the accessory and back. An open circuit or a reading in the hundreds of ohms across a short run says the wire itself is compromised – a nicked cable, a corroded splice, a loose terminal – and no amount of board replacement will fix a broken wire.
- Motor winding resistance or capacitor check. If the motor hums but doesn’t turn, a failed run capacitor is the usual culprit, and it’s an inexpensive part.
Write every reading down as you go. “Transformer secondary at 23.8V AC loaded, board supply stable, photo-eye circuit open at the south post” tells a technician everything. “It doesn’t work” tells them nothing. That habit – measuring, recording, and leaving a written record – is the same commercial-grade documentation discipline we carry onto every residential job in Winchester.
The Three Most Misdiagnosed Gate Faults
These three account for the majority of “it was the board after all” stories that turn out not to be. In each case, the actual root cause was cheaper than the part the homeowner (or the previous technician) suspected.
- “The board is dead” that was a dead battery. A battery-backed opener with a battery that’s gone soft will power up, run a self-test, and then refuse to move the arm or reverse immediately under load. On the bench the board tested fine. The battery measured 12.6V at rest and 8.9V under load. A fresh battery fixed it. Boards are rarely the failure; batteries are frequently the failure.
- “The motor is weak” that was a misaligned photo-eye. A gate that opens fine but reverses at 90% of the way closed looks like a stalling motor or a tired capacitor. It was usually a photo-eye knocked two inches out of alignment by a bump, a settling post, or a winter of wind. Realign the beam, confirm the receiver LED changes state, and the gate closes normally with the original motor.
- “The remote is broken” that was a keypad fault. The homeowner replaced remotes and re-paired twice before discovering the keypad’s shared supply had failed, which took the whole accessory bus down. The operator and remotes were fine. The keypad wiring was the fault, and it was found by measuring continuity from the board to the keypad, not by swapping remotes.
Each of these followed the same shape: an obvious suspect, an expensive part, and a cheap actual cause hidden behind a measurement nobody ran. Reversing the order – measure first, replace last – turns a guess into a diagnosis.
When Troubleshooting Becomes Parts Swapping – and Liability
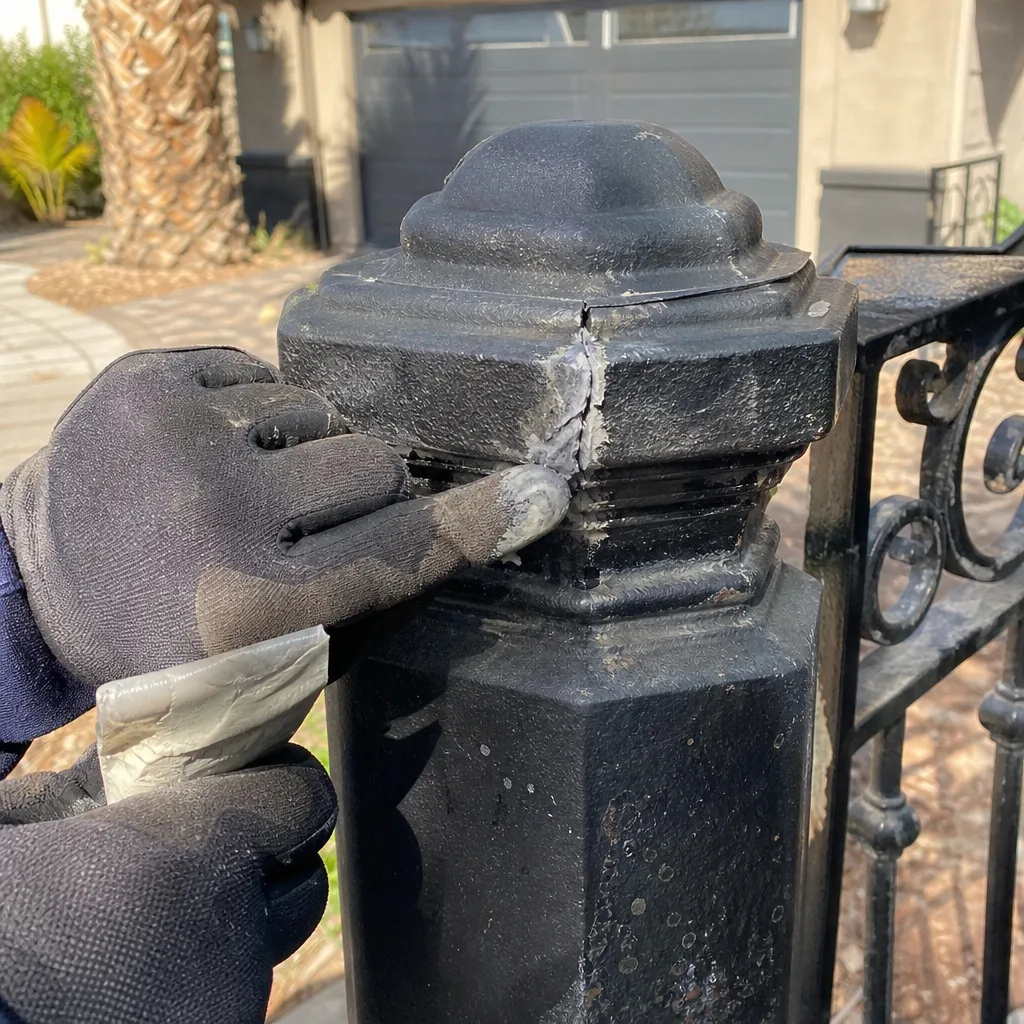
There’s a line in gate work, and it’s crossed the moment troubleshooting turns into “let’s try this part and see if it helps.” That’s not repair; that’s an experiment with your gate, your money, and your safety. On a swing gate with a high-tension spring, a slide gate with a heavy rolling load, or any automated gate with a safety edge, a wrong guess can leave the system in a state where the safety circuit is bypassed or the gate moves unpredictably. That’s the point where the work stops being a homeowner project and becomes a liability.
The specific risks a careful owner should not take on:
- Disabling or bypassing the safety photo-eye or safety edge. Never leave a gate operating with the safety beam defeated, even temporarily. A gate that can close on a person is a hazard.
- Working on the high-tension spring, torsion bar, or counterweight system. These store enormous energy. A trained professional is the only correct person for that work.
- Working on the 120V supply or a panel circuit. If the diagnostic leads you to your home’s electrical panel, stop.
- Swapping a control board “to test.” Boards are not interchangeable between brands, and a miswired replacement can take the motor with it. Test with a meter, not a part.
- Overtightening a limit switch or travel setting without recording the original position. You’ll lose your baseline and won’t be able to restore the gate to where it was.
The point of measurement-first troubleshooting isn’t to make the job harder for a homeowner; it’s to make sure the diagnosis is real before anyone spends money or touches a safety component. If your readings narrow the fault to the board, the motor, or the spring system, that’s the moment to hand it to a professional – with your notes in hand. That’s exactly what a documented diagnosis is for, and it’s what makes the gate repair in Winchester work we do faster and cleaner than a visit that starts from zero.
See the difference
BeforeAfter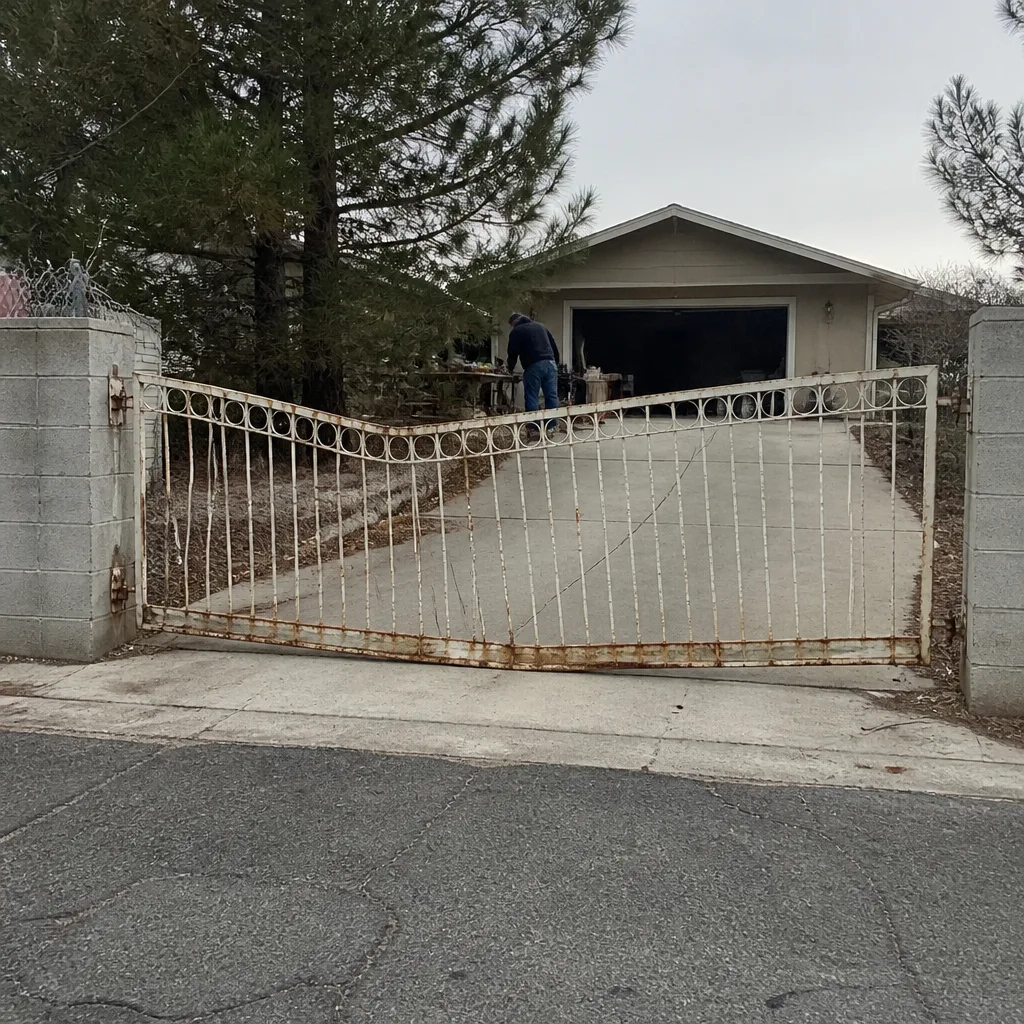 Before
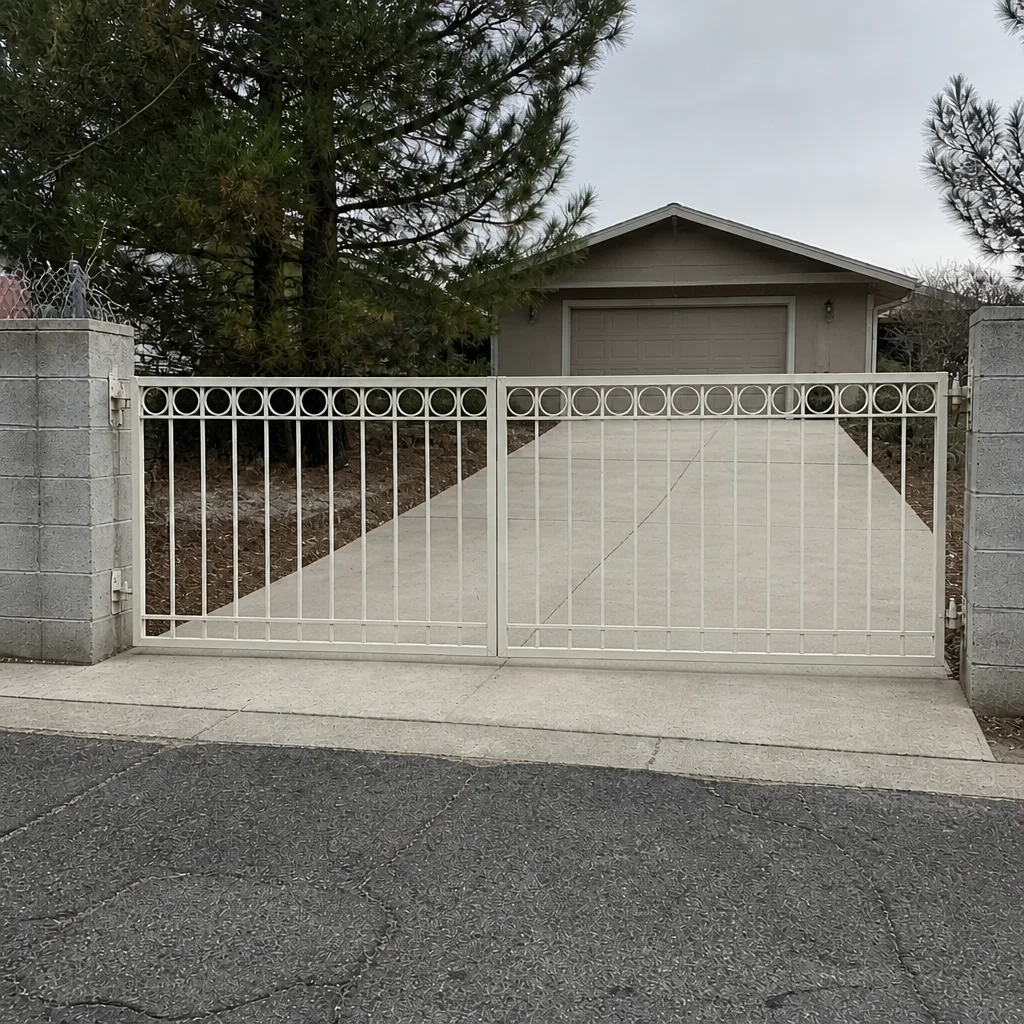 After
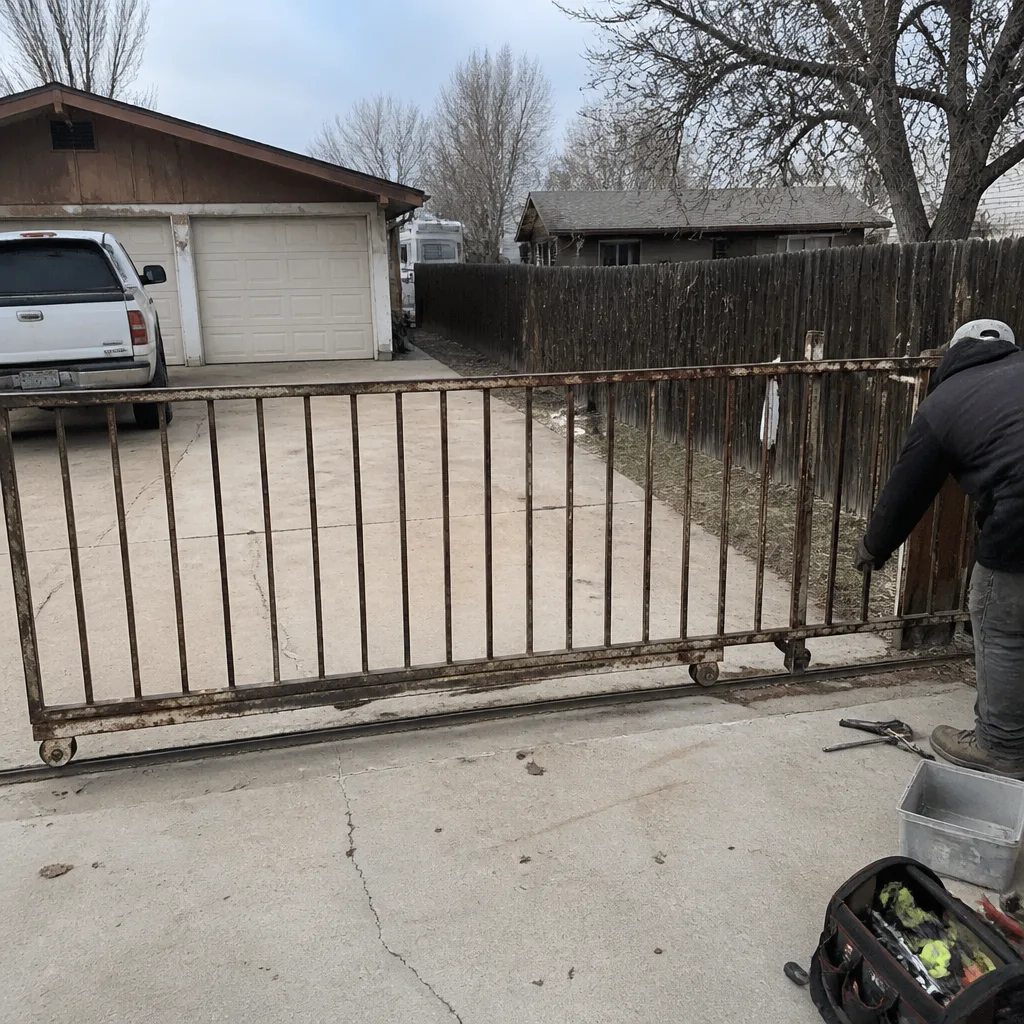 Before
 After
Common Mistakes to Avoid
- Replacing the control board before reading the blink code. The code is free and it narrows the fault to one subsystem in seconds. Skipping it is the most common path to an unnecessary board swap.
- Assuming a 12V battery is good because it reads 12V at rest. Rest voltage tells you almost nothing. Load-test it: a battery that sags below 10V under load is your fault, even if it measured perfectly clean a minute earlier.
- Bypassing the photo-eye “just for a minute.” A safety beam defeated to test whether the gate closes is a gate that can close on a child or a pet. If you suspect the beam, check its alignment and clean it; don’t jump it out.
- Buying a replacement part without photographing the model label first. Gate operators change model-to-model and year-to-year, and the correct part number lives on that label. Without a photo, you’re guessing – and guessing is how you end up with a part that doesn’t fit or a control board that can’t be returned.
- Overtightening travel limits after “fixing” a reverse problem. If your gate reverses because the limit is wrong, resetting travel halfway by eye usually just moves the fault. Record the original limit reading before you touch it.
- Lubricating a track or hinge without diagnosing the grind. Grease is not a diagnosis. A grinding slide gate is usually debris in the track or a worn roller, not a lubrication problem, and grease over a worn part will hide the fault and speed the wear.
- Working on springs or the 120V supply yourself. These are the two places in gate work where a mistake can hurt you or someone else. Leave both to a trained professional.
When to Call a Professional
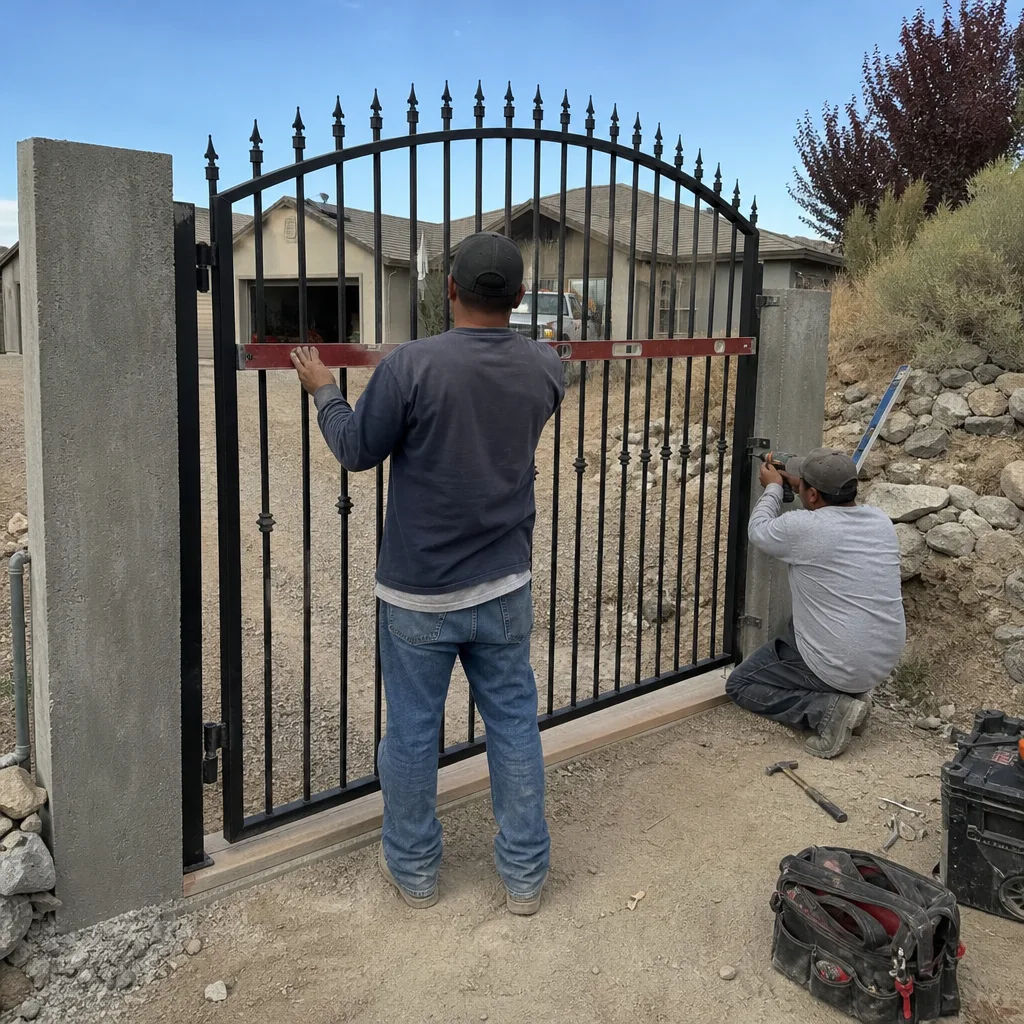
Call a professional when your readings point to the control board, the motor, the transformer, or any part of the spring or counterweight system; when you’ve cleared the photo-eye, the battery, and the wiring and the gate still misbehaves; or when the work involves the 120V supply at the panel. Call sooner if the gate is part of a property access or security system, and always before you disable a safety edge or photo-eye to “see what happens.” A documented diagnosis you can hand to a technician is worth the call by itself. Vance Gate Repair Winchester offers free estimates and a written price before any work begins – call (866) 983-9213. A live person answers around the clock, so you’re not leaving a message at any hour. We service nine major gate automation brands, including Linear, Viking, and DoorKing, so a measured diagnosis can usually proceed on whatever motor is already on your property.
Frequently Asked Questions
The most common cause is a misaligned or obstructed safety photo-eye, not a failed control board. A beam knocked a couple of inches out of alignment by a bump or a settling post, or blocked by a leaf, spider web, or debris, will reverse the gate every time. Realigning the beam and confirming the receiver LED changes state fixes the majority of these – measure the beam before you suspect anything expensive.
Count the flashes and match the pattern to the chart in your operator’s manual. Every brand – Linear, Viking, DoorKing, and the rest – uses a different flash-to-fault map, so the code means nothing without the manual for your exact model. Photograph the model label inside the housing, then look up the code. Write down “five flashes, reverses at close” rather than “it’s broken” when you call for service.
No, not until you’ve measured. A control board is the right answer in fewer than 15% of “gate won’t open” cases; the more likely causes are a dead battery, a tripped breaker, a misaligned photo-eye, or a bad limit switch. Load-test the battery, check the photo-eye, and read the blink code first. Only when those all come back clean should a board be suspected.
Yes, and it’s one of the most common misdiagnoses we see. A failing battery holds close to 12V at rest but collapses to 8V or 9V under the motor’s load. Test it while the gate is trying to move, not at rest. A battery that sags below 10V under load is your fault.
No. If the remote operates the gate, the operator, motor, and board are all working; the fault is in the keypad’s supply, its access code, or its wiring back to the operator. Check the keypad battery, reprogram the code, and measure continuity from the board to the keypad. This is usually the cheapest fix in the whole guide.
It’s safe to read blink codes, check photo-eye alignment, load-test a battery, and measure voltages at the low-voltage terminals. It is not safe to touch the high-tension spring, counterweight system, or the 120V supply, or to disable a safety photo-eye or safety edge even temporarily. Stop and call a professional at that point – and if the repair crosses into installation or a new operator, we’d rather quote it in writing than guess over the phone; see our gate motor & opener in Winchester page and gate installation in Winchester page for what a measured job looks like.
The Bottom Line
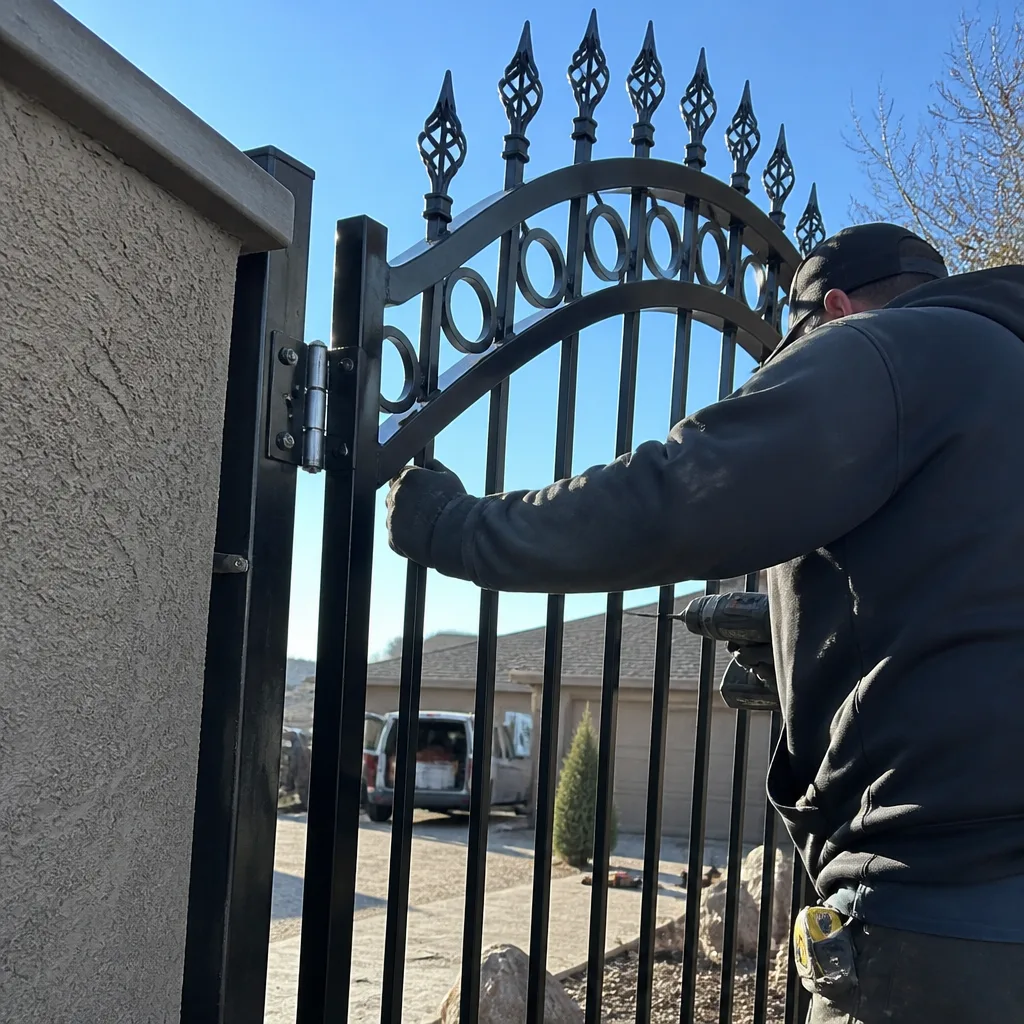
Gate repair troubleshooting is a measurement job, not a parts job. Read the blink codes, load-test the battery, confirm the photo-eye LED, and put a meter on the transformer, board, and wiring before you suspect any of them. The board is the culprit in fewer than 15% of cases; the cheap candidates are the frequent ones. Write every reading down – that record is what turns a guess into a diagnosis and saves you paying twice for the same fault. Know where the line is: springs, counterweights, and the 120V supply go to a professional, full stop. Start at the Vance Gate Repair Winchester home page if you’d like to see how we approach a documented first visit.
Ready for a measured diagnosis and a written price before anything is touched? Call Vance Gate Repair Winchester at (866) 983-9213 for a free estimate. A live person answers 24/7, we service nine major automation brands, and every job comes with the Haven Standard: a written price before work starts, a documented photo record when we leave, and the 365-Day Done Right Promise on every completed repair.
Written by the team at Vance Gate Repair Winchester.