
Last updated November 18, 2026
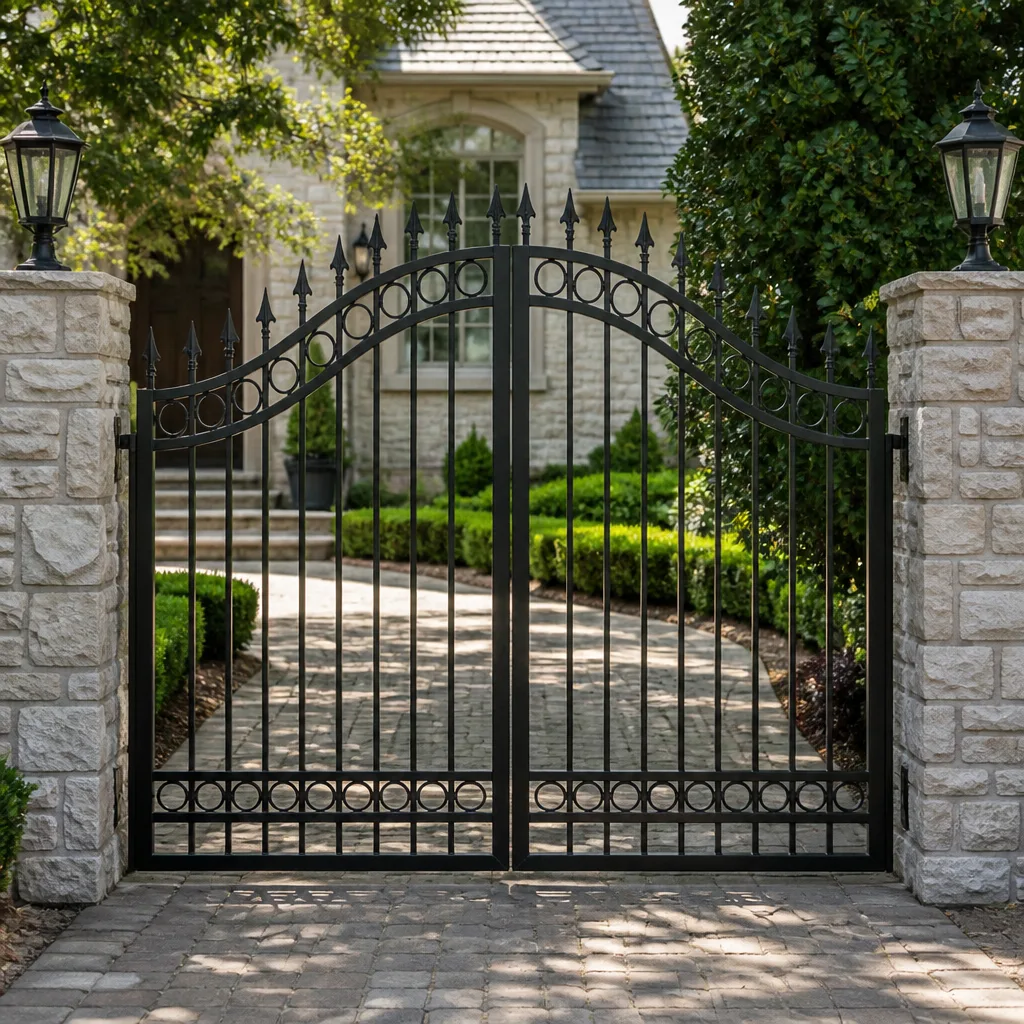 Wrought iron
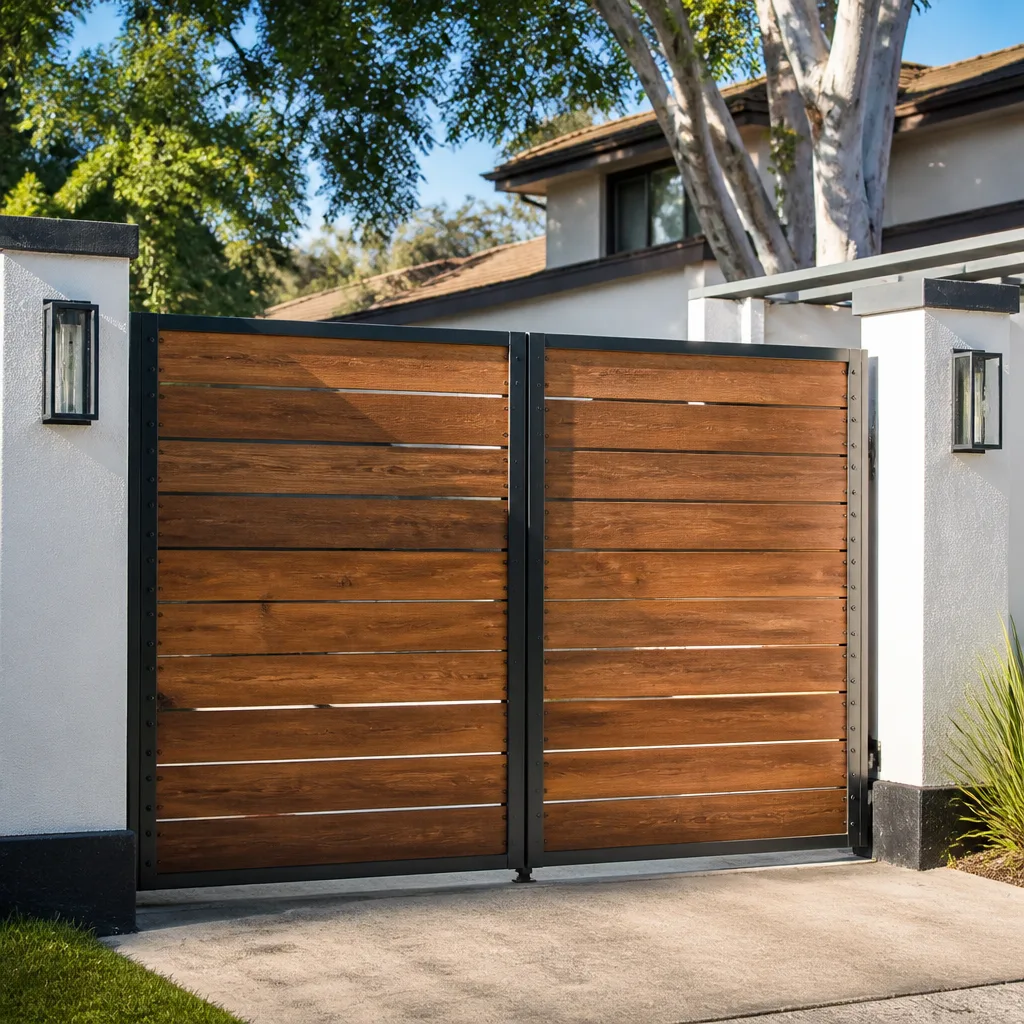 Wood & steel frame
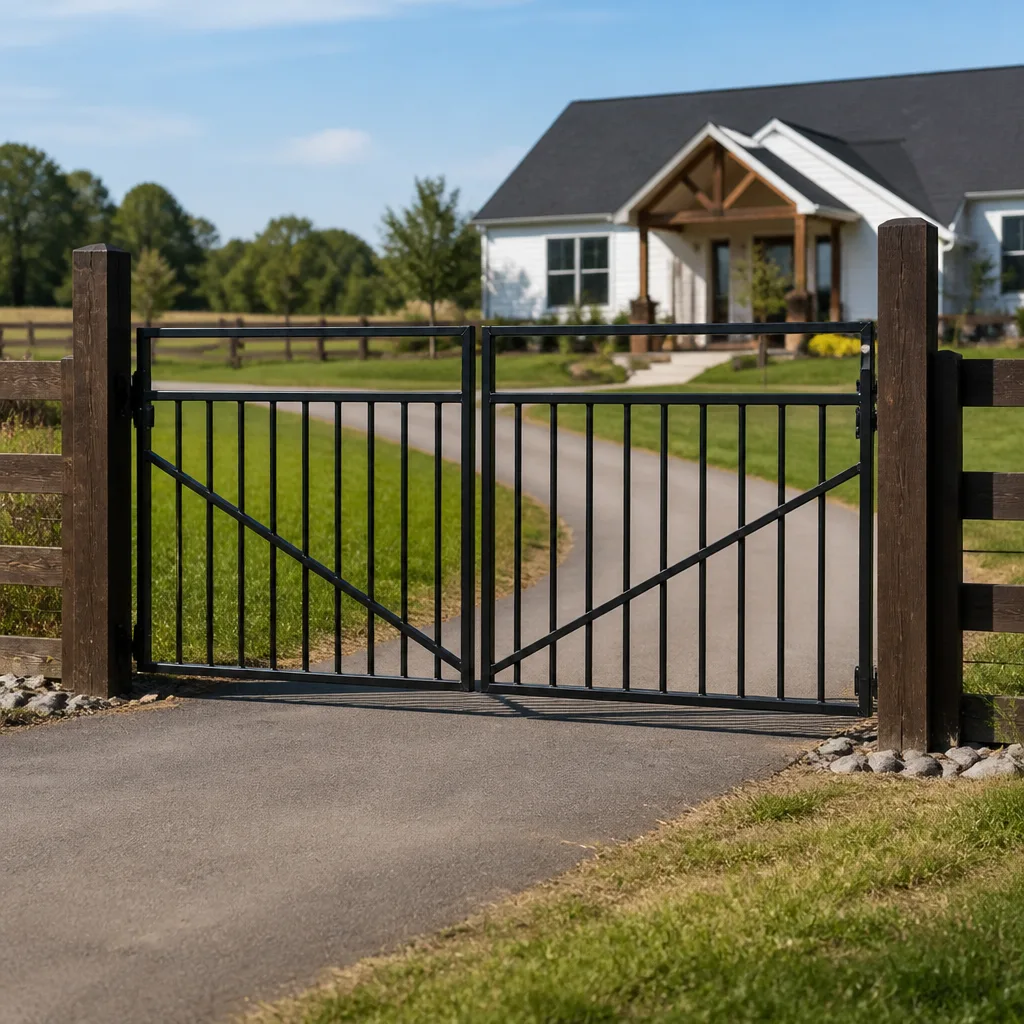 Farm & ranch
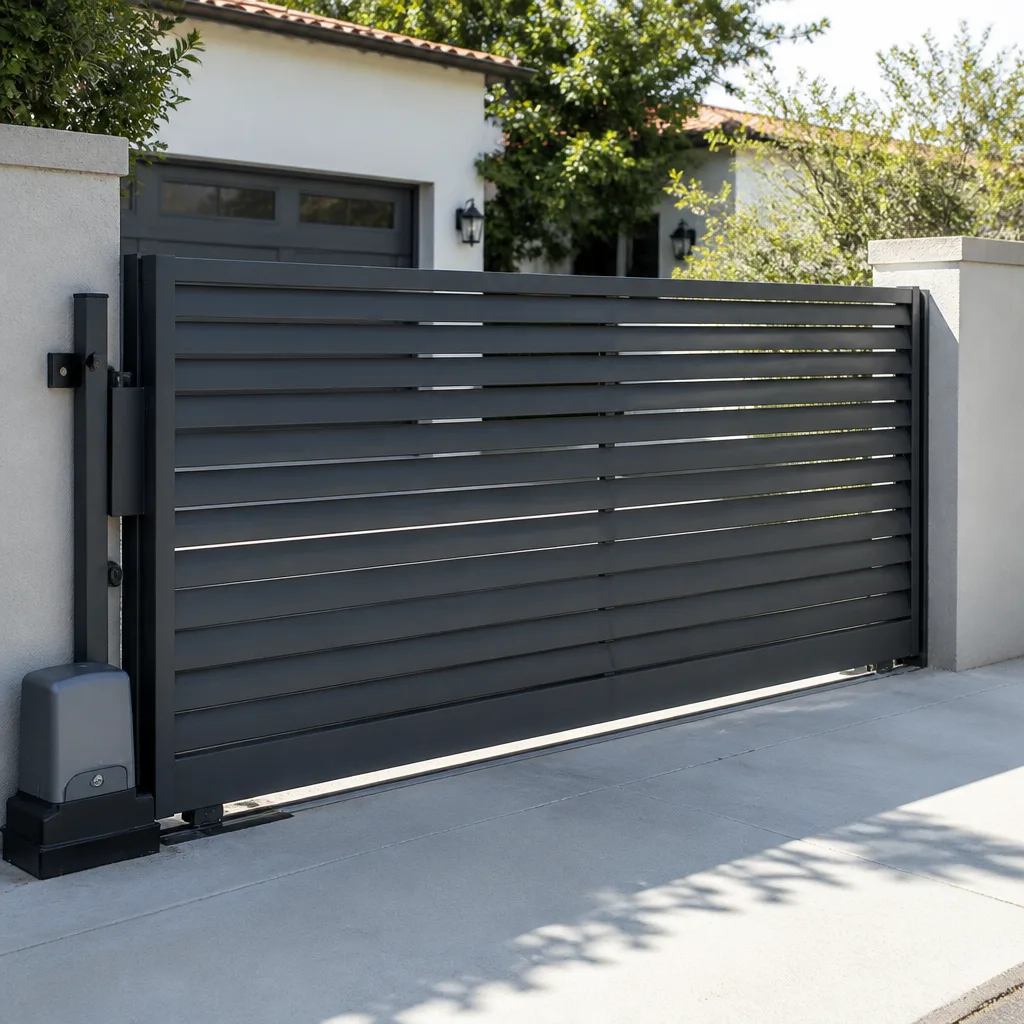 Sliding driveway gates
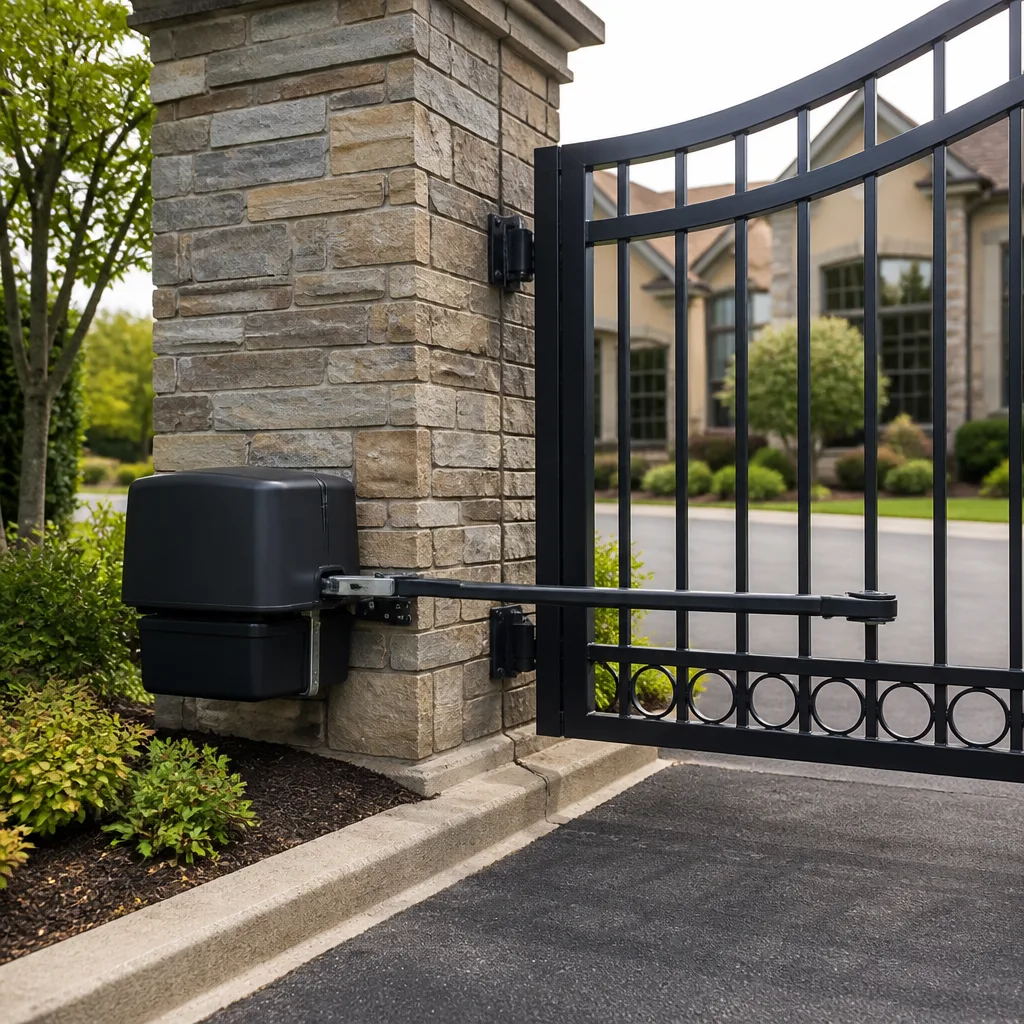 LiftMaster operators
Free on-site gate assessment - hinges, posts, and your LiftMaster or Nice gate operator checked before anything is quoted
The assessment is free and the quote is the invoice.
Get your free estimateThe Complete Gate Parts & Welding Guide for Winchester Homeowners
A hinge that looks cracked is not always a welding job. Sometimes the base metal behind it has fatigued, and a new weld laid over tired steel will fail in the same spot within a year – which means the homeowner pays twice to solve the same problem. In our experience working on Winchester gates, most people calling for welding have already misdiagnosed their own gate. This guide separates the failure modes, walks through the hardware on swing and slide gates, explains what the desert does to metal here, and shows what a real repair record should contain. You’ll finish knowing which parts are stock-replaceable, which need fabrication, and when to weld versus replace.
Quick Answer
On most Winchester residential gates, a cracked-looking joint is either a weld failure (the bead itself let go) or a base-metal fatigue failure (the parent steel under the bead cracked from repeated flexing). A weld failure can be re-welded with the correct filler and often lasts. A base-metal fatigue failure needs reinforcement plate, gusset, or replacement of the affected member – re-welding it alone is the classic reason a gate fails again within a year. Parts fall into two buckets: stock-replaceable (hinges, rollers, latches, photo-eyes, most operator arms) and fabrication-required (custom hinge plates, post anchors with non-standard bolt patterns, gusset repairs, wheel-carriage tracks on older slide gates).
Styles & brands we work with
- Wrought iron
- Wood & steel frame
- Farm & ranch
- Sliding driveway gates
- LiftMaster operators
Table of Contents
- Parts Anatomy: What’s Actually On Your Winchester Gate
- Weld Failure vs. Base-Metal Fatigue: How to Tell Them Apart
- What Winchester’s Desert Climate Does to Gate Hardware
- Stock Parts vs. Fabricated Parts: Lead Times and Trade-offs
- Hinge Grading by Gate Weight
- Post Anchors and Substrate: Why Bolts Pull Out Here
- What a Repair Record Should Contain
- How a Correct Diagnosis and Repair Actually Runs
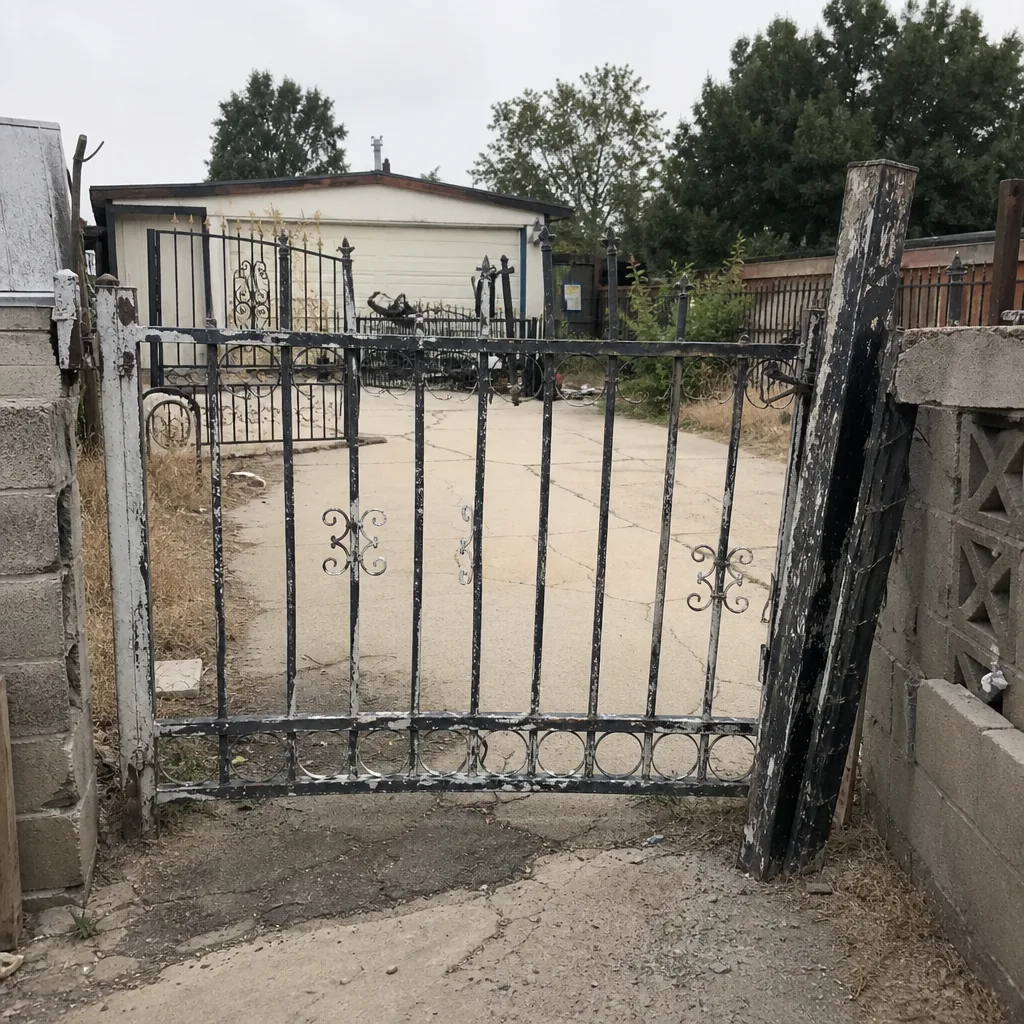 Before
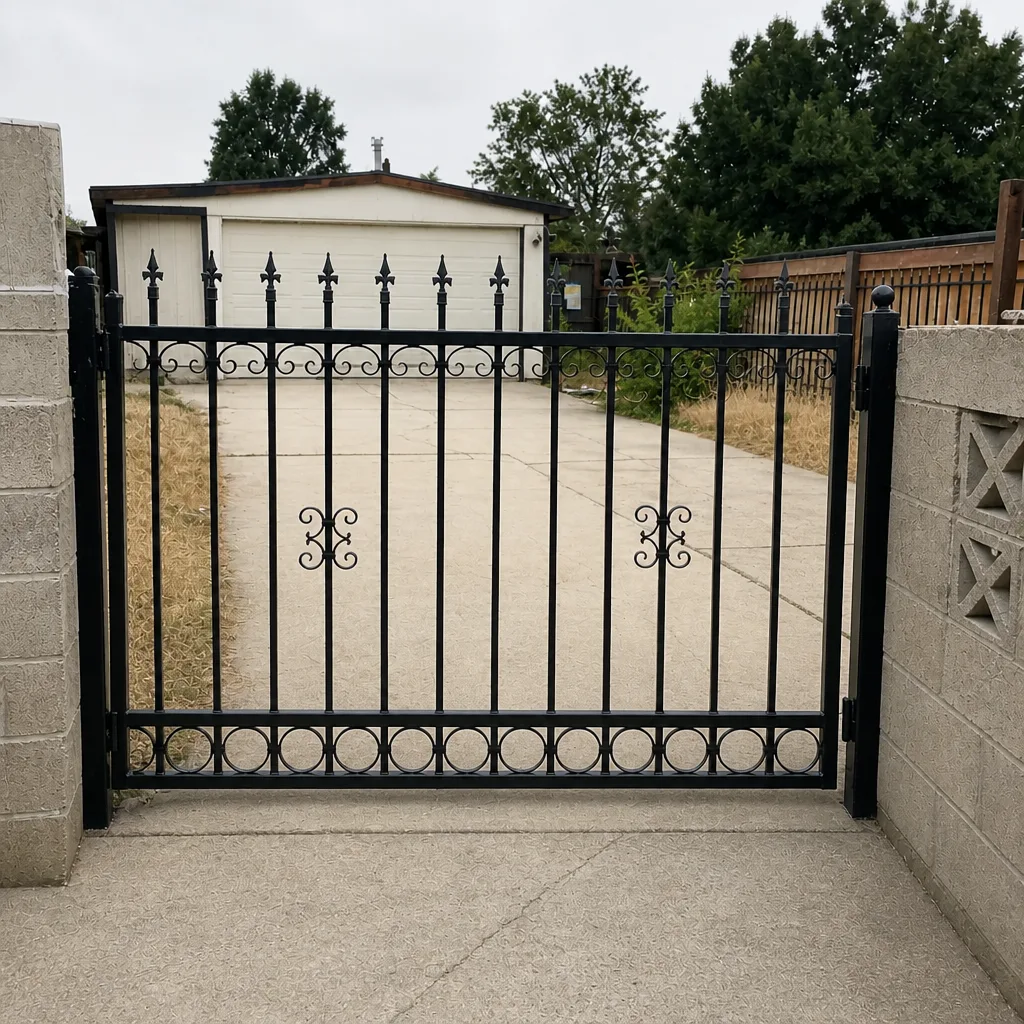 After
Parts Anatomy: What’s Actually On Your Winchester Gate
Swing and slide gates share very little hardware. Knowing which one you have – and which parts are load-bearing versus which are convenience parts – tells you where to look first when something sags, sticks, or grinds.
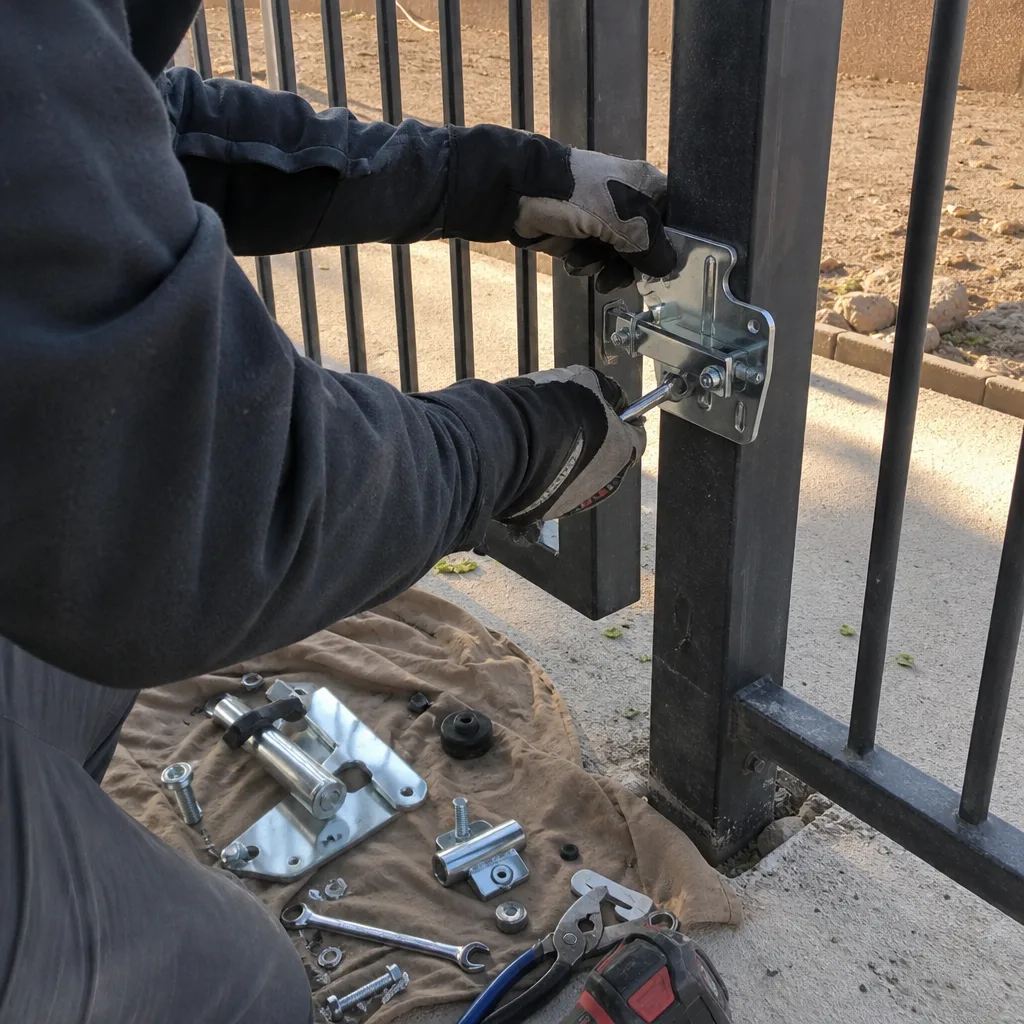
Swing-gate hardware. A swing gate hangs on two hinge points attached to load-bearing posts. The top hinge carries little weight; the bottom hinge carries almost all of it. Hinge grade is matched to gate weight, so a 250 lb steel gate should never share a hinge with a 90 lb ornamental gate. The operator arm (if automated) mounts to a bracket welded or bolted to the gate frame. Latches, stops, and drop rods are accessories – they fail often but they’re cheap and forgiving.
Slide-gate hardware. A slide gate rolls on a track or cantilevers from an overhead track. Ground track gates use a wheel carriage bolted to the bottom rail – these wheels take grit and wear out faster than most homeowners expect in Winchester’s sandy soil. Cantilever gates use an upper roller assembly and a counterbalance, no ground track at all. The operator is chain-driven or rack-and-pinion, mounted on a concrete pad at the gate’s travel end.
Across both types, the parts that fail most often in Winchester are:
- Bottom hinge (swing) or wheel carriage (slide)
- Operator arm bracket or chain idler
- Limit switches and photo-eyes on automated gates
- Post anchor bolts and base plates
- Latch assemblies and gate stops
The parts that look expensive but last 15-20 years: the gate frame itself, the operator motor (not the arm), and the structural posts. If you’re pricing a problem, start by identifying which bucket you’re in. For a broader view of the repairs that touch these parts, see our Gate Repair in Winchester page.
Weld Failure vs. Base-Metal Fatigue: How to Tell Them Apart
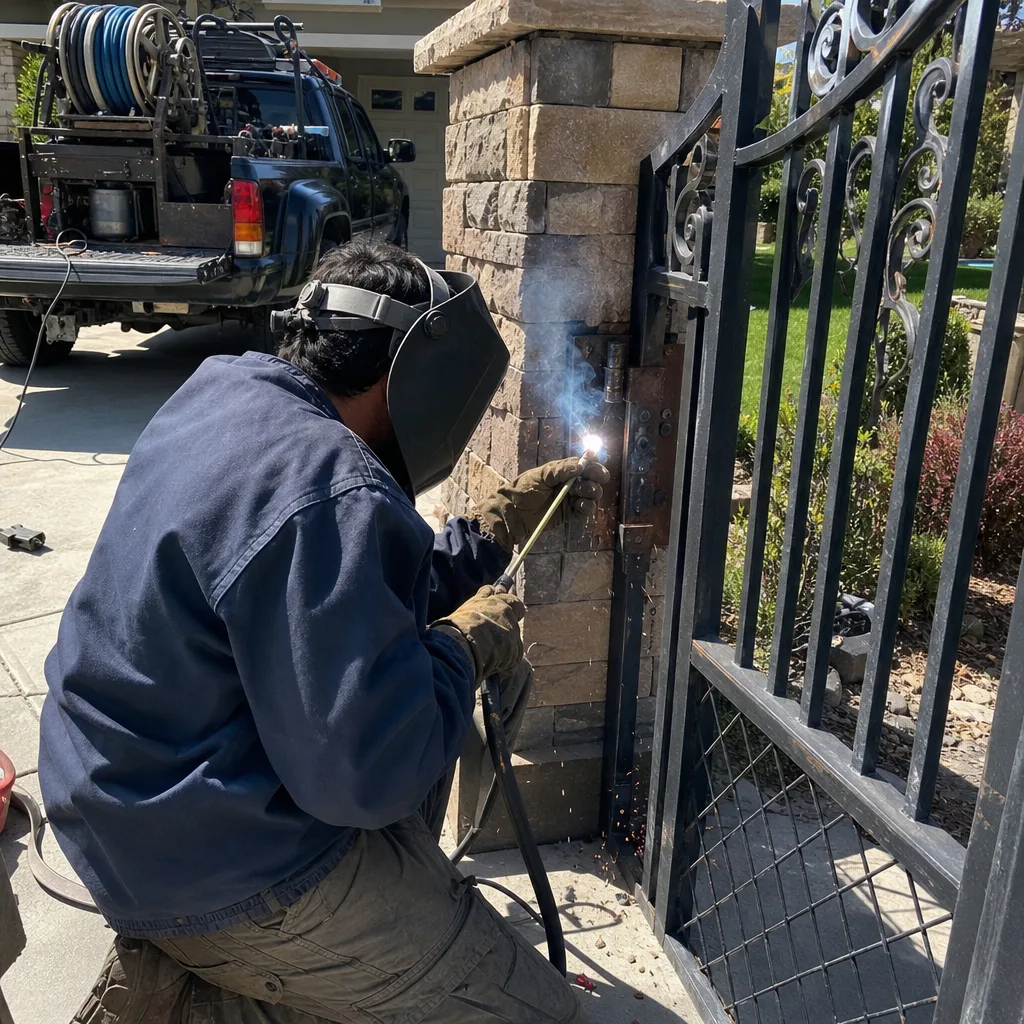
This is the single most important distinction in gate welding, and it’s the one most homeowners and even some welders get wrong. The failure mode determines the repair approach entirely. Weld it wrong and you’ll be back in the same spot inside a year.
Weld failure looks like this: the weld bead separates cleanly from one side of the joint, leaving a smooth or slightly torn surface where the bead pulled away. The surrounding steel is intact. The weld itself cracked – usually from poor penetration, wrong filler for the base metal, or a bead laid over paint and rust. This is re-weldable.
Base-metal fatigue looks like this: a crack that starts at the edge of the weld and runs into the parent steel, often with a slight bend or distortion in the member. The bead is still attached; the steel next to it tore. This happens when a member flexes repeatedly under load – a hinge welded mid-span on an unsupported tube, a post that wasn’t set deep enough to resist wind sway, a gate frame that’s too light for the span. Re-welding a fatigue crack without adding reinforcement will fail again at the same stress point.
Here’s the practical test, without hardware:
- Clean the area to bare metal with a wire brush.
- Look at where the crack stops. If it stops at the weld toe (the edge of the bead), that’s weld failure.
- If the crack runs past the bead into the flat steel plate or tube wall, that’s base-metal fatigue.
- Push gently on the affected member. Visible flex at the crack means the member itself needs reinforcement, not just a re-weld.
For fatigue failures, the correct repair is usually to add a gusset (a triangular reinforcement plate), replace the fatigued member, or reinforce the joint with a doubler plate – then weld. We’ve seen Winchester gates where a previous welder laid three beads over a fatigue crack and the whole thing let go again after a single summer of thermal cycling. If you’re not sure which failure you’re looking at, that’s a good reason to call in a gate specialist before the welder shows up.
What Winchester’s Desert Climate Does to Gate Hardware
Metal behaves differently in Winchester than it does in coastal or temperate climates, and the parts that fail here fail for reasons homeowners from other regions wouldn’t expect.
Alkaline soil accelerates post corrosion. Winchester’s soil pH runs high, and combined with irrigation moisture that wicks up around post footings, the buried section of steel posts corrodes much faster than the above-grade portion. We regularly see gate posts in Winchester that look fine above ground and are nearly rusted through at the soil line. This shows up as base-plate failures, anchor bolts pulling loose, and gates that sag on one side without any visible joint damage.
UV degradation attacks powder-coat and plastic parts. Powder-coated hinge covers, latch housings, photo-eye lenses, and any plastic operator housing degrade faster under high-elevation sun. Powder coat that’s already scratched lets moisture into the steel underneath and the corrosion starts from the inside out. Photo-eye lenses cloud and lose alignment precision, which produces phantom “obstruction” faults on LiftMaster and Ghost Controls operators that are actually just UV-damaged lenses.
Thermal cycling works metal loose. Summer days in Winchester swing forty degrees or more between morning and evening, and the gate steel expands and contracts with it. Hinge pins and roller carriage bolts back out over a season. Weld joints that survived elsewhere go through years of stress cycling in a fraction of the time. This is why we see fatigue cracks starting at the same stress point on gates that have been in service only a few years – the metal is being worked harder than a design engineer would have assumed.
Practical translation: in Winchester, expect hinge tightening and photo-eye cleaning on an annual cadence, and expect buried post sections to be the hidden problem behind gates that “suddenly” started sagging.
Stock Parts vs. Fabricated Parts: Lead Times and Trade-offs
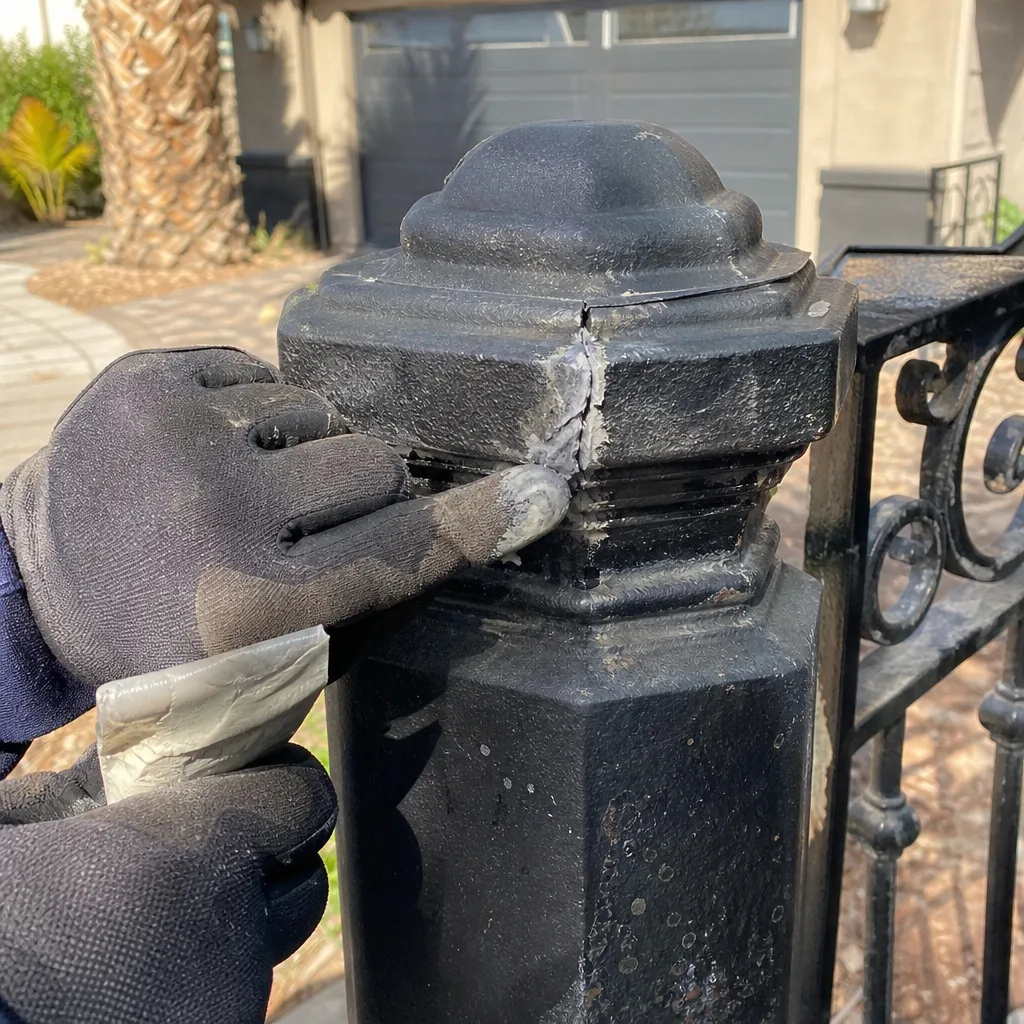
The fastest, cheapest repair is almost always a stock part. The slowest, most expensive is a fabrication. Knowing which bucket a problem falls into tells you what to expect before anyone shows up.
Stock-replaceable parts – available same-day or next-day from supply:
- Standard hinges (sizes matched to gate weight)
- Wheel carriages and ground-track wheels
- Photo-eyes and safety edges (all brands)
- Operator arms and brackets for LiftMaster, Elite, Viking, DoorKing, and most major brands
- Latch assemblies and gate stops
- Limit switches and control-board fuses
Fabrication-required parts – measured, cut, welded, drilled, and (often) powder-coated:
- Custom hinge plates or hinge reinforcement gussets
- Replacement post base plates or anchor bolt patterns off standard
- Track sections on older slide gates with non-standard bolt spacing
- Gate frame repairs from base-metal fatigue
- Custom brackets for older operators where OEM parts are discontinued
On a residential gate, a stock hinge swap is a one-visit job. A fabrication on a welded member usually means measure first, fabricate off-site, then return to install – two trips, sometimes with a brief wait for powder coat. If your gate needs both a stock part and a fabrication, do them in the same visit if at all possible; every extra trip is time your gate sits unusable.
Because of that, gate installation work – which always involves measured and ordered parts – is scheduled rather than dispatched same-day. See Gate Installation in Winchester for what that scoping looks like.
Hinge Grading by Gate Weight
Hinge failures on Winchester gates are frequently nothing more than the wrong grade for the gate. A hinge is rated to a weight, and a gate that’s heavier than its hinges will destroy them regardless of quality. Rough grading:
- Light (under 150 lb): ornamental aluminum, small vinyl, garden gates. Standard residential hinges work fine.
- Medium (150-400 lb): most steel swing gates, ornamental iron driveway gates. Ball-bearing hinges, welded or bolted through the frame (not just the skin).
- Heavy (400 lb and up): solid steel plate gates, wide spans, gates with a solid privacy infill. Industrial-grade hinges with through-bolts into the post structure, not lag screws into the face.
Two things matter more than hinge brand on a residential gate:
- Through-bolting, not lagging. A hinge anchored with lag screws into a hollow steel post face has almost no holding power. Through-bolts with a backing plate are the standard for medium and heavy gates and vastly reduce the “hinge pulled out of the post” failure we see most often.
- Hinge alignment. Both hinges must be plumb and on a common vertical line. A mid-weight gate with one hinge set a few degrees out will fatigue its bottom hinge and the gate frame around it in a few years. Re-welding a hinge that was never aligned correctly doesn’t fix the alignment problem.
If you’re replacing a hinge anyway, upgrading one grade above the gate’s weight buys you a lot of service life. For the hinge swap itself and the operator-side parts that often need adjusting at the same time, our Gate Motor & Opener in Winchester page covers the automated side.
Post Anchors and Substrate: Why Bolts Pull Out Here
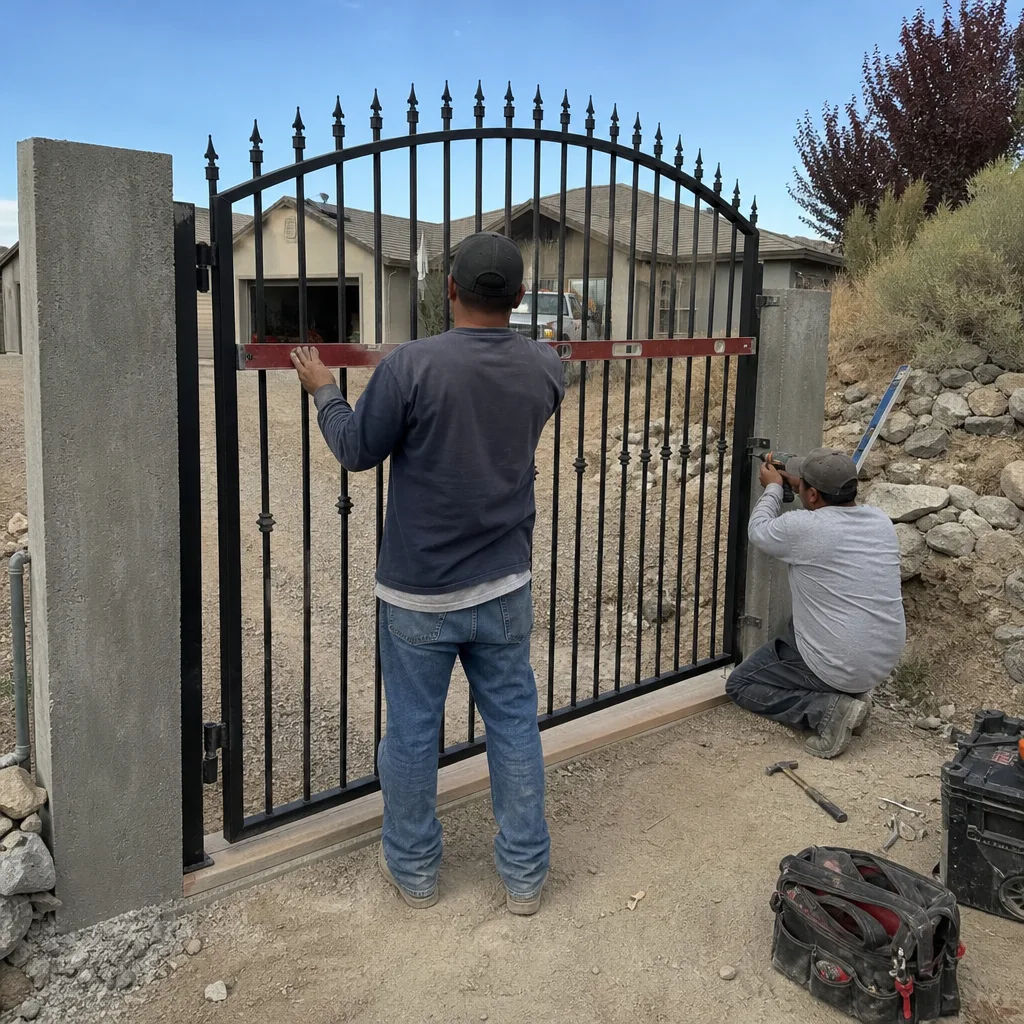
A gate post that looks solid above ground can be nearly gone below. In Winchester, this is a common failure and a frequent reason gates sag, doors swing crooked, and hinges pull out of otherwise-intact posts.
What to check (without digging up the post):
- Look at the soil line for rust staining or bubbling paint on the post.
- Grab the post and try to rock it. Any movement at the base is a red flag.
- Check the base plate or hinge through-bolt for wallowing – elongated holes mean the anchor has been working loose for a while.
- Look for cracks in the surrounding concrete pad, if the post is pad-mounted.
When a post anchor fails, the fix depends on the failure. A loose bolt in an intact post can be re-anchored with a heavier bolt or an insert. A post failing at the soil line means cutting out the bad section, welding on a new base, and re-setting in concrete – or replacing the post entirely. A powder-coated post base plate that’s pitted from the inside is a candidate for replacement, not re-bolt. Post anchors are on the fabrication side of the stock/fab split; expect a measure-first, install-second timeline.
If the gate sags but the post looks fine, the problem is more likely hinge wear or gate-frame fatigue – check those first. When both post and gate frame are suspect, having the whole thing looked at once prevents doing half the repair twice. That’s what the free second-opinion review of another company’s written estimate is for.
What a Repair Record Should Contain
If the last technician who worked on your gate left nothing behind, the next one starts from scratch – which means you pay to rediscover every setting and spec. The record matters more than most homeowners realize, especially on welded repairs and post anchors.
A complete gate repair record should include:
- Part numbers, exactly. Not “replaced hinge” but “replaced bottom hinge, [grade], through-bolted to post with backing plate.” Note the actual model of any operator part.
- Base metal and filler. On any weld repair, record what steel was welded (mild steel, galvanized, aluminum) and what filler was used. This matters because mixing fillers on a re-repair causes cracking.
- Hinge spec and alignment. Grade, through-bolt pattern, and whether both hinges were plumbed to a common line.
- Limit-switch and photo-eye positions. Photograph the new settings so the next technician knows where the stops were set. On automated gates, this is the difference between a 10-minute adjustment and a full re-commission.
- Photo record. What was found, what was adjusted, what was replaced. Time-stamped photos do most of the work.
- Wiring diagram on file. For any automated gate, a documented wire map saves hours on future diagnostics.
We leave a documented photo record on every visit at no additional charge, and we hand you a written price before any work starts. On welded parts, we note the base metal and filler, and on operators, we record the limit-switch position and any wiring changes so the next person isn’t guessing. That habit comes from the commercial access-control documentation practices the company grew out of.
How a Correct Diagnosis and Repair Actually Runs
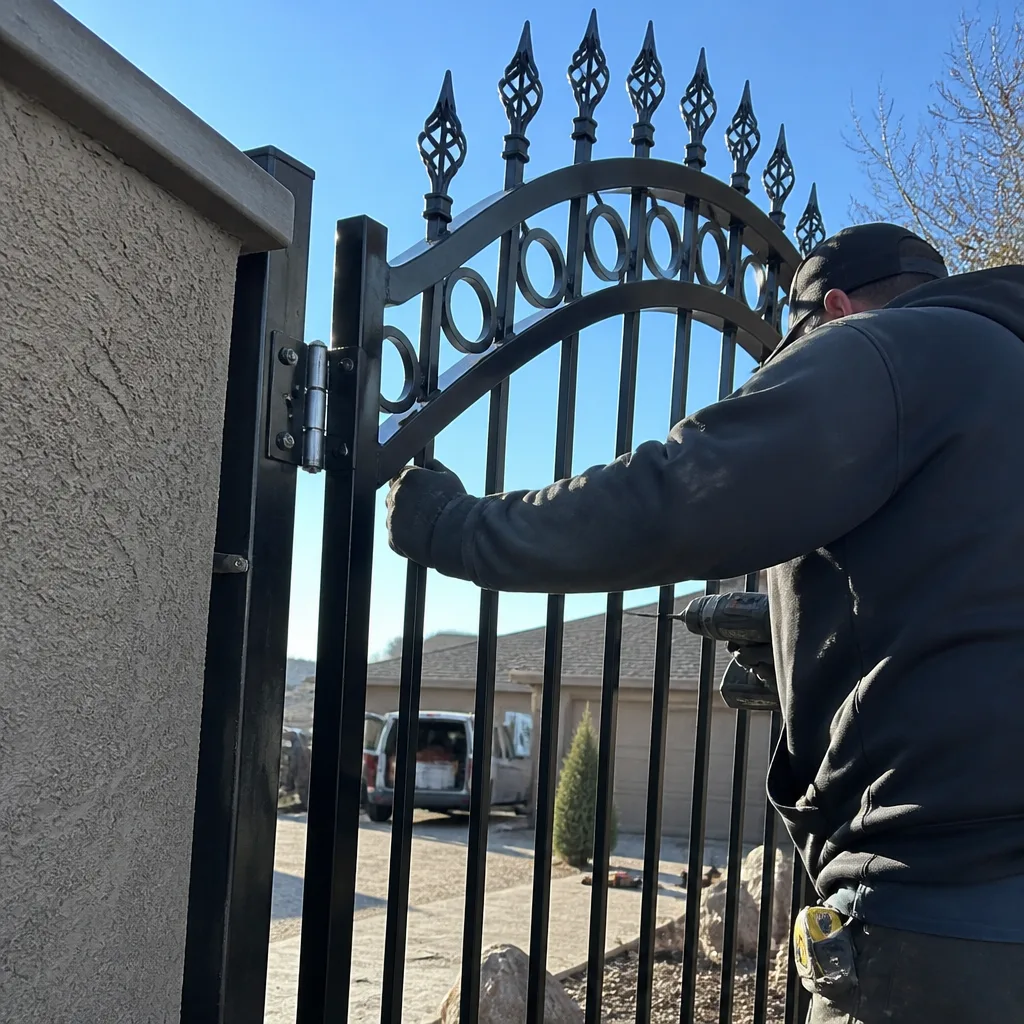
The sequence below is what a proper gate parts and weld repair looks like on a Winchester residential gate. Missing any of these steps is where “repaired three months ago and failed again” comes from.
- Look, don’t guess. Identify the failing joint or part, clean it to bare metal if welding is involved, and inspect for the weld-vs-fatigue distinction above.
- Check the substrate behind the part. A hinge that “failed” because the post is rusting through is not a hinge problem. Same for a base plate on a fatigued post.
- Pick the intervention. Weld, reinforce-then-weld, stock-replace, or fabricate. Write down which and why.
- Photograph before and after. Before work, after work, and the writing on the wall – so the record is checkable.
- Set and confirm limits/alignment. On a swing gate, re-plumb the hinge line. On an automated gate, reset limits and photo-eye alignment and verify with an obstruction test.
- Record what was installed. Part numbers, base metal, filler, hinge spec, limit settings, wiring changes.
- Leave the record with the homeowner. A copy in your hand, a copy in the job file.
On welding specifically: gate frames are structural steel that people and vehicles pass through. A weld on a gate that fails under load is a safety concern, not just a cosmetic one. We recommend any structural weld on a residential gate – particularly on a post anchor or a hinge plate – be done by someone who will inspect the base metal before welding, not just re-bead the crack. If the failure involves a swing-gate spring or a high-tension operator arm, that’s a job to leave to a trained technician, not a homeowner with a welder.
Common Mistakes to Avoid
- Re-welding a base-metal fatigue crack without reinforcement. It looks fixed and fails again at the same stress point, usually within a season. Reinforcement first, weld second.
- Using the wrong filler for the base metal. Aluminum and galvanized steel need different fillers and prep than mild steel. Mixing them causes cracking and corrosion.
- Replacing the hinge instead of fixing the post. A hinge that pulled out of a rusting post will pull out of the new hinge too. Check the substrate first.
- Bolting a heavy gate with lag screws. Medium and heavy gates need through-bolts with a backing plate. Lag screws will wallow out and pull free.
- Skipping the written record. If the next technician has to rediscover the base metal, filler, and limit settings, you’re paying for the same diagnosis twice.
- Ignoring UV-degraded photo-eyes. Phantom obstruction faults on LiftMaster and DoorKing operators are often a cloudy, misaligned photo-eye lens, not a control-board problem.
- Doing a stock part and a fabrication in separate visits. Every extra trip is time the gate sits unusable. Coordinate them.
See the difference
BeforeAfter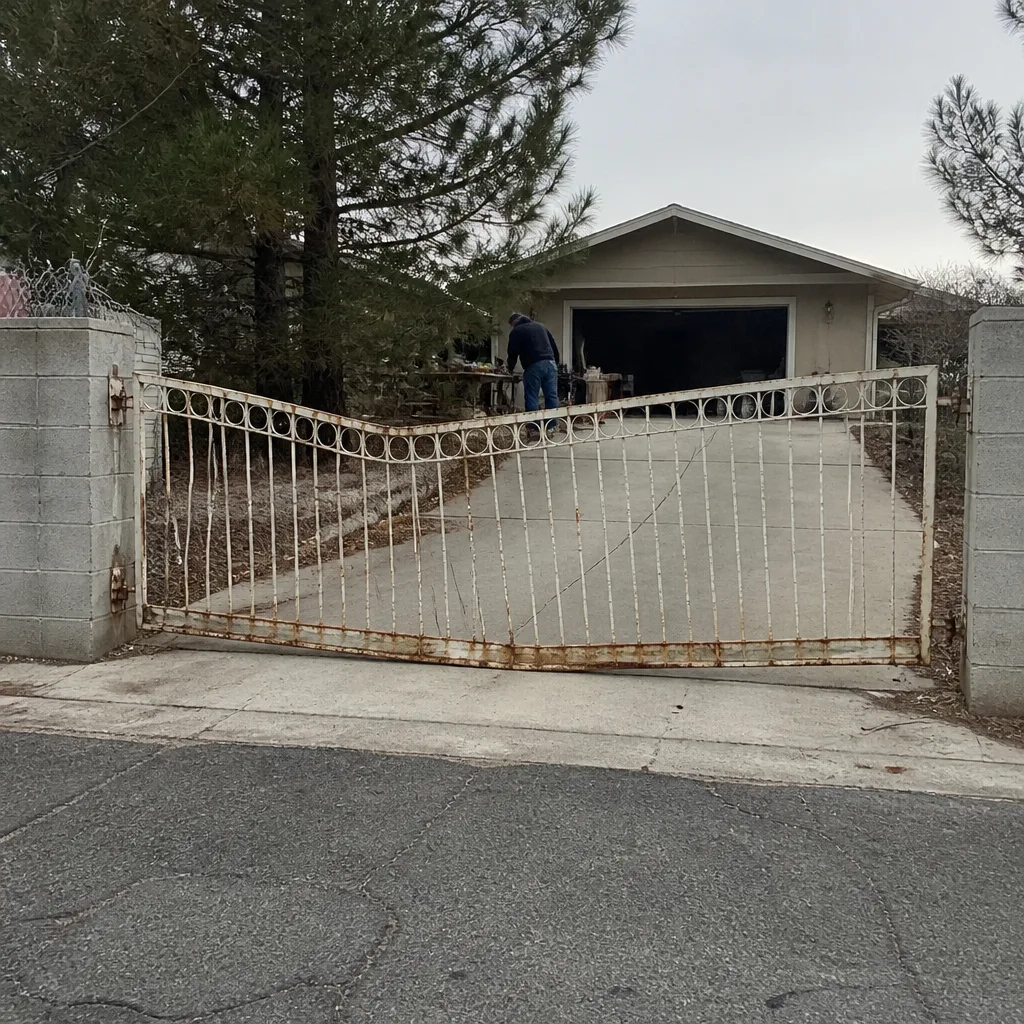 Before
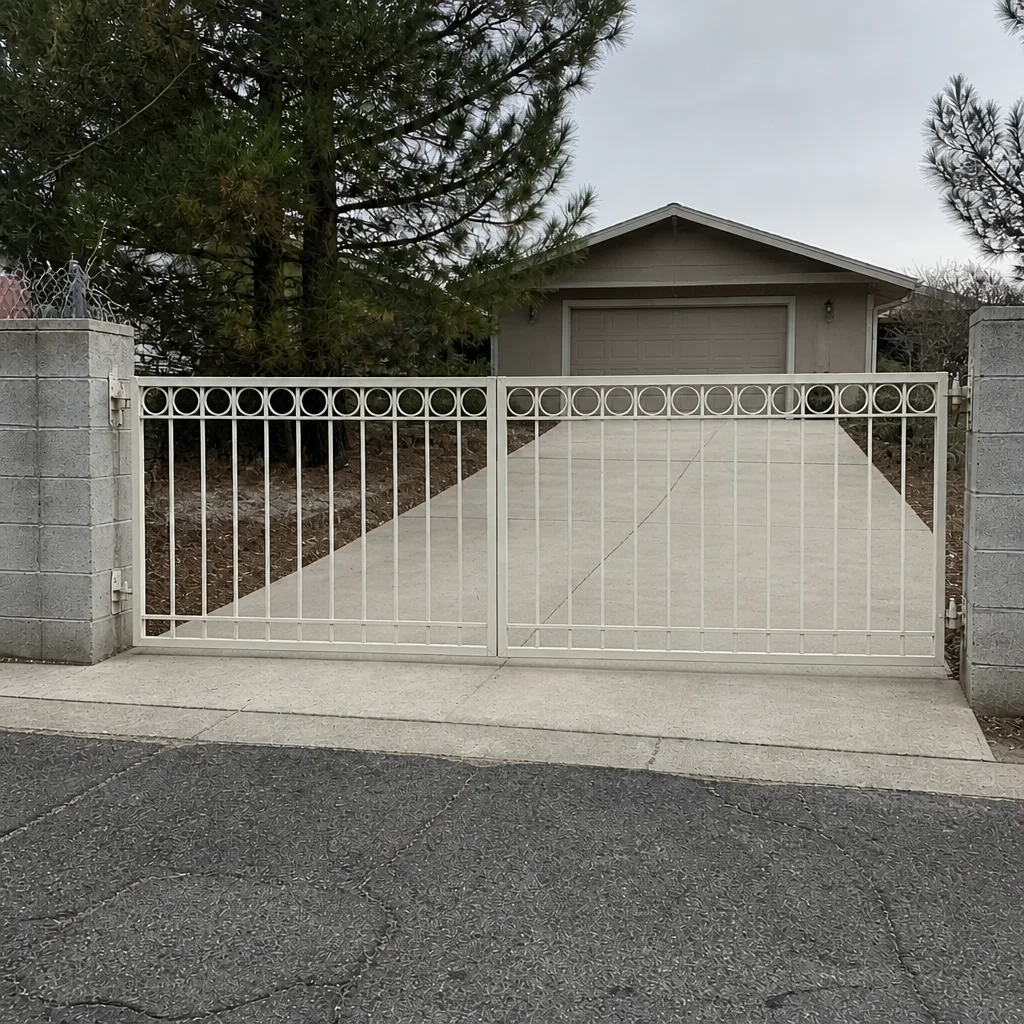 After
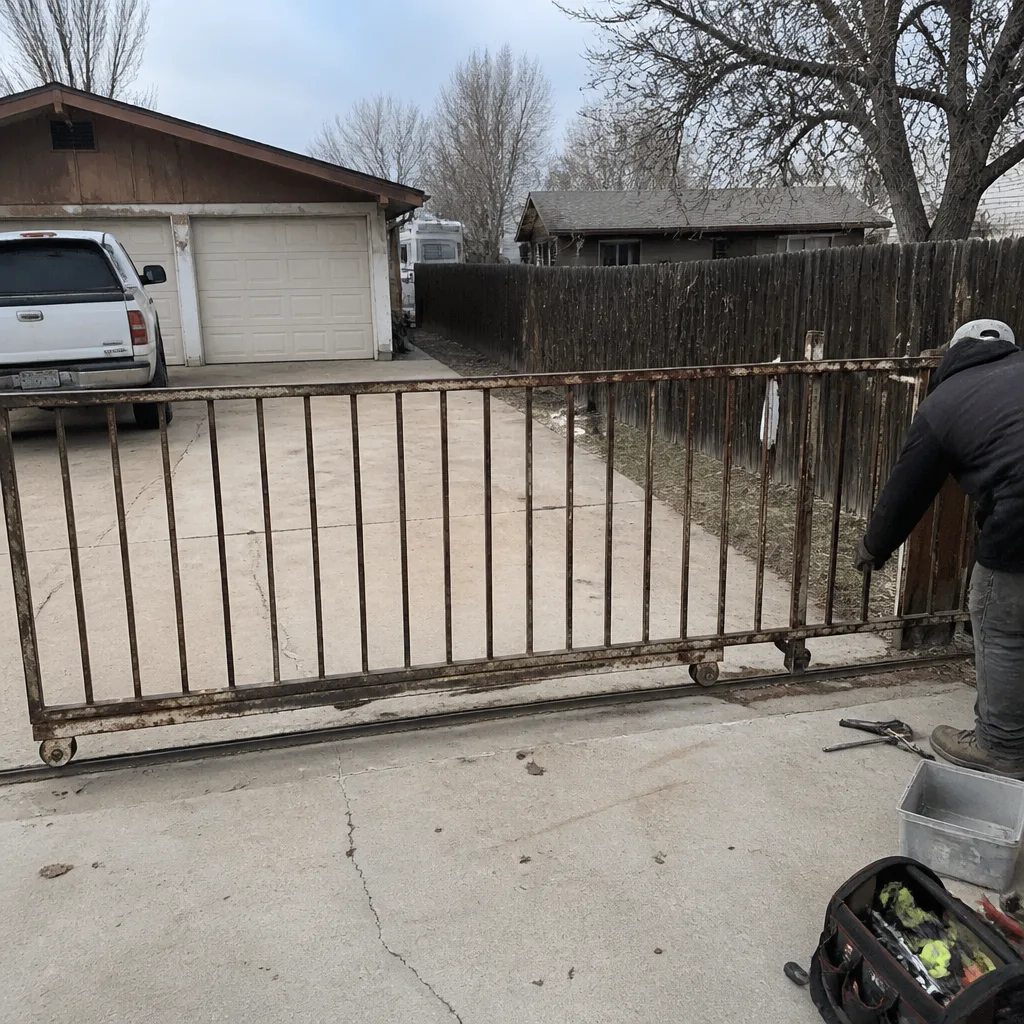 Before
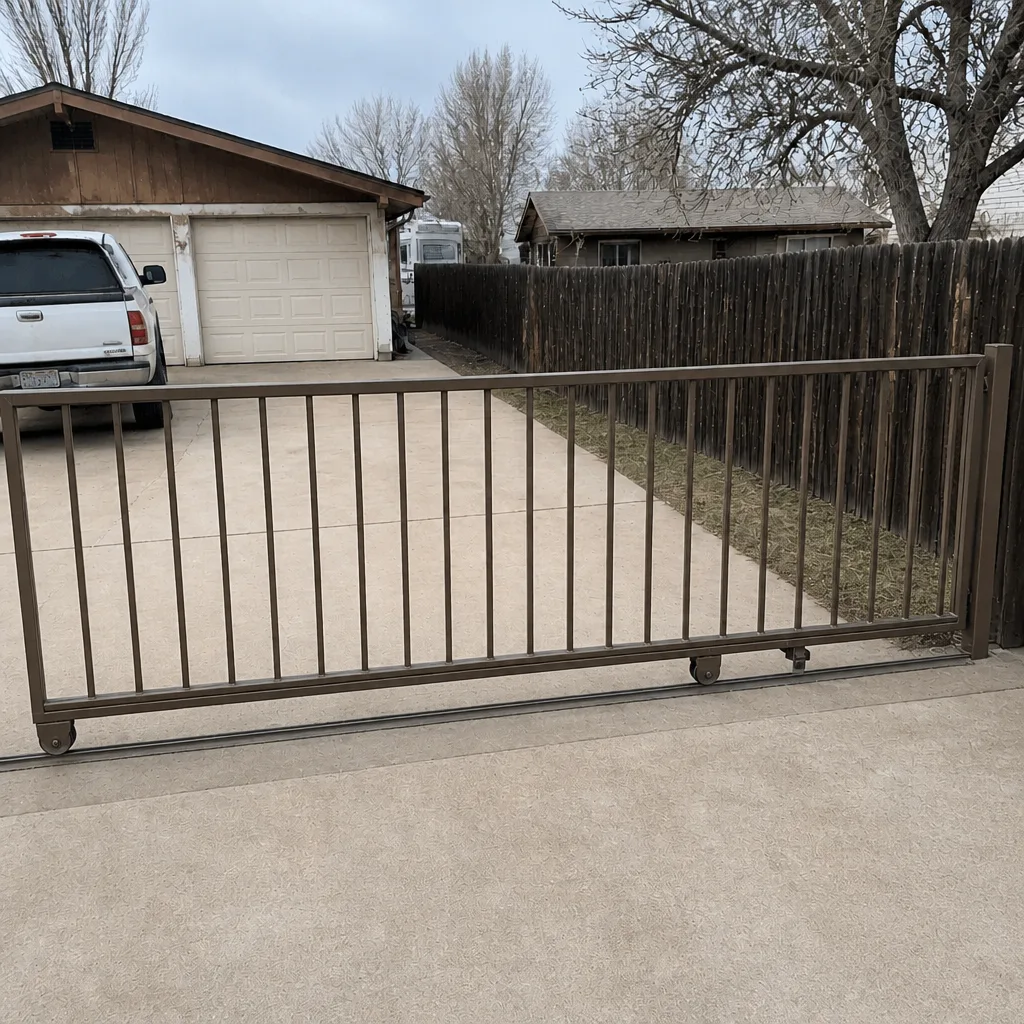 After
When to Call a Professional
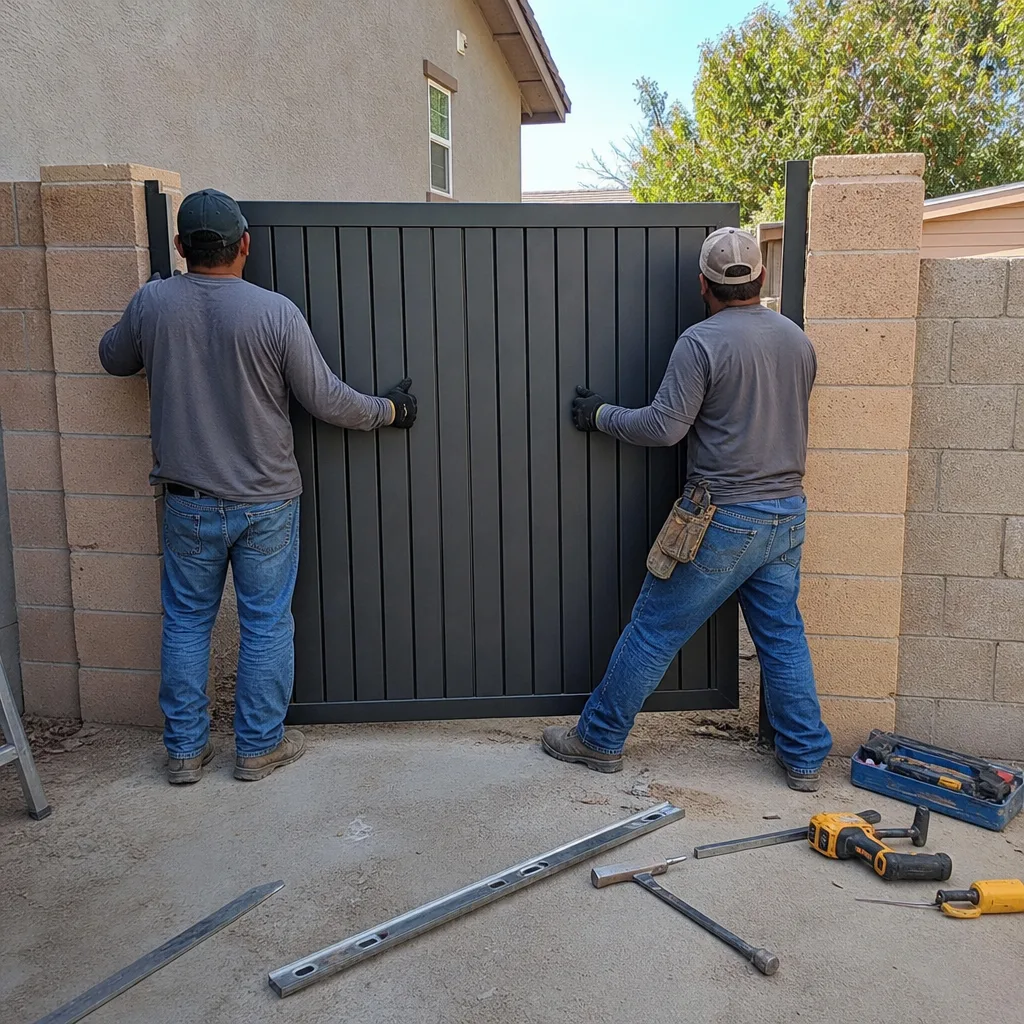
Call a professional if any of the following is true: the gate sags noticeably or has started to scrape; a weld has cracked (especially on a post anchor, hinge plate, or operator bracket); the post moves when you rock it; the operator arm is bent or the limit switches won’t stay set; a photo-eye is misbehaving and you’ve already cleaned the lens; or you’re concerned about the safety of a swing-gate spring or a loaded operator arm. Those last two – springs and high-tension arms – are genuinely dangerous and should never be worked on by a homeowner. If you’ve had a previous repair fail within a year, that’s a signal the original diagnosis was wrong. Vance Gate Repair Winchester offers free estimates in Winchester – call (866) 983-9213 and we’ll tell you what we find, what it costs, and leave a documented record behind.
Frequently Asked Questions
Most residential gate welding repairs in Winchester run between roughly $150 and $450 depending on access and whether reinforcement is needed. A simple re-weld on an accessible joint sits at the low end; a gusset or base-plate fabrication with proper prep and finishing sits at the high end. Under the Haven Standard, you get a written price before any work starts so there’s no invoice surprise at the end. Call (866) 983-9213 for an exact quote – estimates are free.
Usually yes, by cleaning the joint and looking at where the crack stops. If it stops at the weld toe, that’s weld failure and it can be re-welded. If the crack runs into the flat steel, that’s base-metal fatigue and the member needs reinforcement or replacement, not just a new bead. A stock hinge or roller that’s worn is a part swap, not a weld at all. Call (866) 983-9213 and we’ll help you figure out which bucket you’re in – free second opinions on any written estimate you already have.
Winchester’s alkaline soil combined with irrigation moisture accelerates corrosion on the buried portion of steel posts, sometimes rusting through from the inside while the above-ground section looks intact. The visible failure – a sagging gate or a pulled-out hinge – is often a post problem, not a hinge problem. If your gate sags and the hinges look fine, have the post checked before anyone re-welds. Call (866) 983-9213 for a look.
Fabrication is almost always worth it on a structurally sound gate – a custom hinge plate, gusset, or track section costs a fraction of a new gate, and it preserves the original frame. For a gate that’s fatigued across multiple members or has a post failing at the soil line, replacement deserves a conversation. We’ll price both so you can compare. Call (866) 983-9213 – estimates are free and the written price comes before any work starts.
At minimum: the exact part number installed, the base metal and filler used (on welds), the hinge spec and alignment, the limit-switch and photo-eye positions on any automated gate, and a photo record of the before and after. Each item is what lets the next technician – or you, years later – avoid rediscovering the same settings. We leave that record on every visit at no additional charge. Call (866) 983-9213 to schedule.
We service nine major gate-automation brands – LiftMaster, FAAC, BFT, Linear, Viking, Ghost Controls, DoorKing, Elite, and Mighty Mule – so on most Winchester residential gates we can work on the operator that’s already on the property rather than steering you toward a replacement. When an OEM part is discontinued, we’ll say so in the written quote and price both repair and replacement options so you can choose. Call (866) 983-9213 for a free estimate.
The Bottom Line
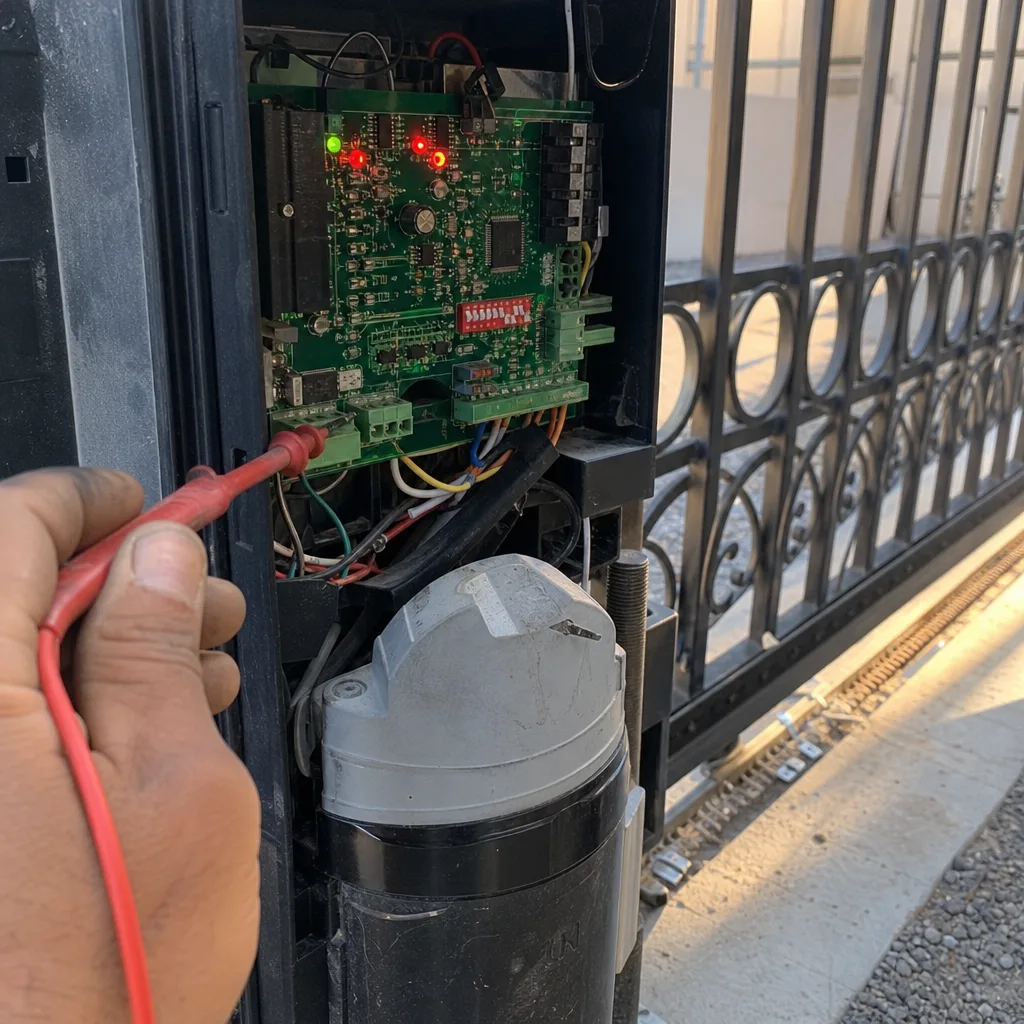
The right repair depends entirely on the failure mode, and most gates fail for one of four reasons: a weld that let go, base metal that fatigued, a post that corroded below the soil line, or a wrong-grade hinge carrying a gate too heavy for it. Each has a different fix, a different lead time, and a different cost. The homeowners who avoid paying twice are the ones who diagnose before they call – and who ask for the part numbers, base metal, filler, and limit settings in writing when the job is done. In Winchester, alkaline soil and hard thermal cycling make all four failure modes more likely, so a gateside inspection once a year pays for itself.
Written by the team at Vance Gate Repair Winchester.
If your gate has cracked, sagged, or failed a previous repair, call Vance Gate Repair Winchester at (866) 983-9213 for a free estimate. Every visit starts with a written price before any work begins and ends with a documented photo record you keep – because knowing what failed, and why, is the difference between a repair that lasts and a repair you pay for twice.